|
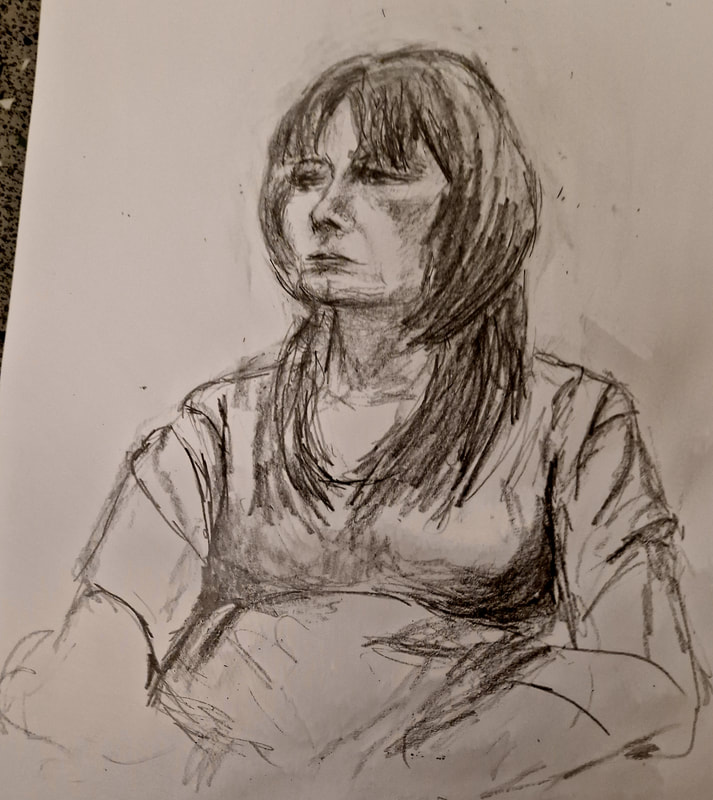
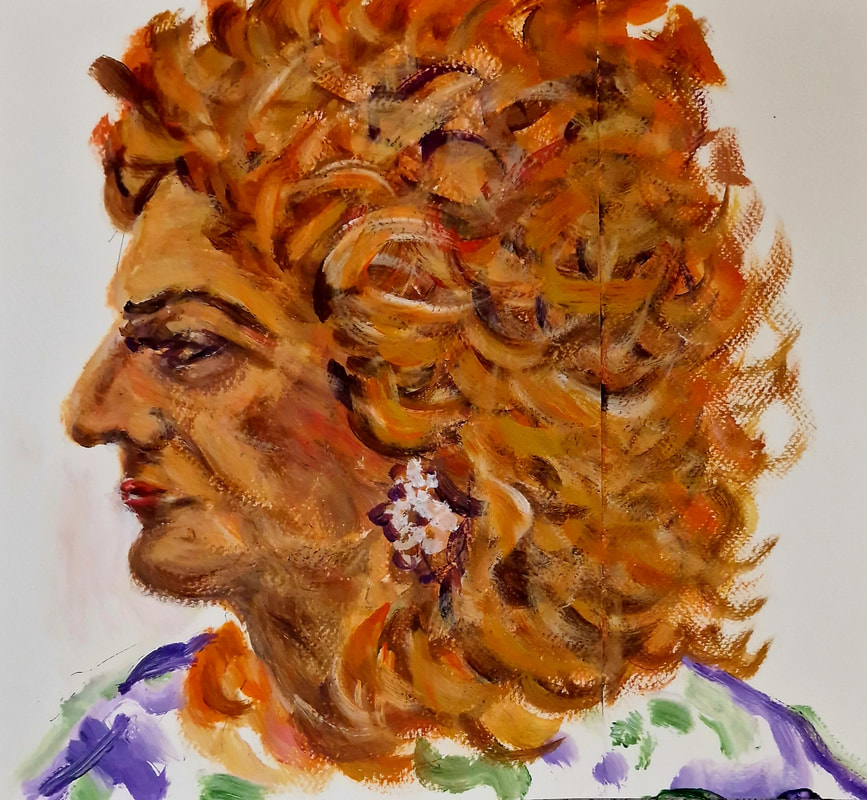
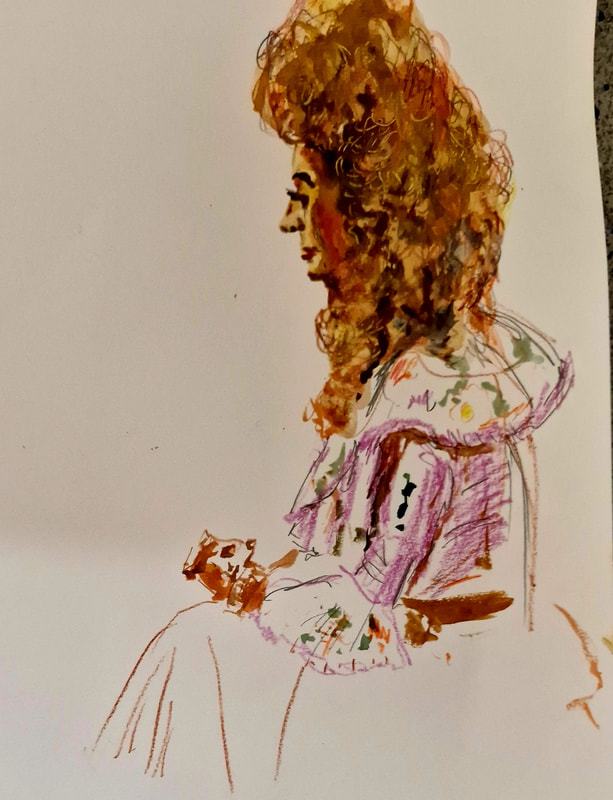
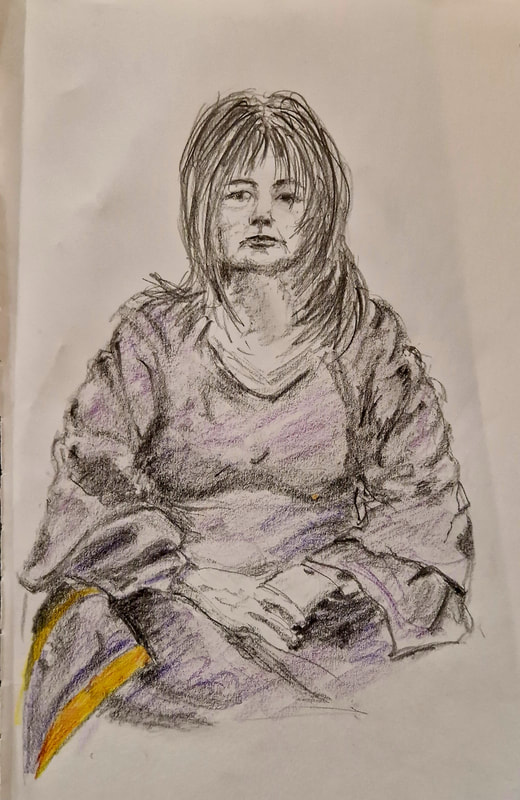
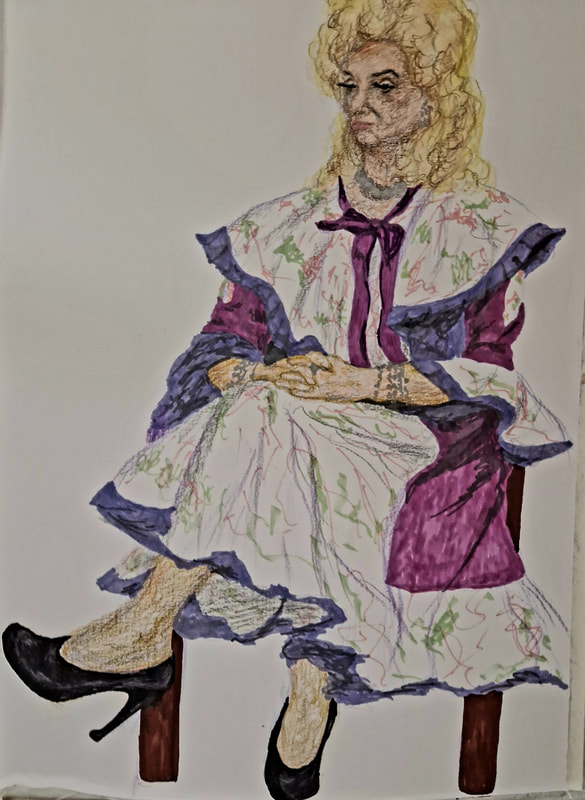
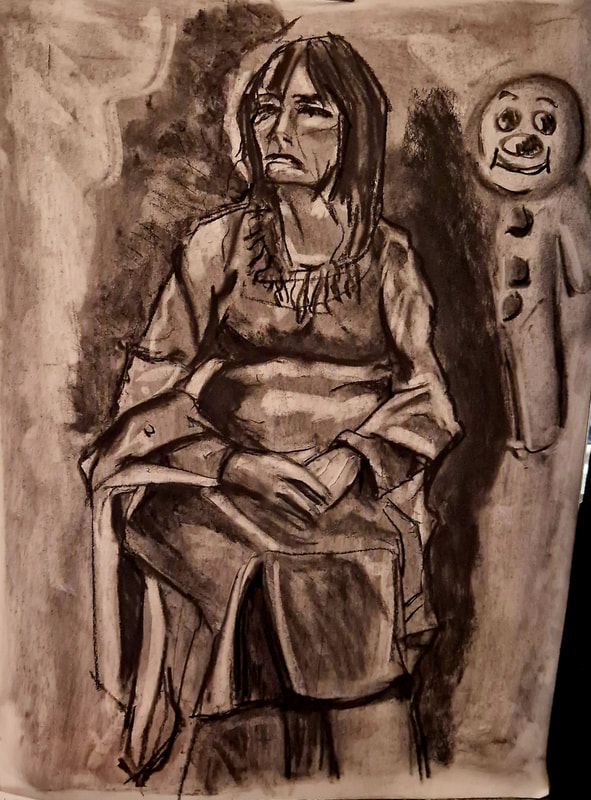
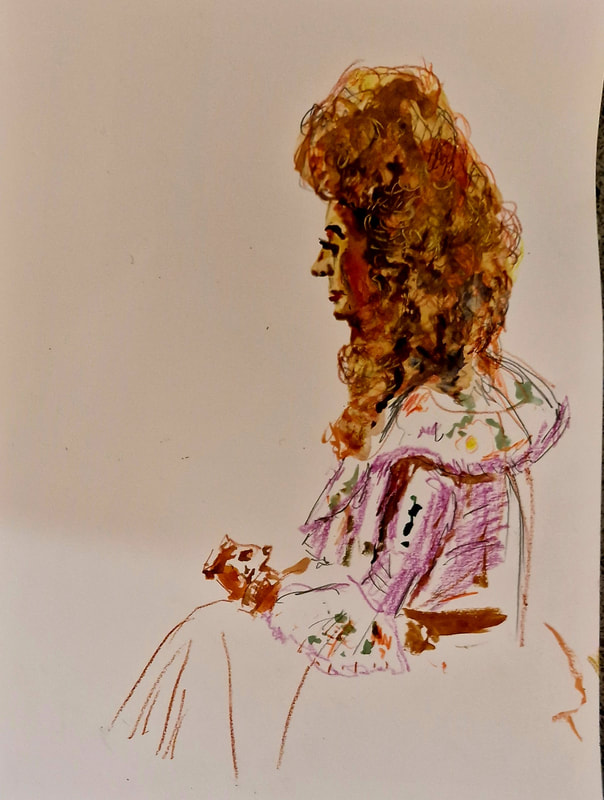
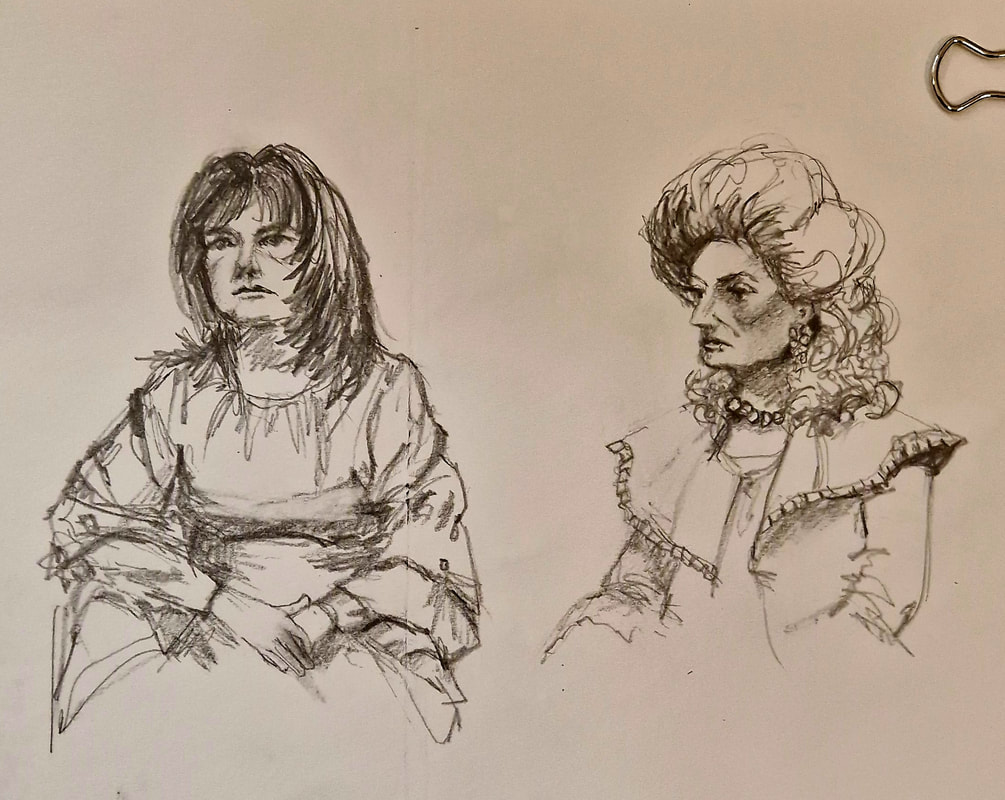
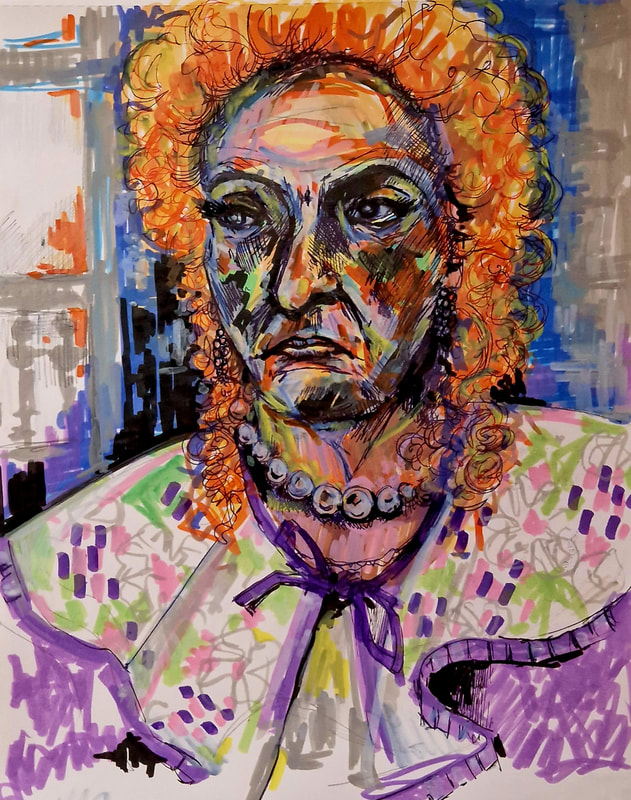
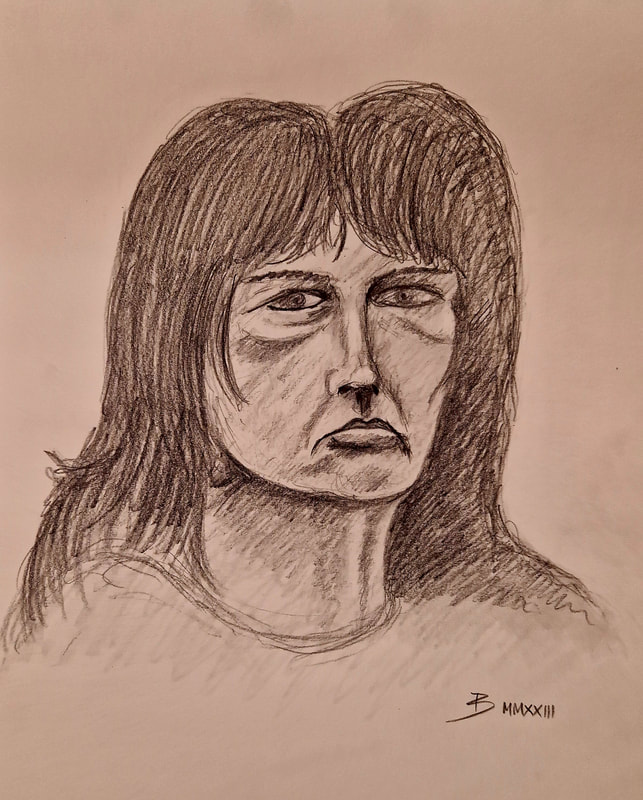
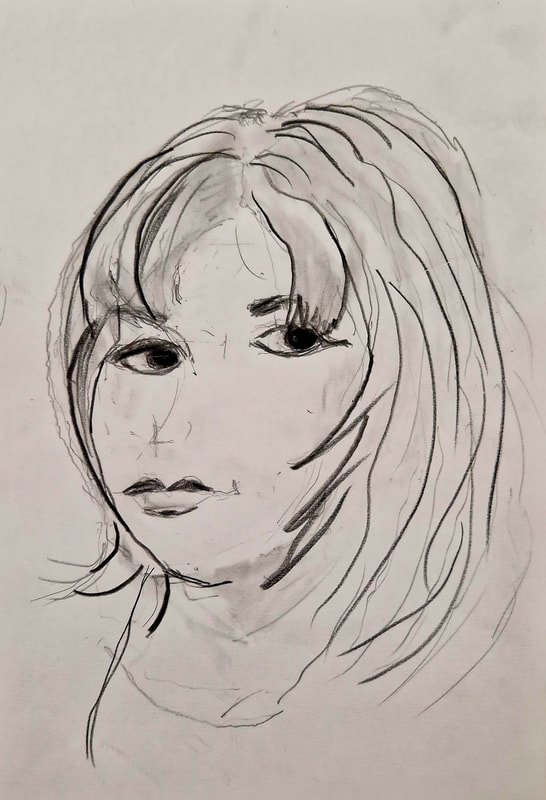
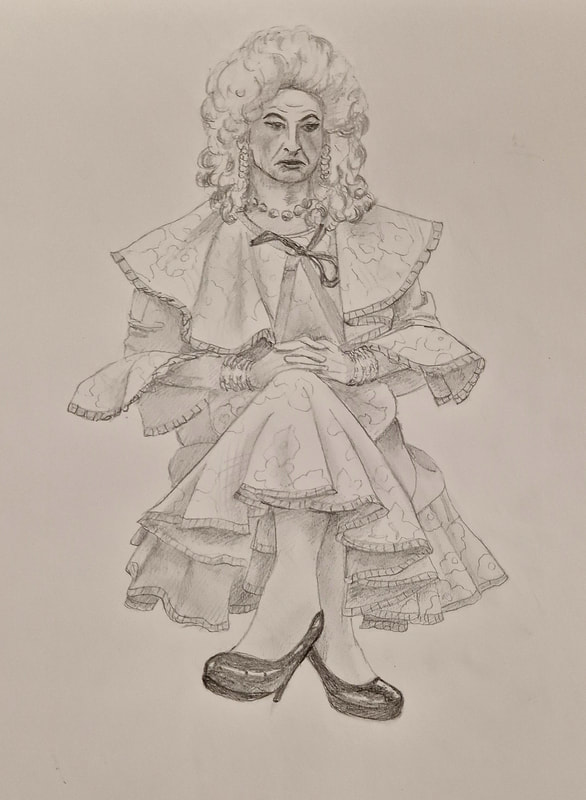
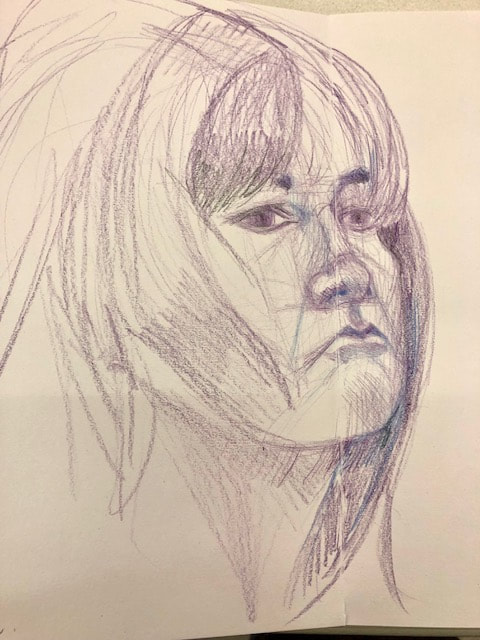
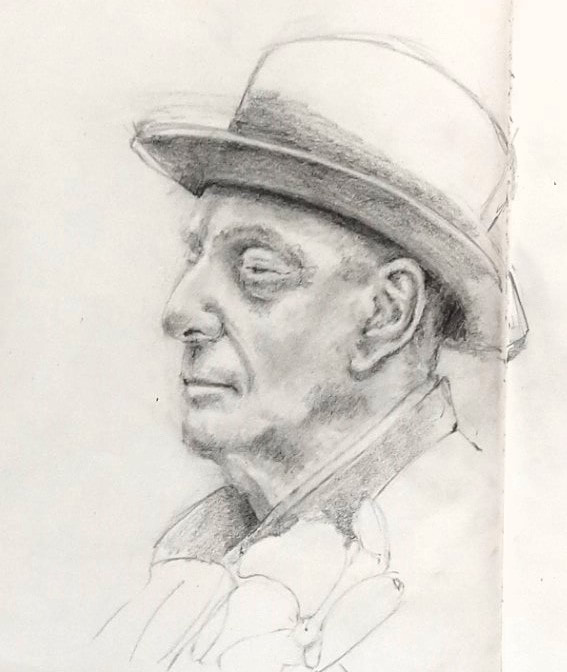
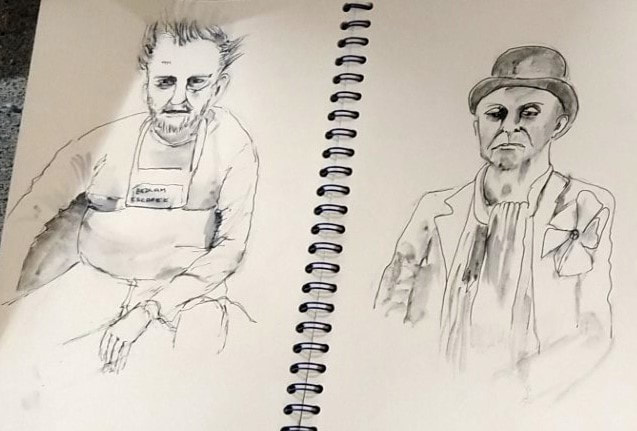
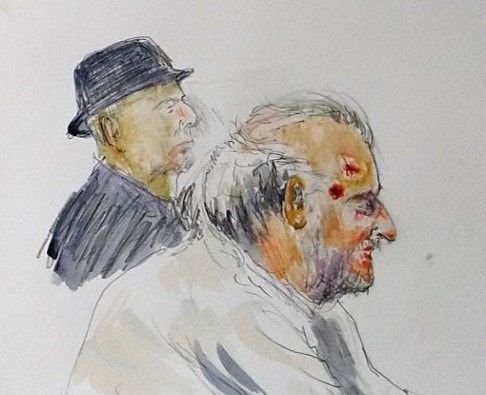
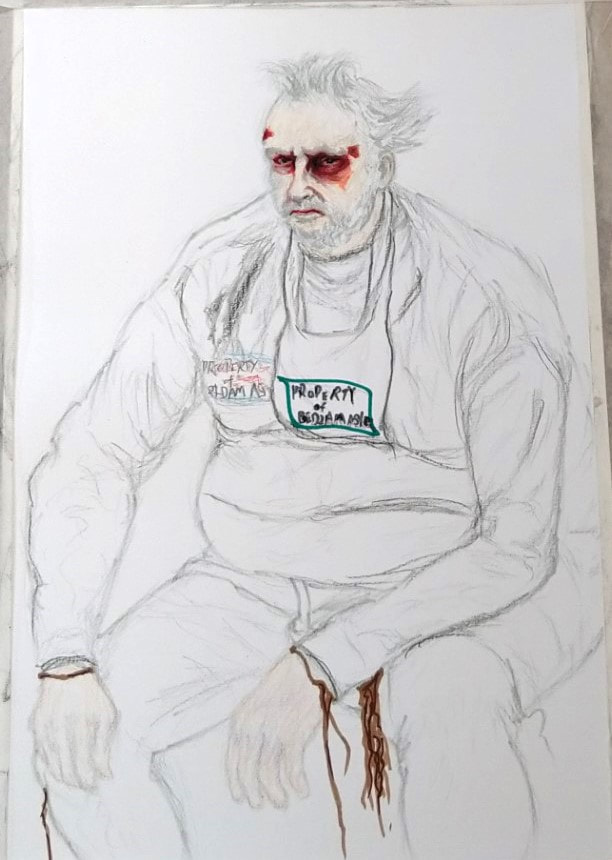
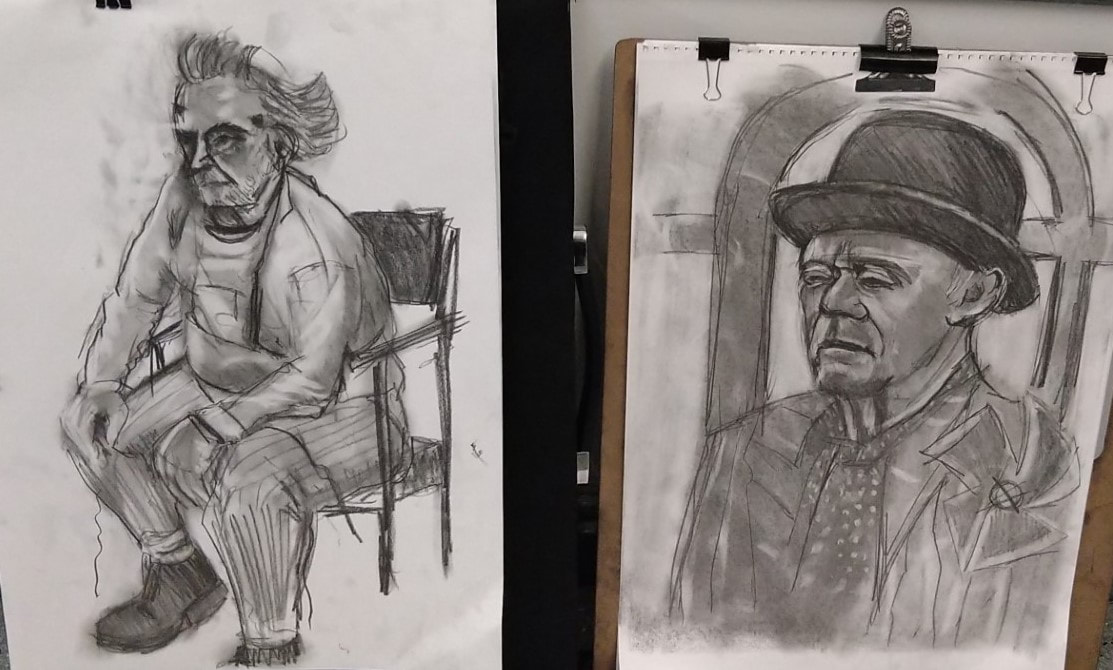
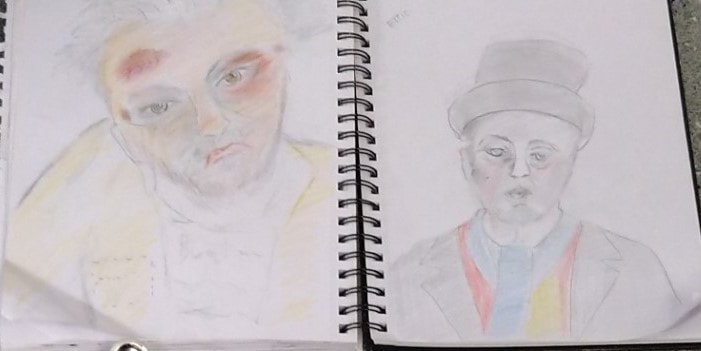
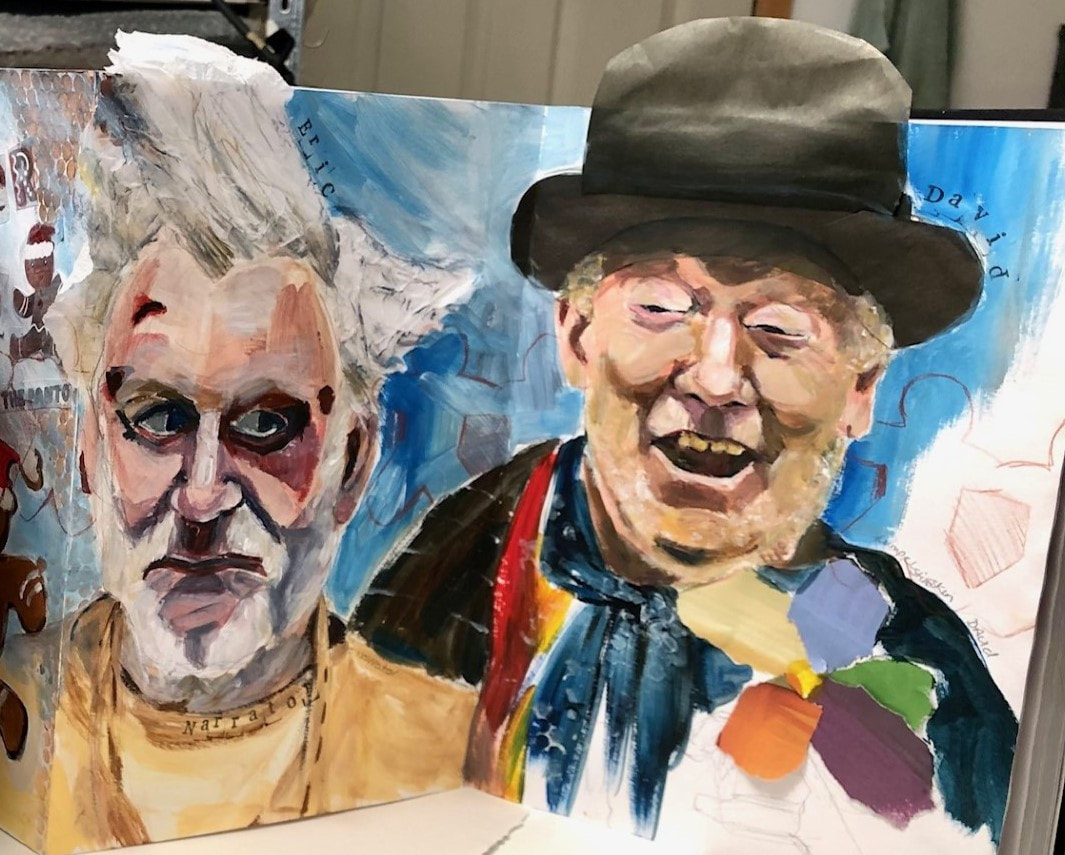
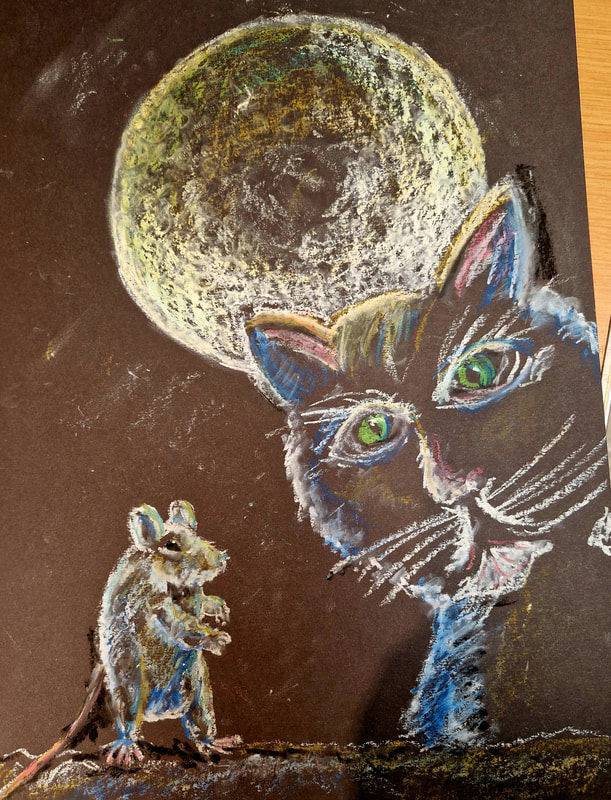
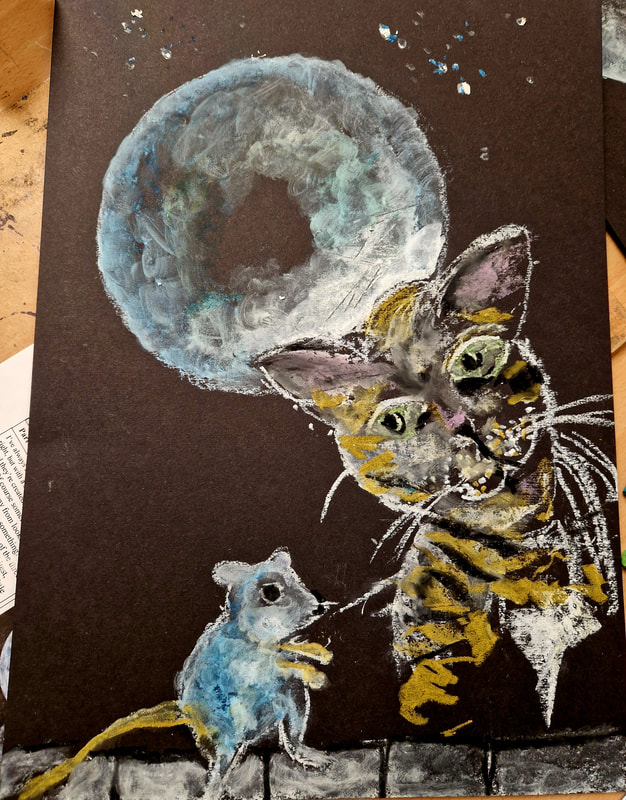
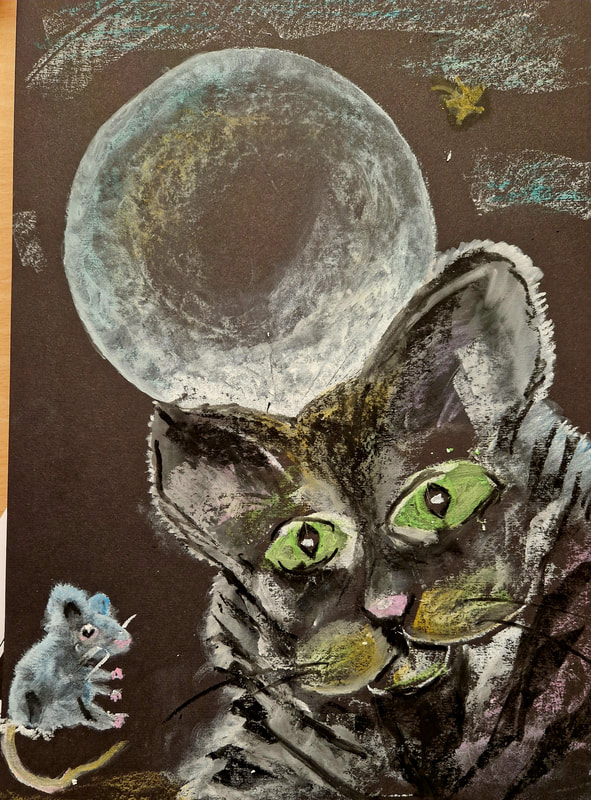
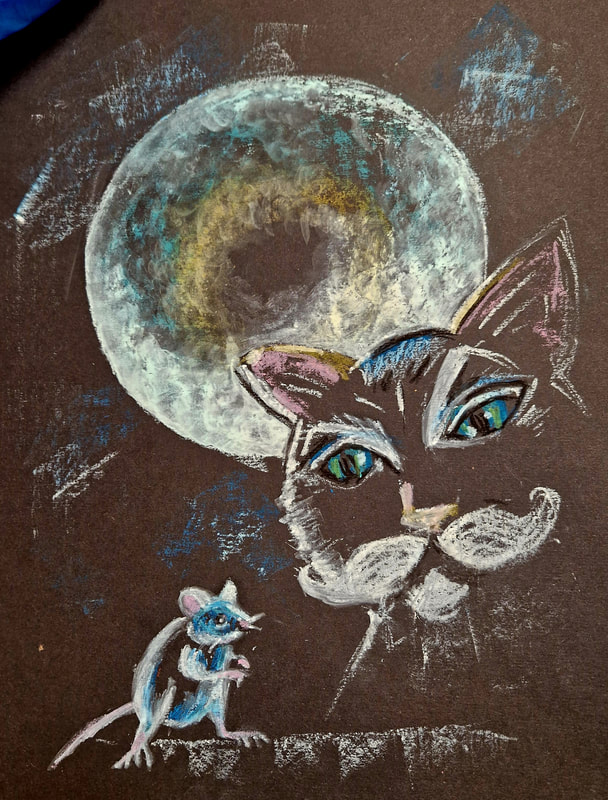
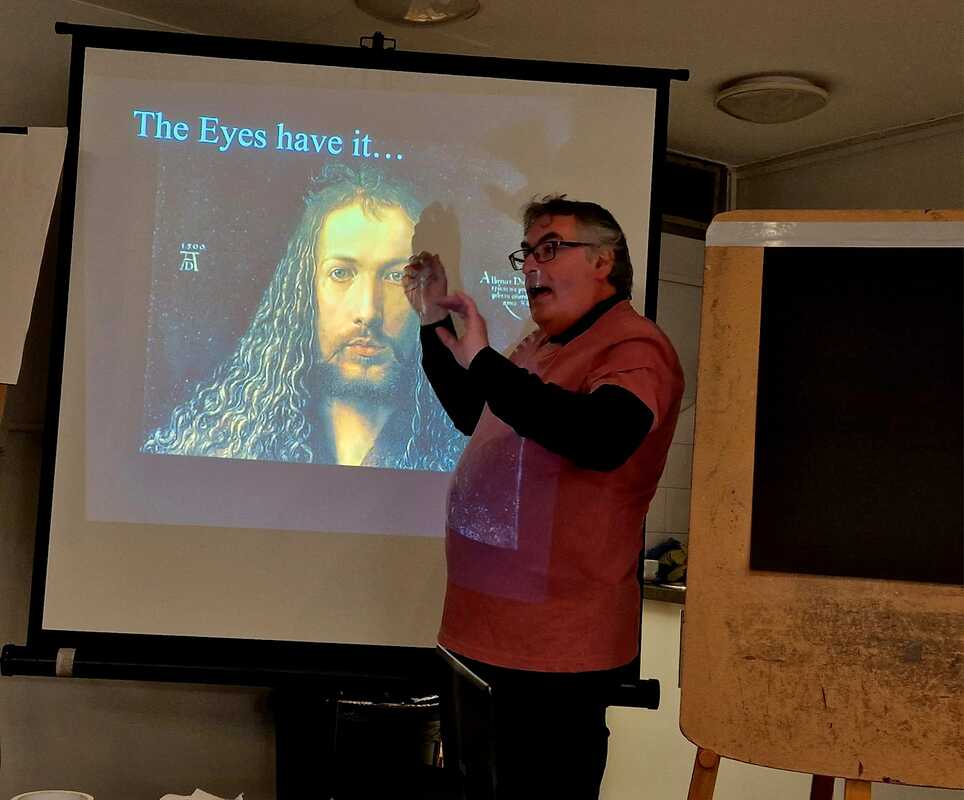
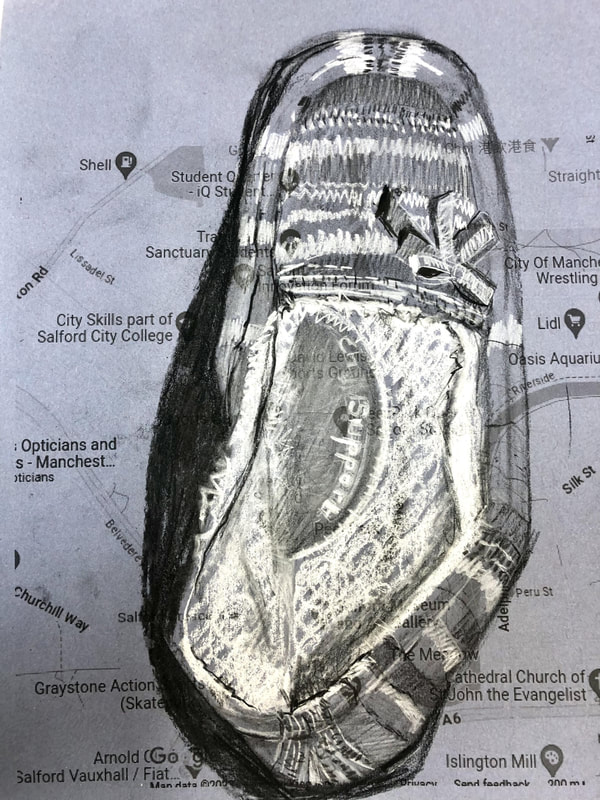
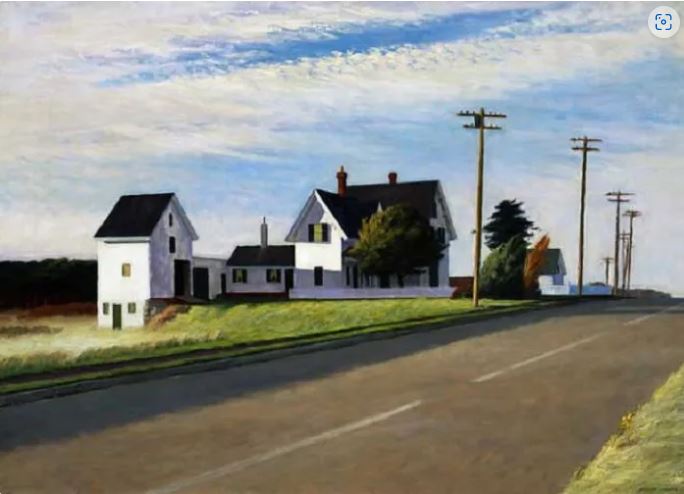
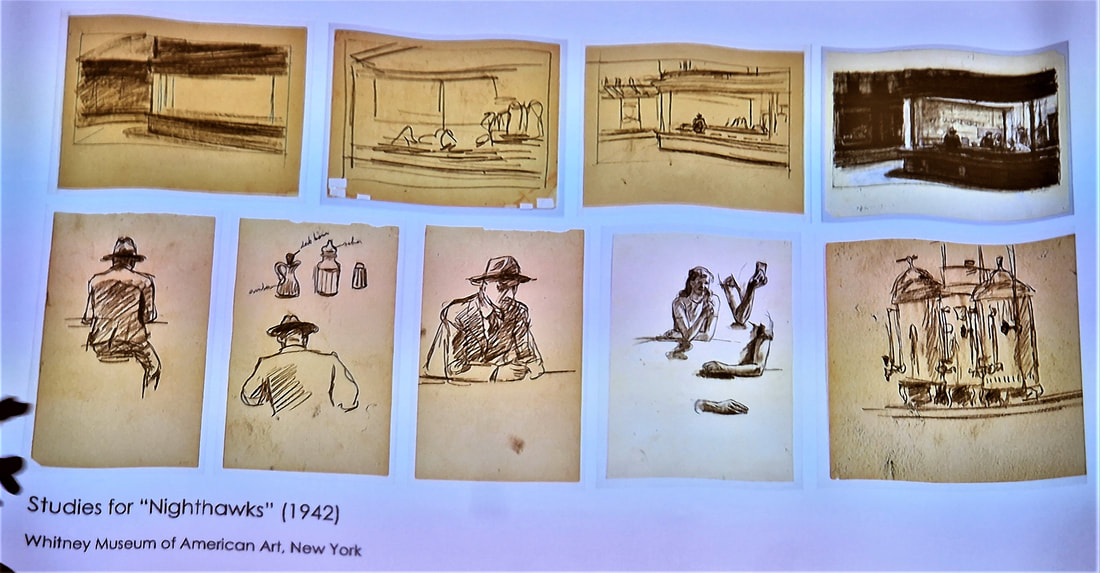
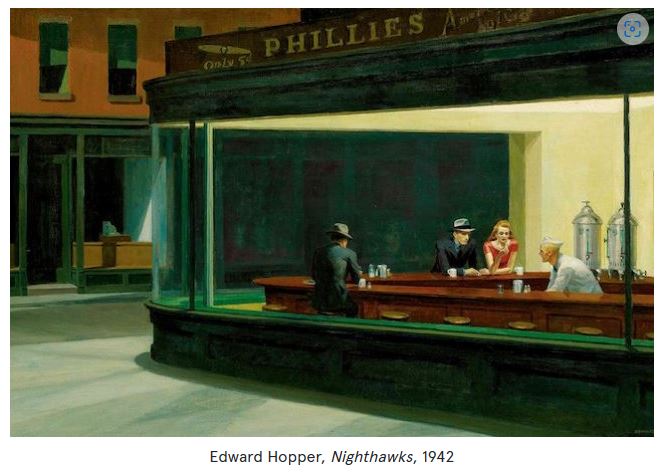
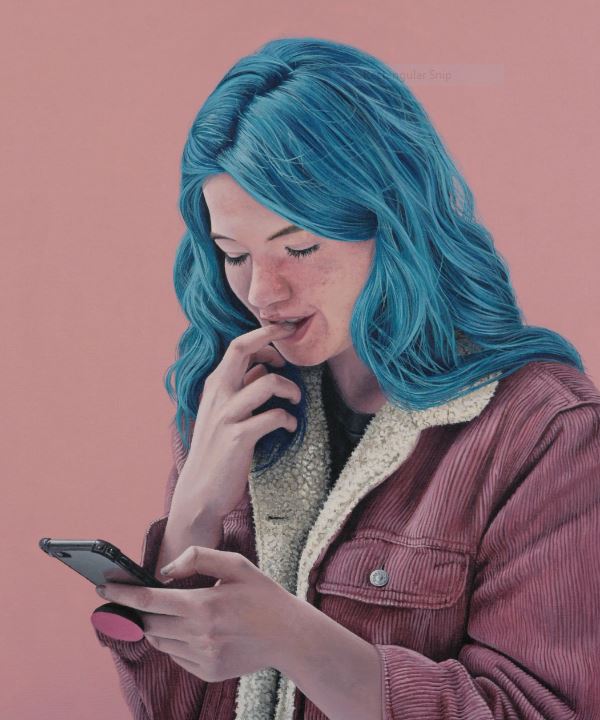
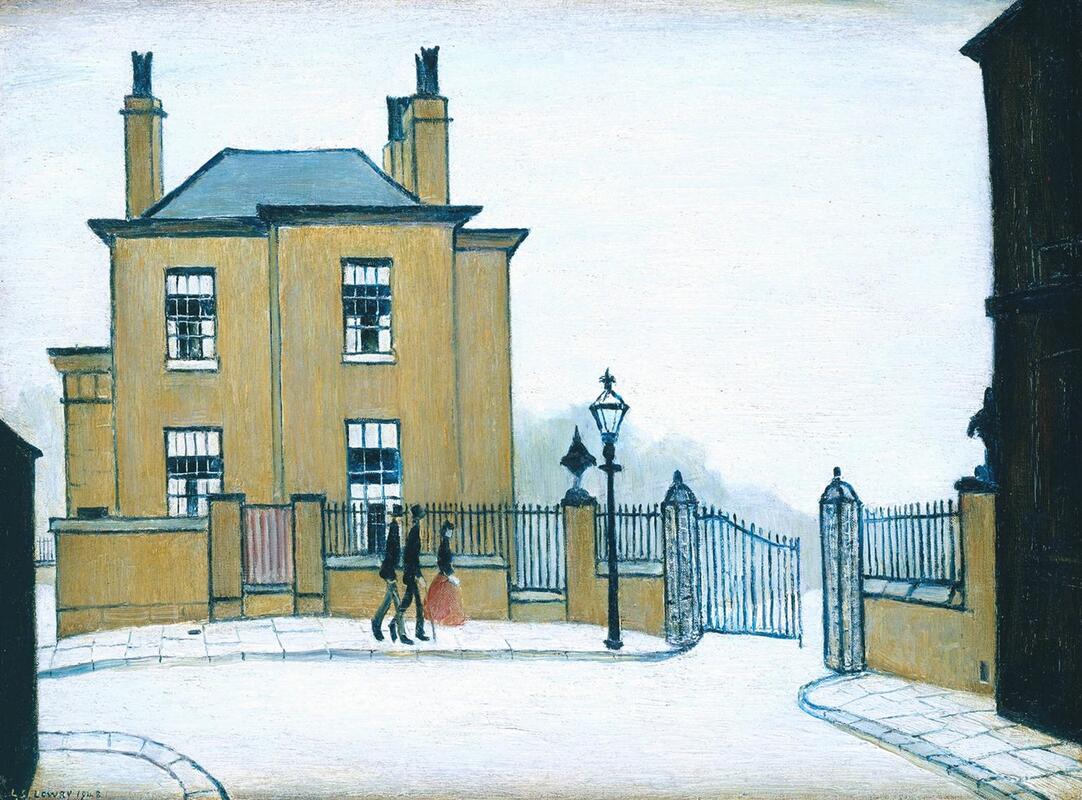
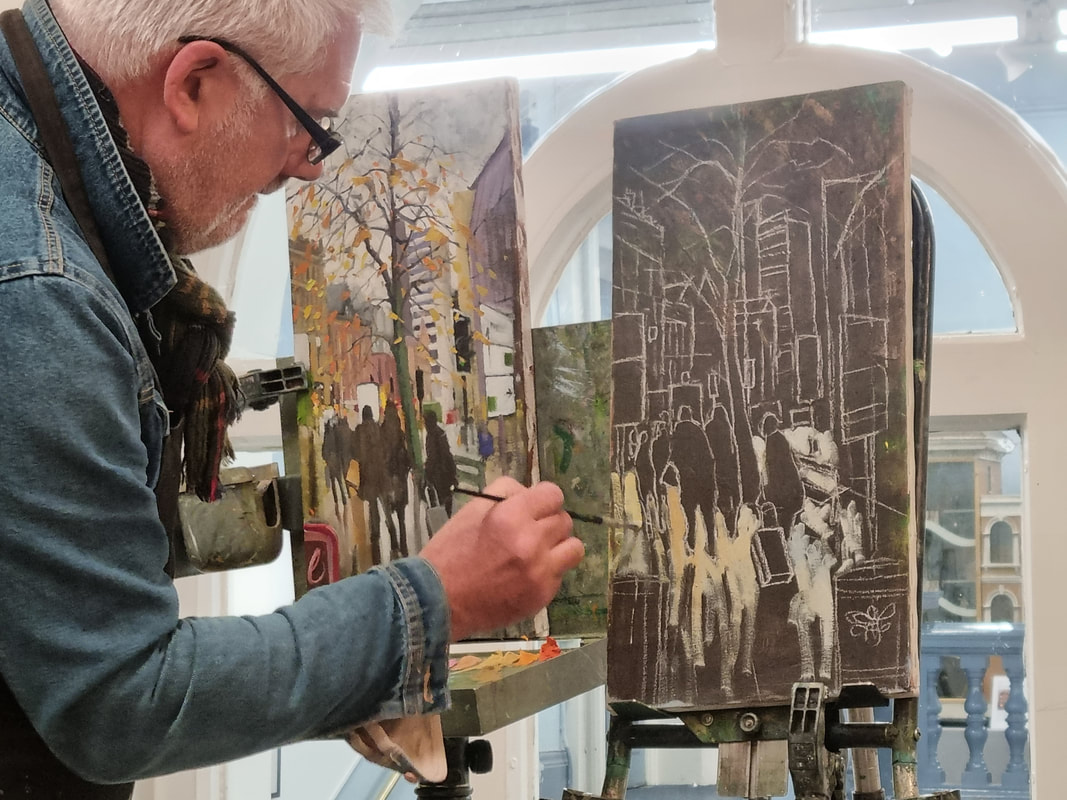
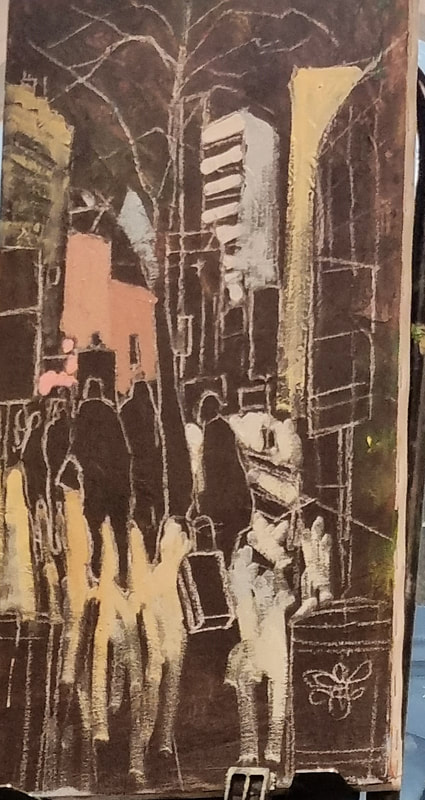
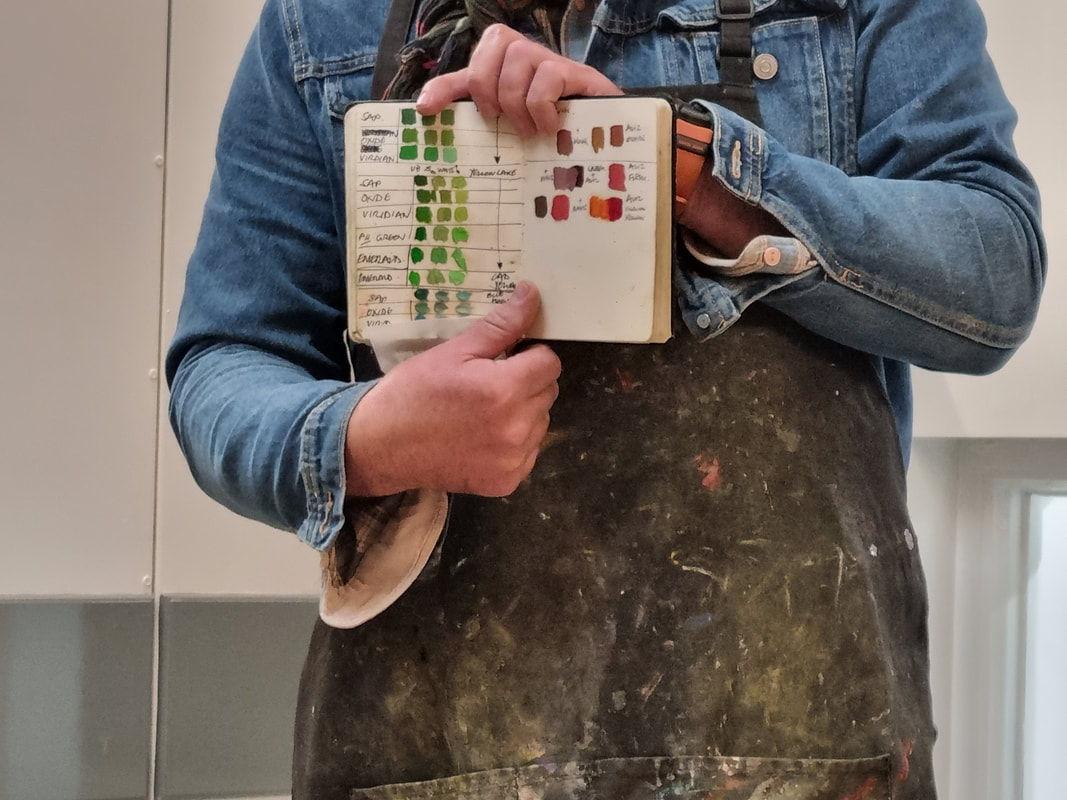
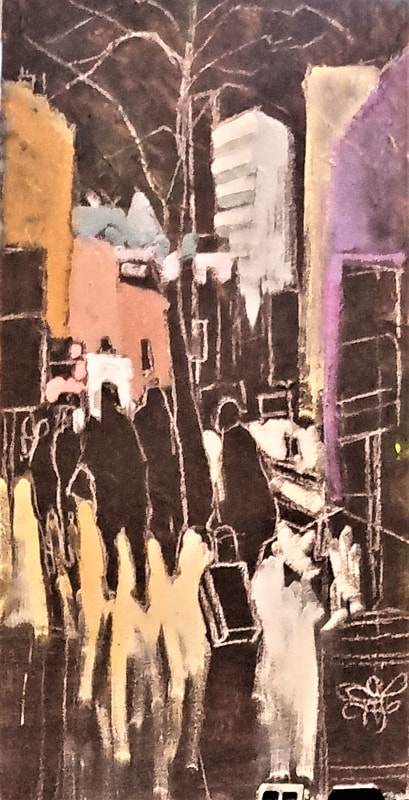
#salfordartclub #salfordmuseumandartgallery #salfordartists Always looking for new ideas for a session David Norris suggested it would be interesting to let a few members talk about their artwork and inspiration. Susan LeechMany of Susan's ideas relate to France and its culture. First, she showed her one-inch paintings completed during lockdown, featuring items from her house in Lymm. Having had a cottage in France she has collected many items which provide inspiration for her paintings. Next, she showed one of her concertina art pads and has started one based on French literature. She displayed and spoke about a painting based on a French museum and the artists she likes. She enjoys sticking collage on her work and then adds writing and paint on them. Another concertina pad was based on visits to Tenby. Chris BassonChris was born in Swinton and several of his first works were around where he lived and featured a church and other buildings that are all gone now. He had a good teacher who inspired him, and he encouraged him to do an arts scholarship. One of his tutors was Ernest Goodman who started Salford Art Club. Chris worked as a commercial artist and had to relearn the art of drawing for this job. He was then conscripted into the army, and met a good bunch of people, which led to a lot of travelling. He then showed sketches from his trips in the army. After leaving the army he struggled for a while before eventually meeting his good wife and when they got the chance, they sailed around the world. He continued sketching, always enjoying life as an adventure. For inspiration he likes capturing a moment in time. He then showed a portrait of Martin Luther King that he had painted. His recent work has strayed into surrealism and showed us a recent painting based on Manchester with a small cityscape and other themes on it. Derek Croft Derek talked about how, many years ago, his firm had a calendar made based on the Old Masters paintings. This interested him and he decided to ‘have- a- go’ at painting one of the images from this. Unfortunately, these early attempts were not to his liking and the painting was put away into storage, to be brought out on occasions to work on. He came across a book containing this particular artwork and after learning more about it, he had another attempt at reproducing it. This time he used acrylic, not oil paint. He felt that this was successful and so brought the finished piece to show us. Philip WestcottPhilip talked about his art education at Salford Grammar school and the excellent grounding this gave him. Moving on to College in Leeds to study Art and Design he found that the art projects set were based on skills already learnt and was disappointed that these sessions did not develop his knowledge and technique. He then showed his first figurative painting based on local people. One artist he liked was Edward Hopper, an American artist. He explained that whereas Hopper’s main focus was on isolation in his work, Philip focused on the interaction between people. To do these paintings, he sketched the figures out in a yellow watercolour pencil and then tidied them up with a brown pencil. Finally, the outlines were drawn in waterproof ink. Before stretching, the paper was soaked, and the pencil washed away leaving the ink drawing to be painted in acrylic. His other painting was one of his landscapes painted in oils with a palette knife during one long session. Watercolour studies as well as photographs are used for references. These scenes tend to focus on an isolated area rather than a large vista. Tim WardTim was born in Salford and when looking at his work as whole, he realized that his themes throughout often focused on reflections, water and cats! When starting out he bought pastels and started to paint images of animals. He also used watercolours, but often returned to pastels. Tim then showed us a watercolour painting of Venice he had completed. Looking for a way to learn more about art, he joined Salford Art Club and was inspired by the other members and the materials they were using. Other paintings shown included a pastel of Broughton Park, a favourite place of his to visit, as well as a watercolour of Lake Garda and one of the Lake District. He is very much into pastels as they have a very tactile feel to them. At one stage he decided to re- learn how to paint in oils and began by painted waves. His recent painting was of a tiger looking at a monkey, which included his theme of reflections. His final piece, on show, was a return to pastels but this time using pan pastels with a painting of a lighthouse. Robert WatsonRobert always had an interest in art and achieved an O' Level in it. He showed a talent for pencil portraits and continues to do these from high quality photo books, improving his skill over the years. He worked for Wigan council and was often asked to do sketches by other members of the staff featuring their children or animals. As life progressed, there was less time to pursue his interest in art, and it wasn’t until he retired that he started to draw again. Joining Anthony Barrow’s class, he was introduced to colour, but was still working from photographs. Needing more inspiration, he joined Salford Art Club where he could draw from life, as he believed he could capture more of the soul of the sitter. His artwork has moved on and he feels that his work has improved. He finished by stating that he enjoys working from life now! An enjoyable session that will hopefully encourage other members to participate in a future session. Thank you to David for organizing this.
0 Comments
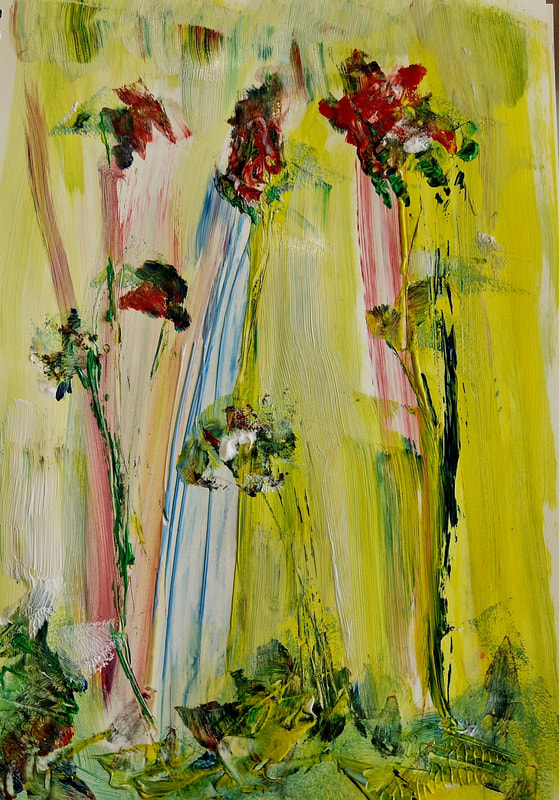
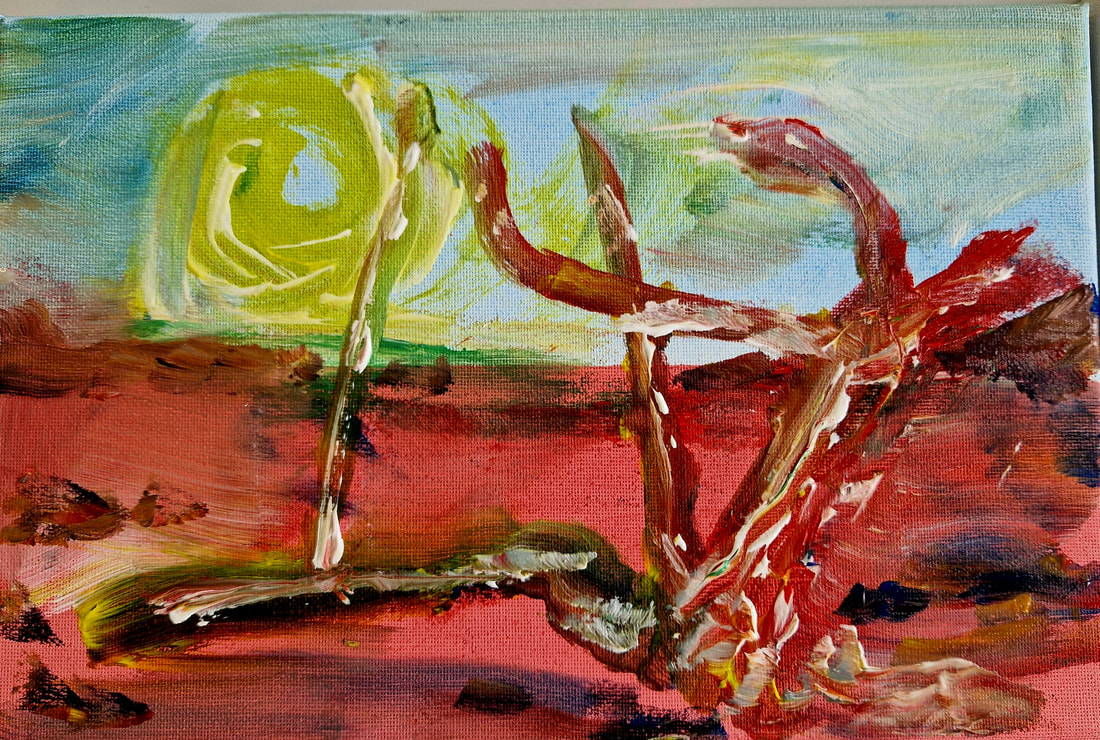
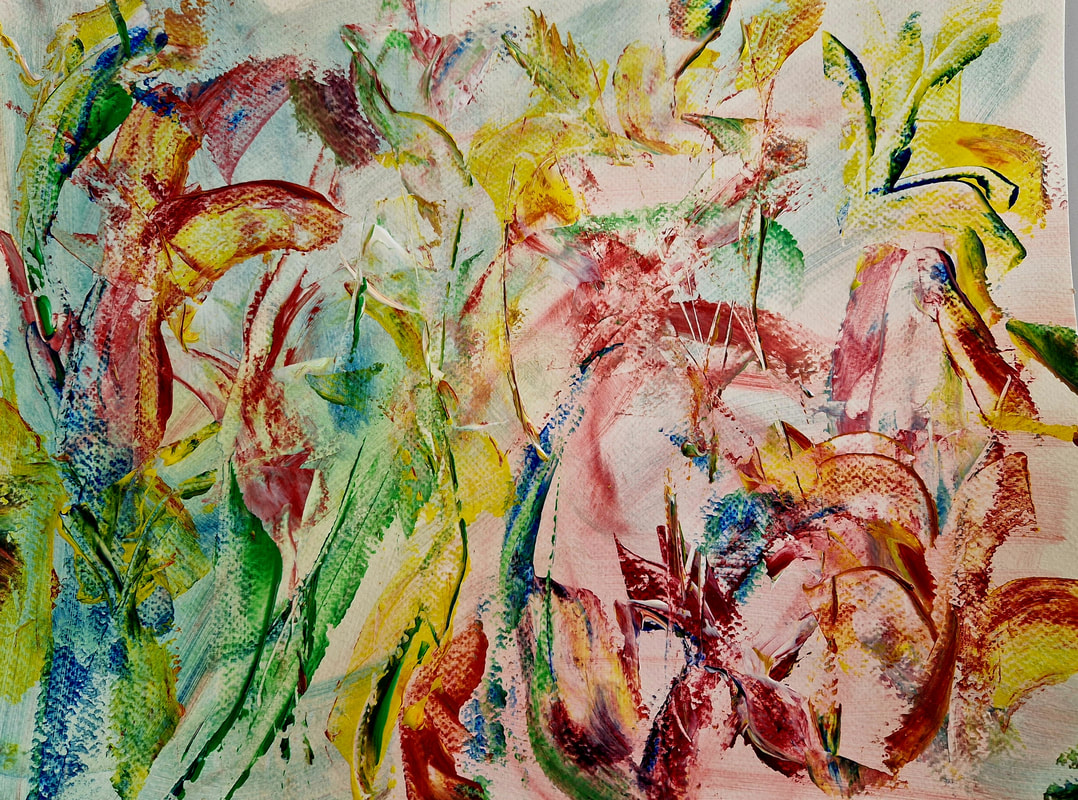
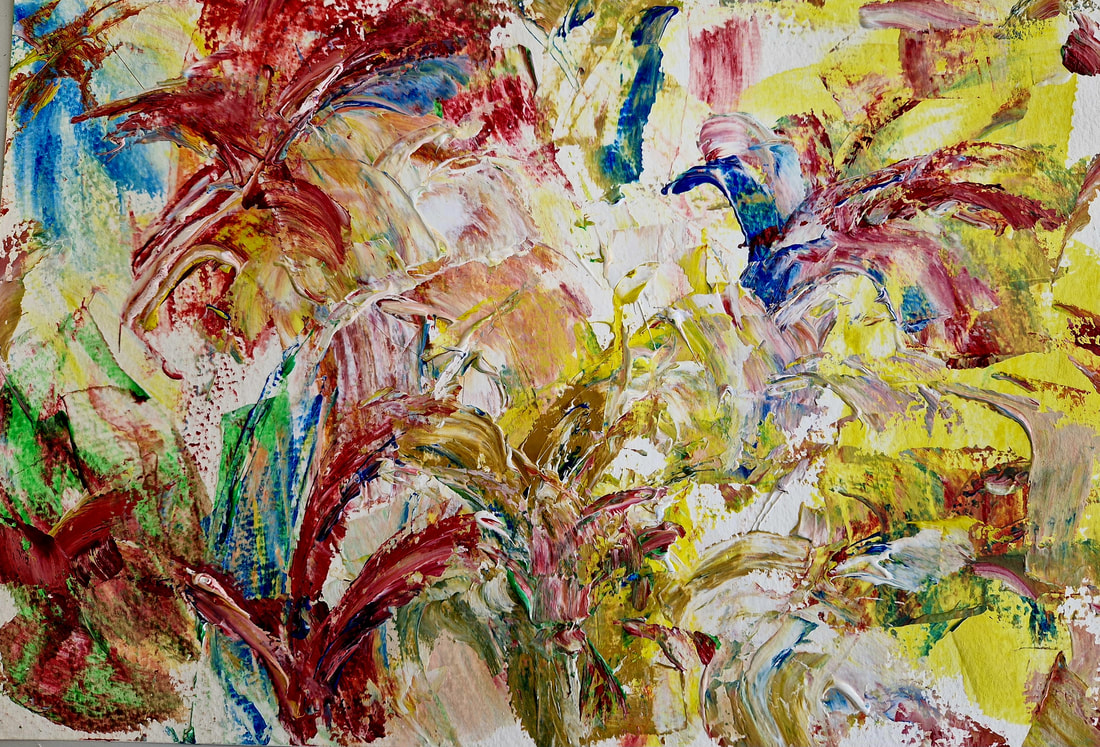
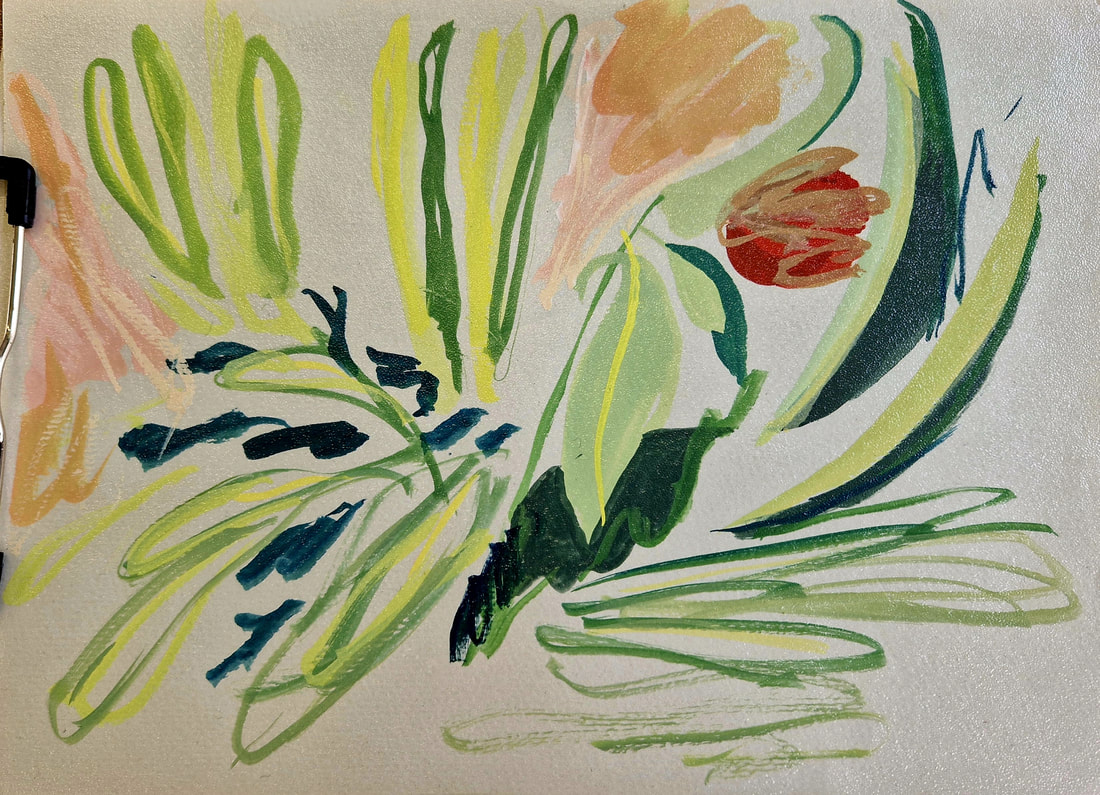
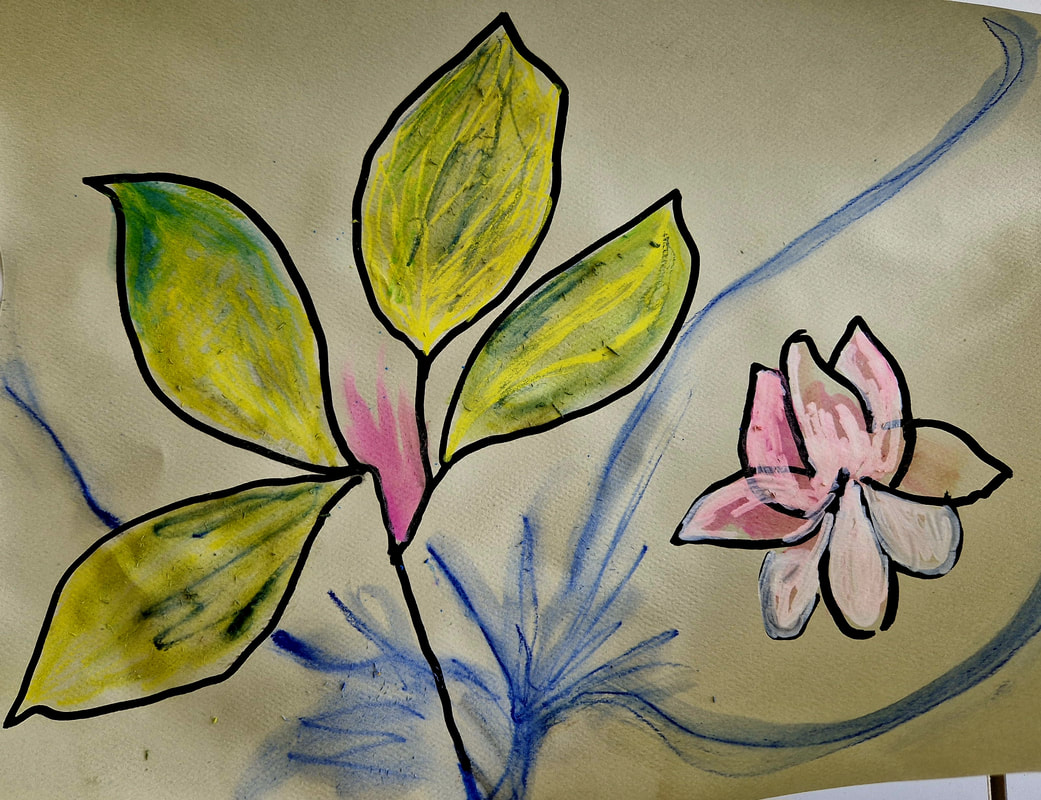
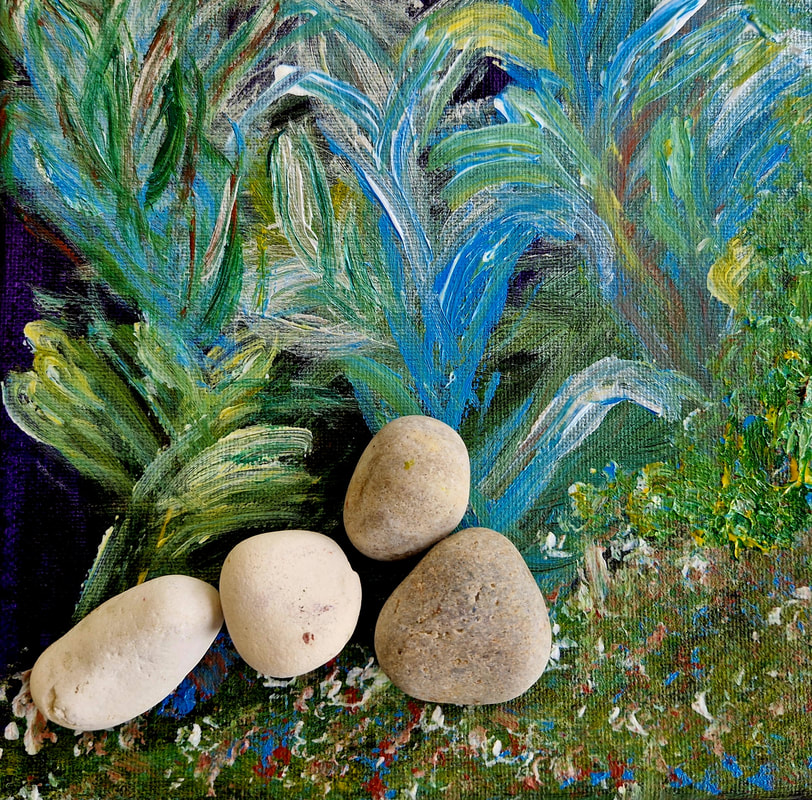
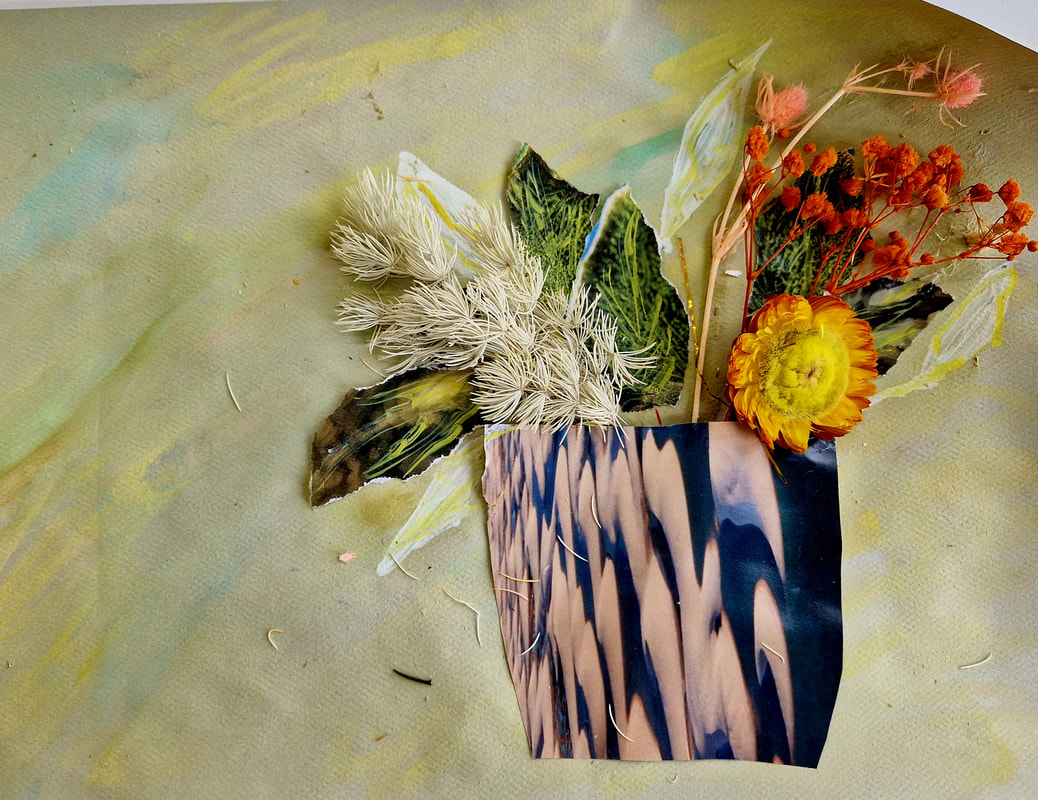
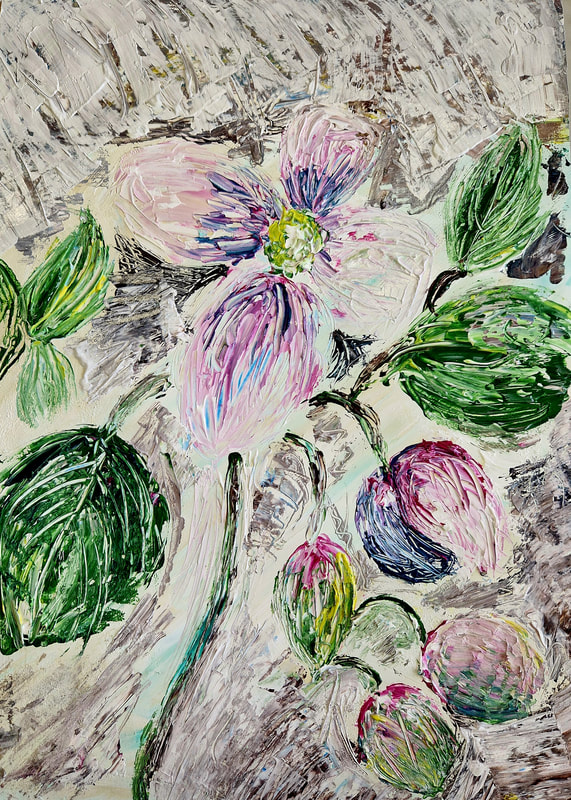
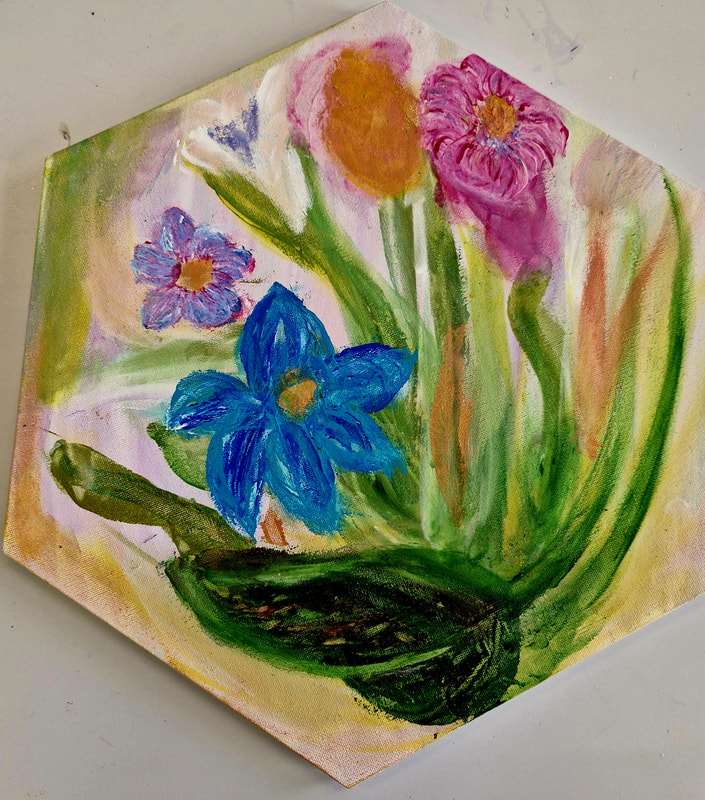
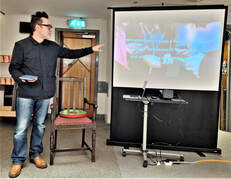
#salfordartclub #mikerobinson #salfordmuseumandartgalleryMike introduced himself and explained how he started being interested in the arts by doing cartoons whilst working in South Africa. The present style, he would be explaining today, he had developed over the last ten years. With this work he mainly works in black ink, although colour is sometimes added. He started with this technique whilst on a sixth month break from work, using stencils and a French curve to get his outlines which he slowly fills in with intricate patterns. He often carries his small pieces taped to place mats around with him to work on when he gets a spare moment. At this stage, he handed out a booklet he has started to put together which showed more examples of his work as well as small templates for our members to use if they wished. Telling us he works from the top left corner, 'tumbling' his drawing downwards to the bottom right corner so as not to smudge his ink, (Hence the name for his work) He has finished ten books of his work and is now working on his eleventh. Below are some pages from the help sheets to give us ideas as we started to do our own work. Members work from the daySusan introduced herself to the group and gave a brief talk about herself and her artwork. She enjoys painting flowers and started by reading a poem from a book she is working on about her artwork. After showing a couple of her finished paintings she started work on her demonstration piece. This was on a canvas, on the theme Spring. It was on a recycled canvas and needed an undercoat of mainly white acrylic with a few added subtle colours. This background would become part of the final painting. Using a sponge she blended in this underpainting. Paint was then applied with a palette knife and again smoothened with a sponge in areas. Roots, grasses and stems were then added, starting at the bottom of the canvas. She continued to work all over the areas, mixing the colours on the canvas, achieving a sense of movement. As she progressed paint was applied and areas removed as necessary. This would continue until the work needed to be left a few days before it would be retuned to for extra work to be done where necessary. At this stage several members of the group started work on their own interpretations of the floral theme and we are hoping to continue with this theme next week. Members interpretations of the floral theme.Susan demonstrated an interesting way of working and I’m sure members learnt a lot from this and will be able to use these techniques on their own work in future.
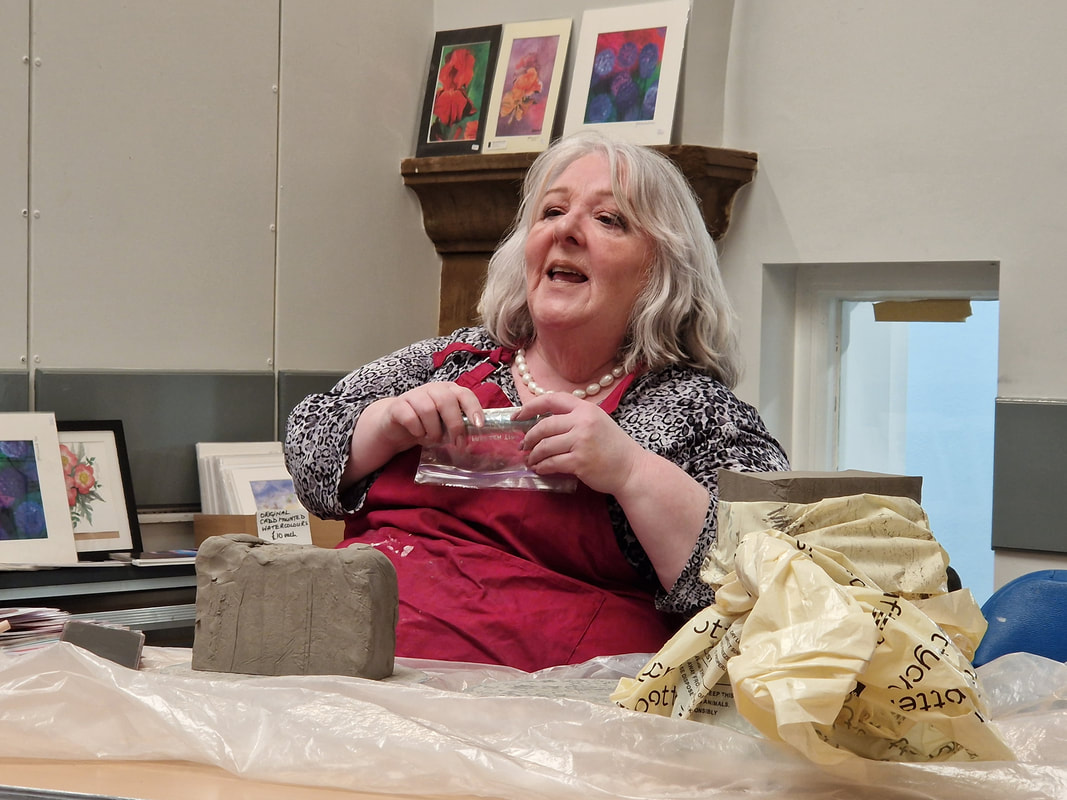
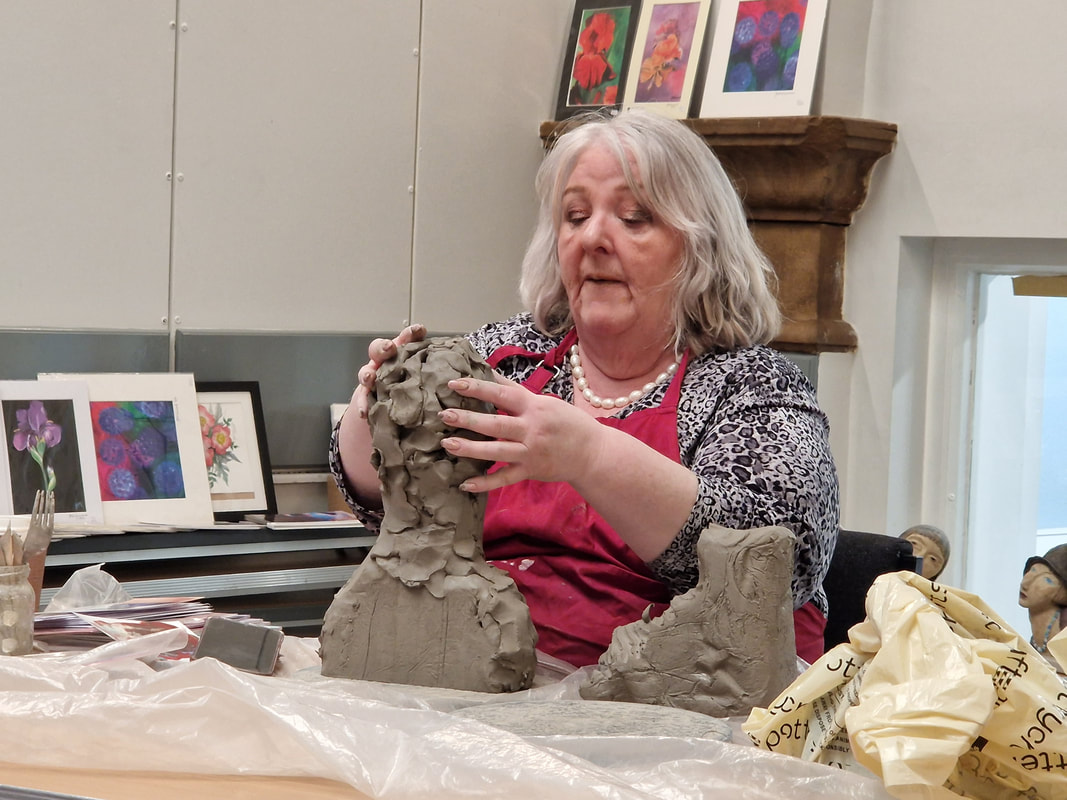
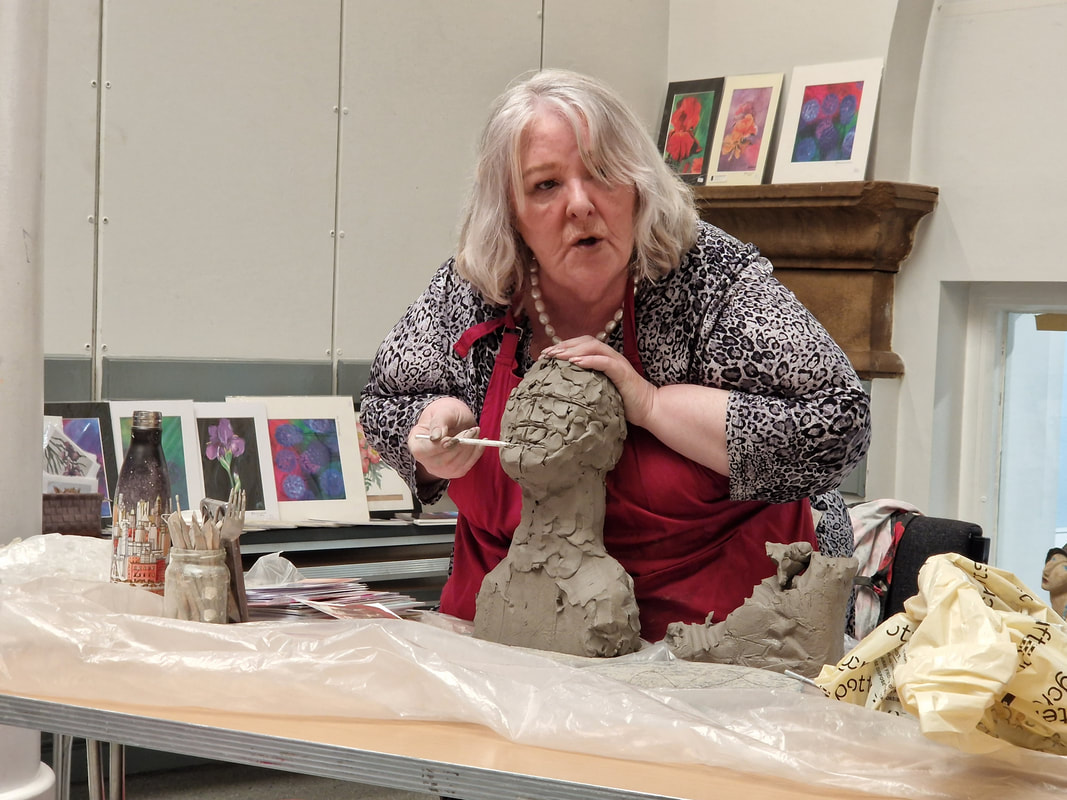
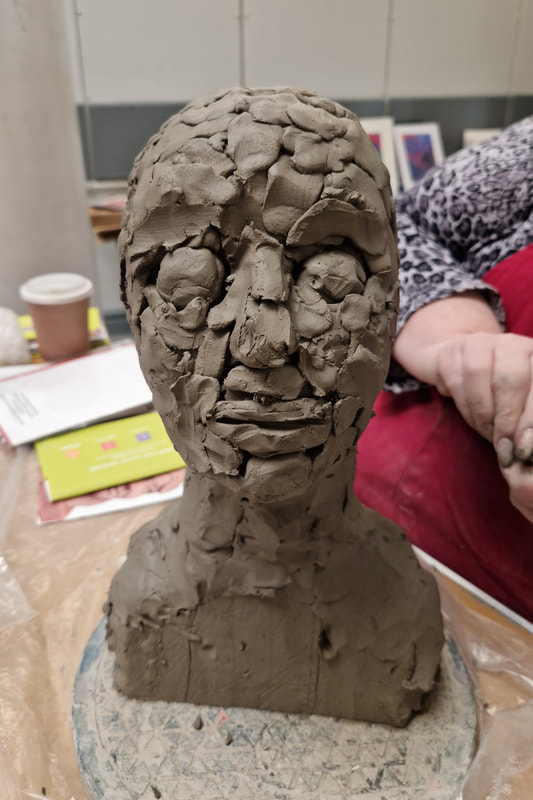
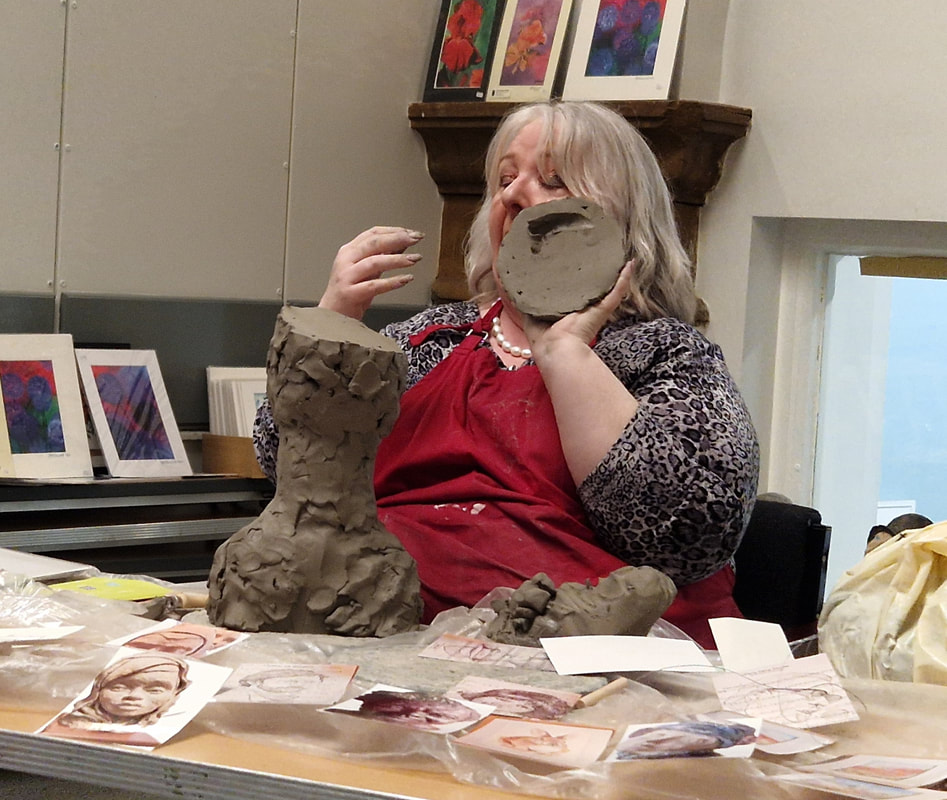
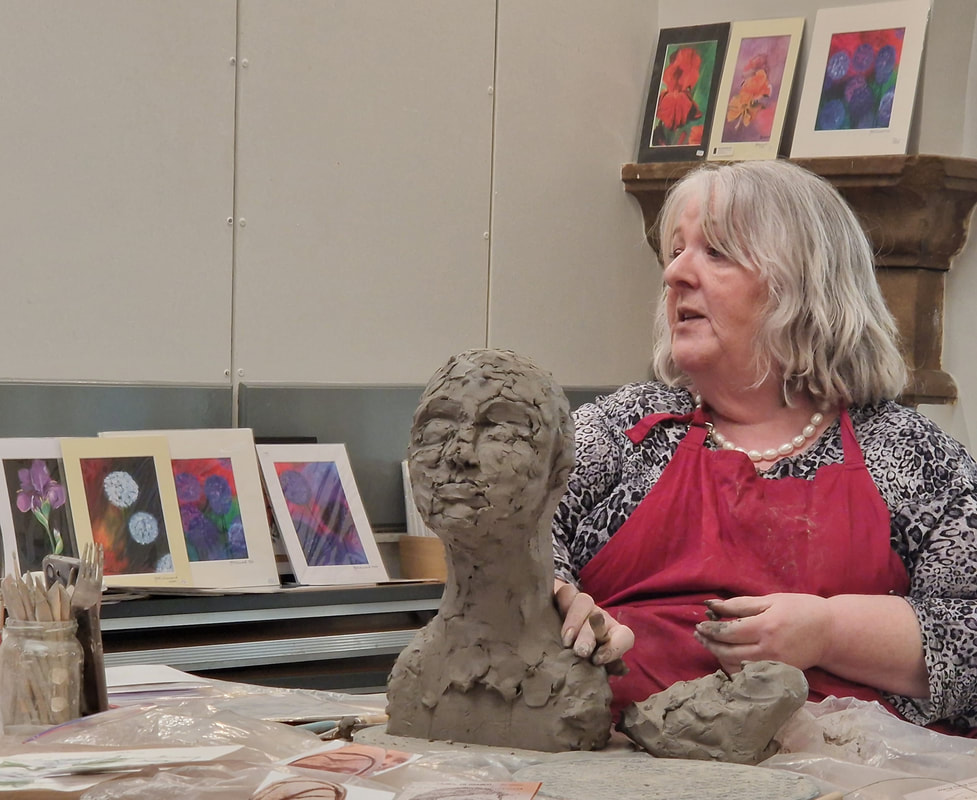
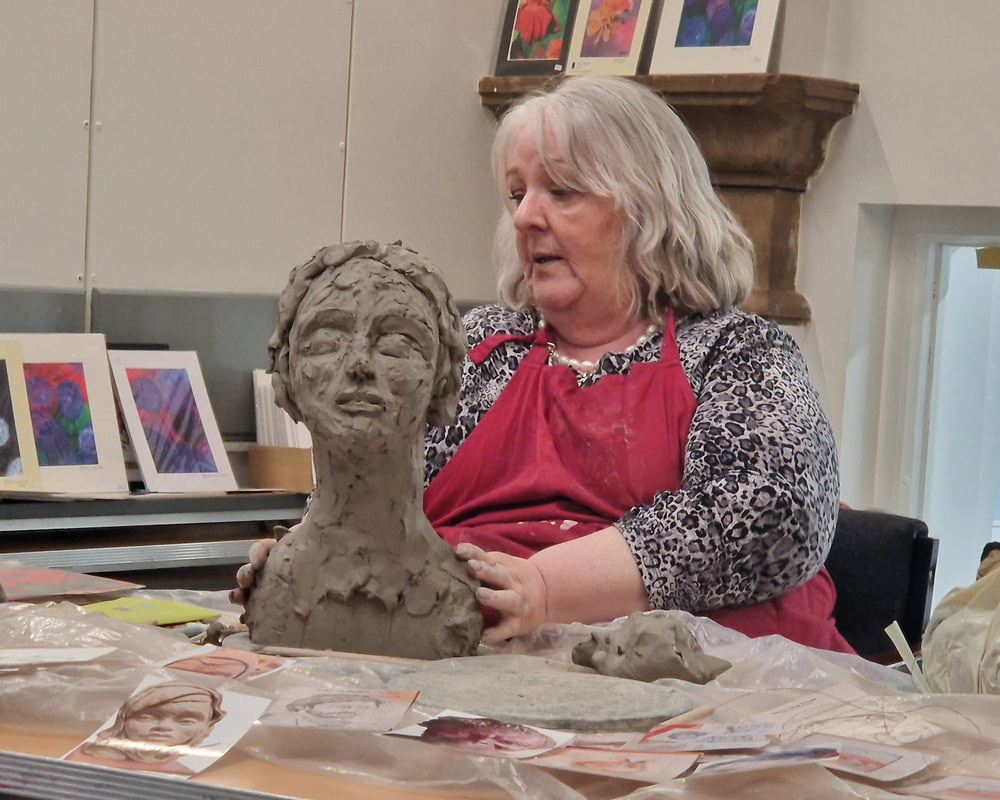
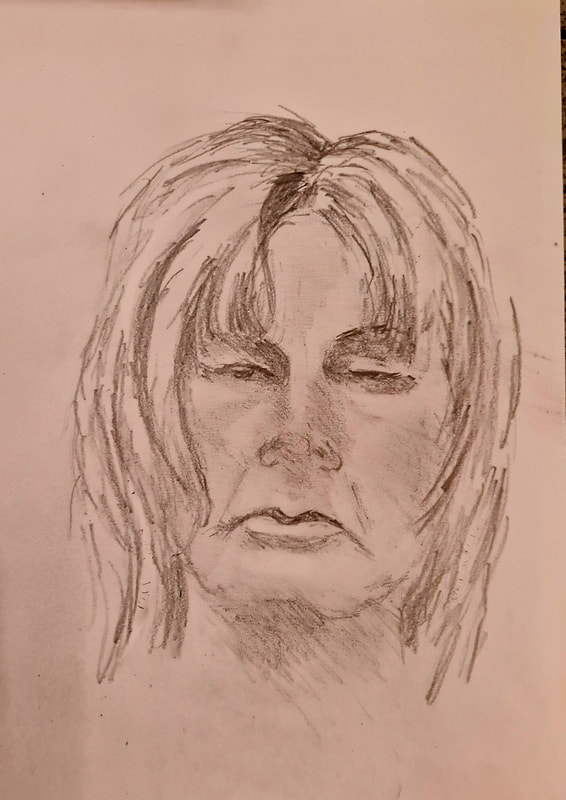
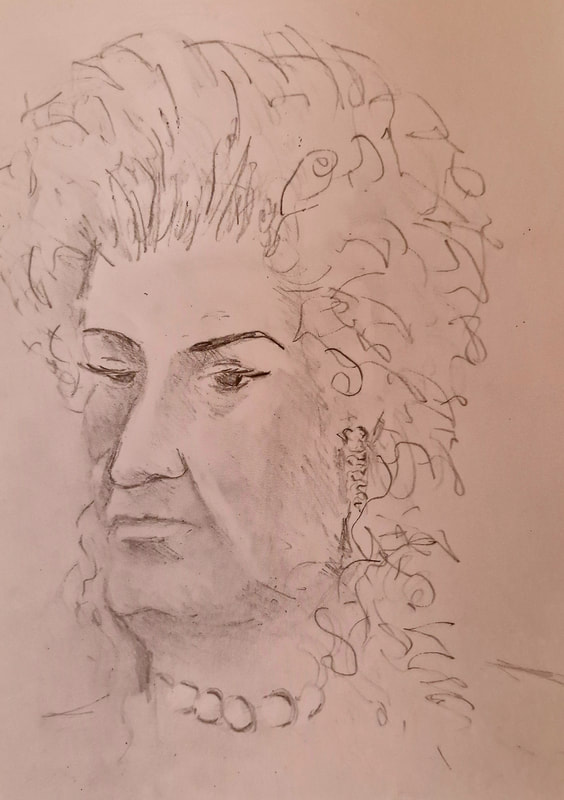
Jane works in clay but also uses watercolours and other materials to enhance her work. In this instance the demonstration was using clay from a block. She started her career working part time, creating smaller shapes before deciding to move on to be full time artist. A highlight was appearing on television in 'Home is Where the Art is' and when she won the commission, her career really took off and since then she hasn't looked back. Today, she slowly built up a head shape adding to it where needed, working in a tried and tested way that suits her subject matter. She often works on a range of sculptures at the same time in various stages of finishing. When working on the sculpture she says, "You must remember to turn it 360 degrees making sure that you work on all the way round and not just on the front for it to be successful." Having started with the basic shape of a woman's head, she drew a line half way across vertically and adds horizontal lines where the features, such as the eyes and nose, would be. When working on commissions she stressed that it was important for her to talk to clients to make sure she knows exactly what they want. Next, she carried on adding shapes to the head and slowly the features started to appear, She stated that knowing the anatomy of the face is important to her work. She continued by making two small balls the same size to add as eyes, before starting to add muscles to the face. Working in her studio it would take several hours to do one of these heads, but for this demonstration she can work a lot quicker. She continued by adding more features and muscles continually visualizing it in 3D. When working she doesn't use tools until the basic shape is formed by hand. When working with beginners the mistakes they often make are to start adding features too soon or in random areas which can create problems. One way to get around this is to squint and you then see just the basic shapes. When asked about adding ears she does this to show how it is done, although in many cases a hat or hair mean these can't be seen in her work. At this stage she started to to smooth out some areas and continued to work on the features before adding hair. By this time it was starting to get near to the final image that she hoped for and demonstrated how she would achieve hollowing out the final sculpture (Hollowing out is done from horizontal cuts) Even though in reality this would be done at a later stage when it would be dryer and the shape would not collapse. She then joined this section, back together to finish working on it for this session, and then revealed that the idea for the face came from a Modigliani portrait. Jane doesn't use glazes which is very technical skill as she wasn't taught this way. This is just her particular way of working with final colours added using acrylic paint. An impressive demonstration and it's not often that someone can work in front of a group and pass on so much useful information about a working process and how their style has developed.
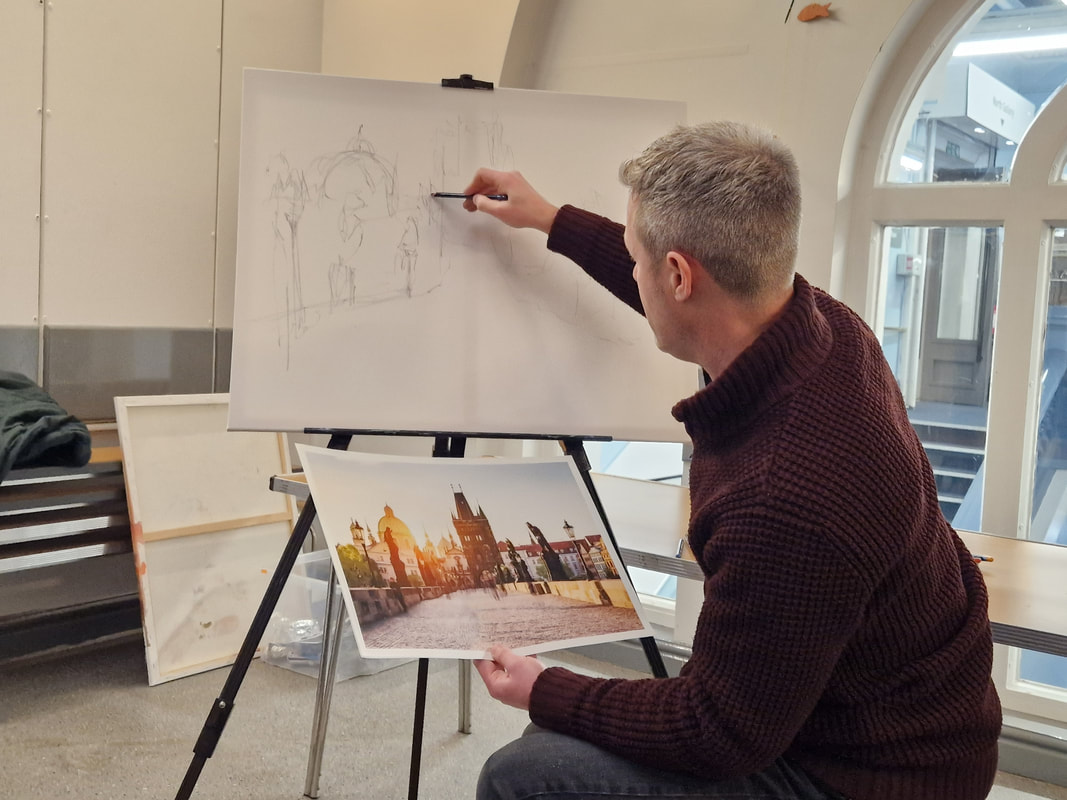
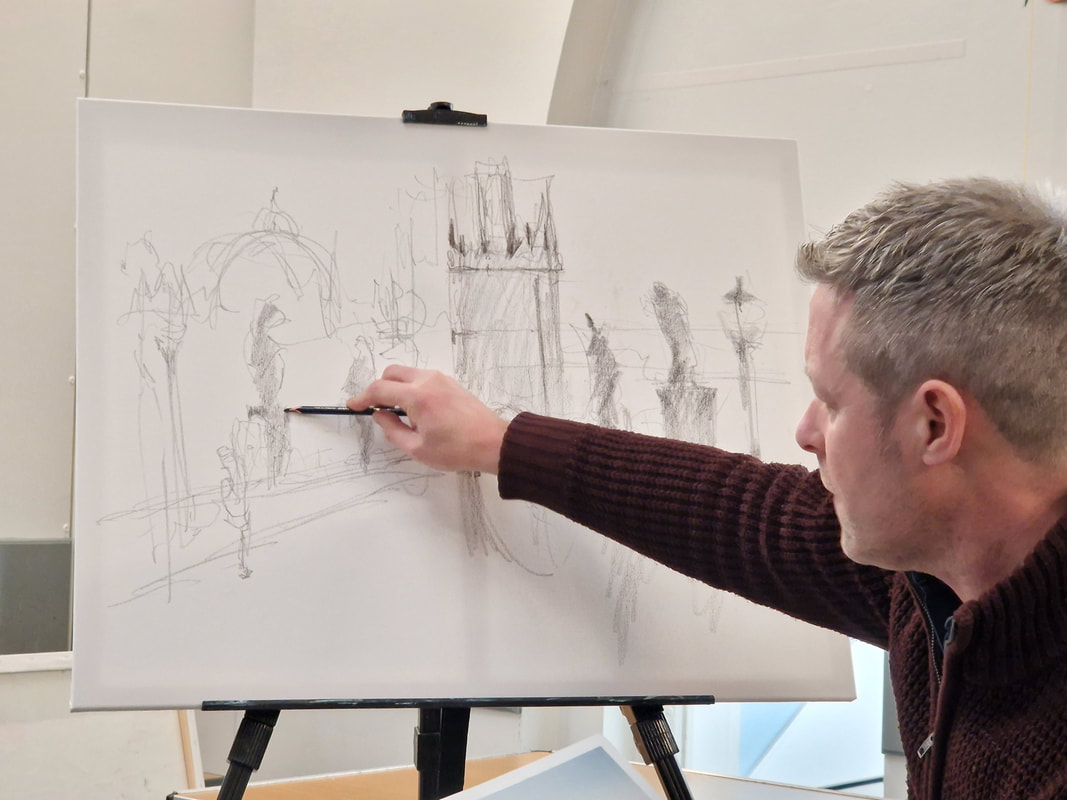
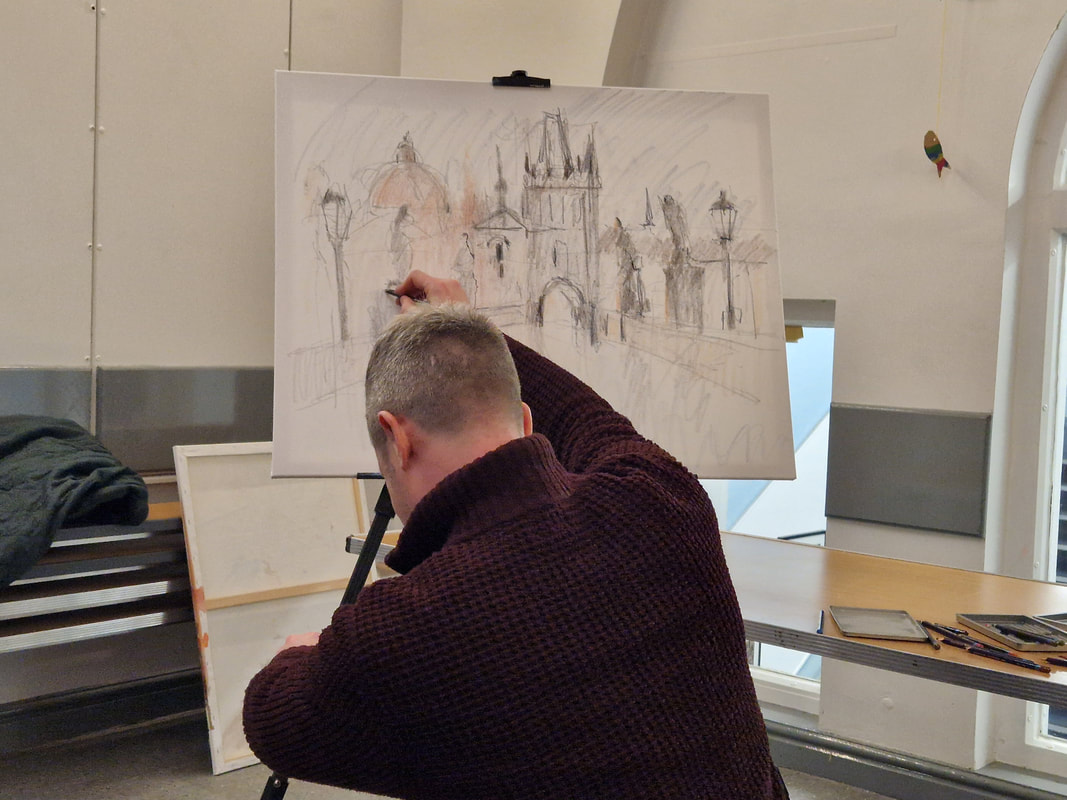
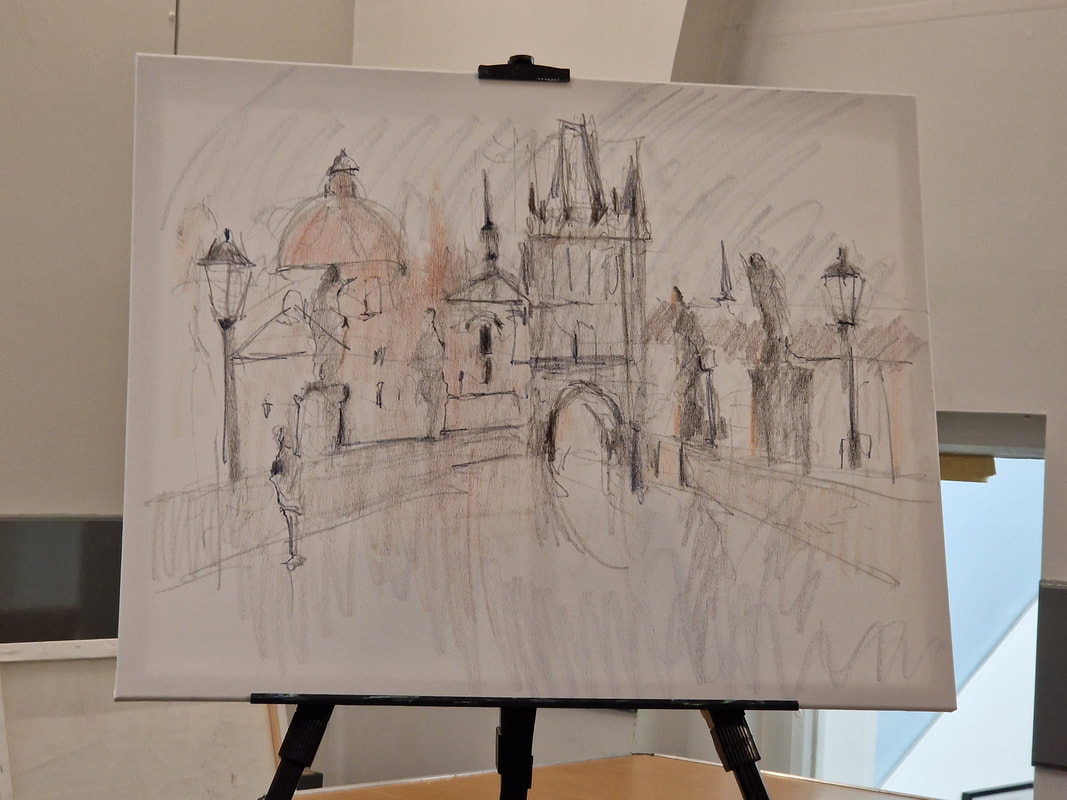
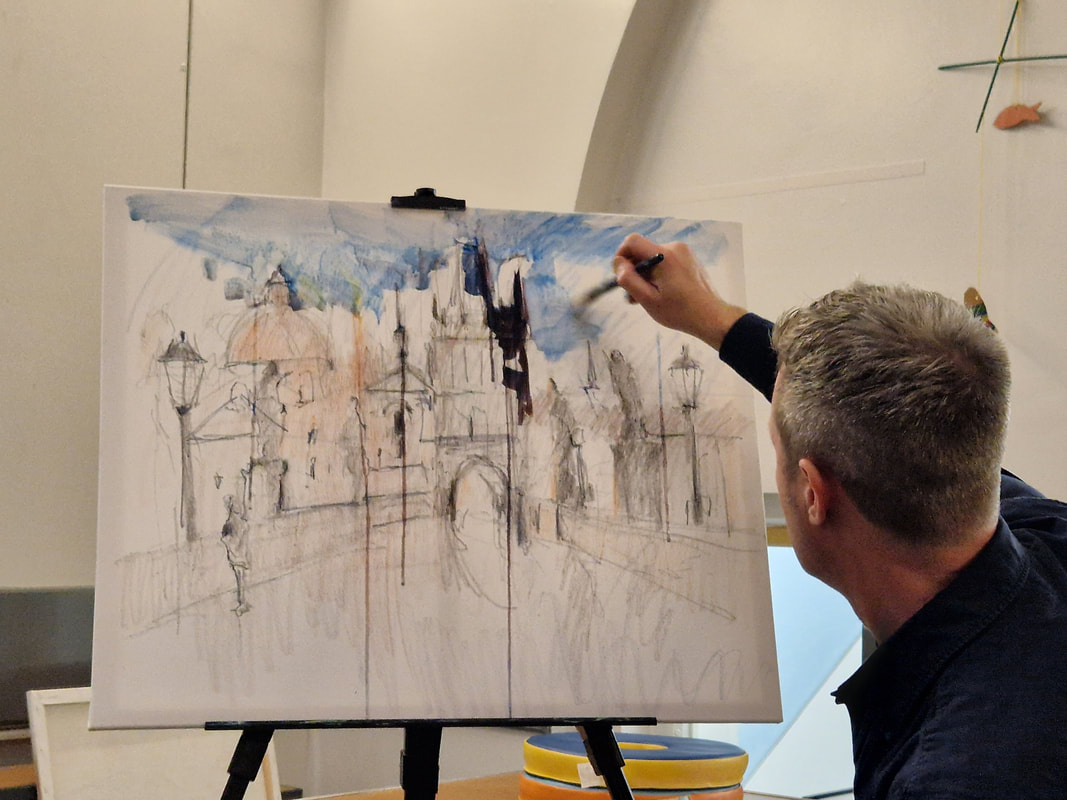
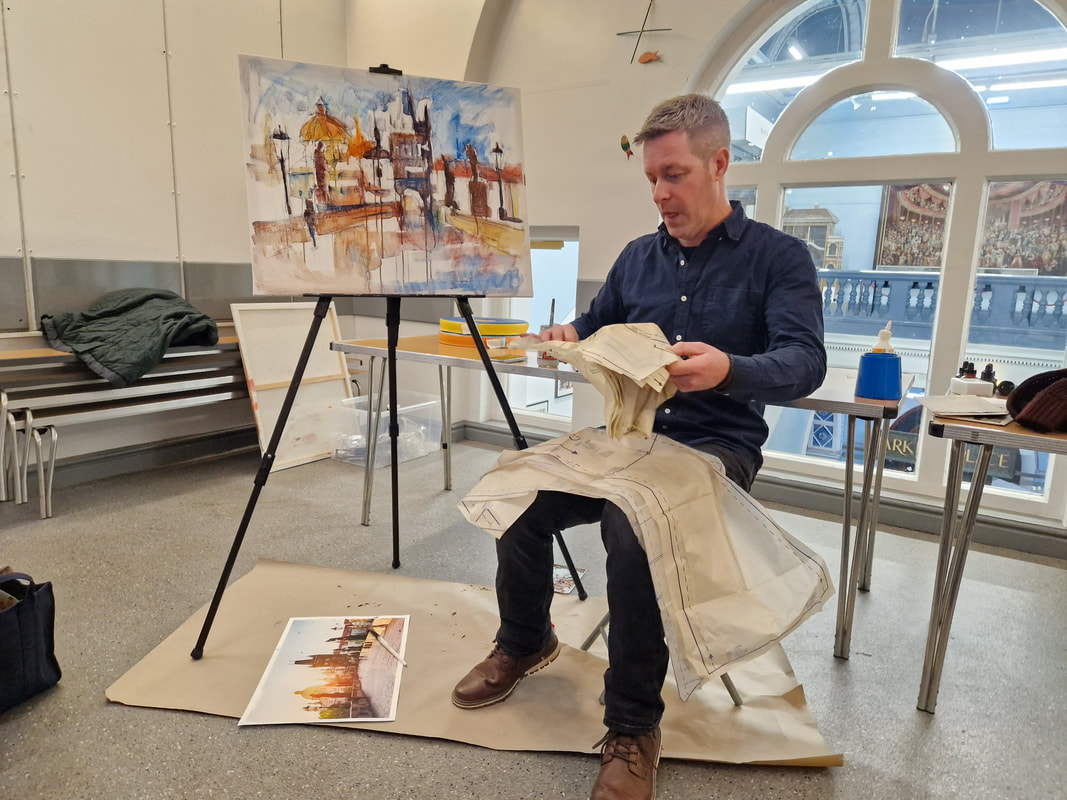
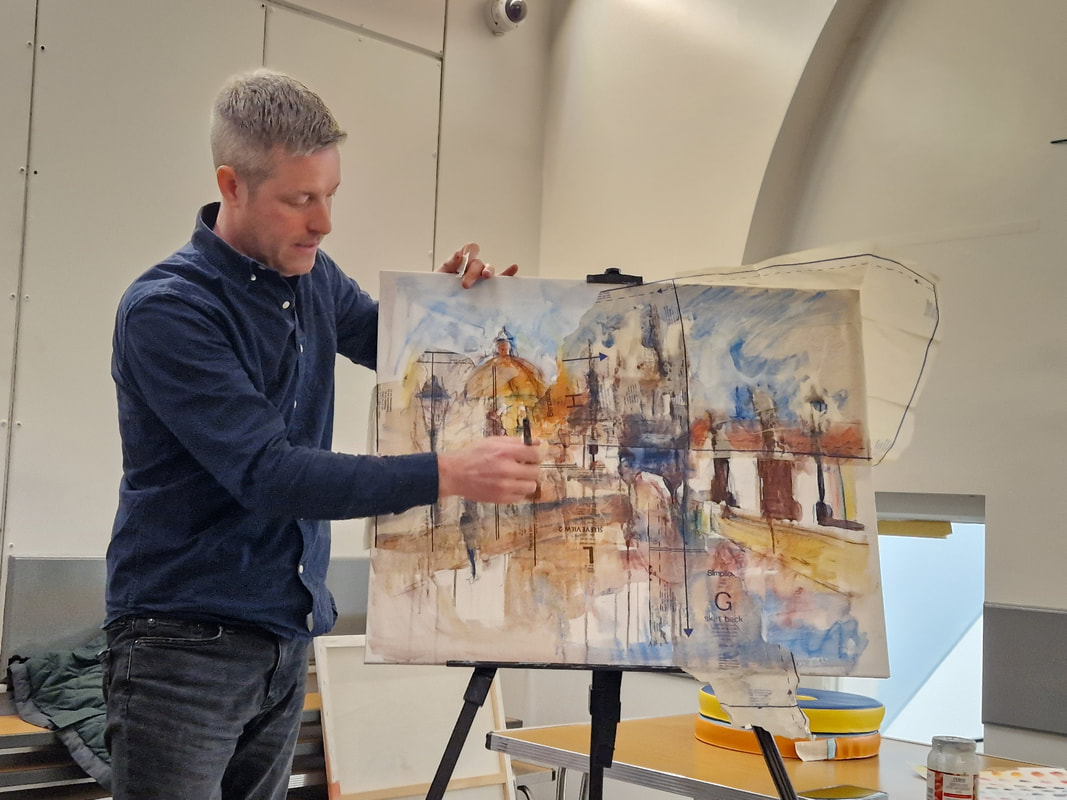
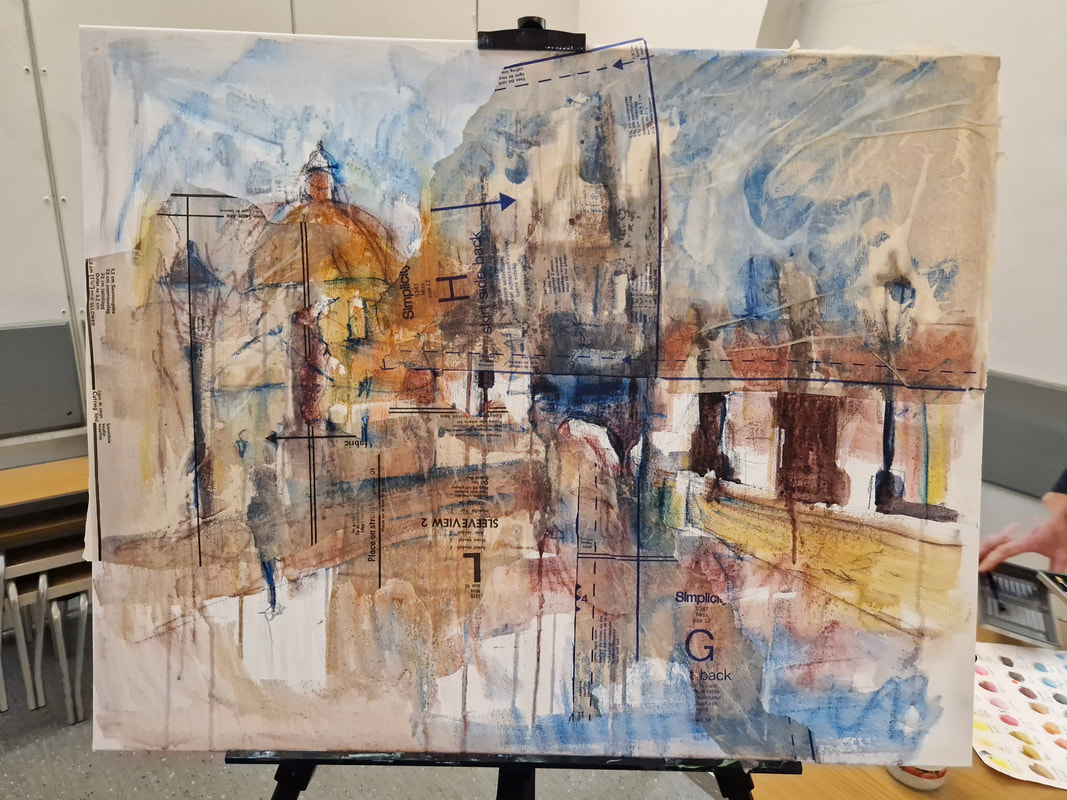
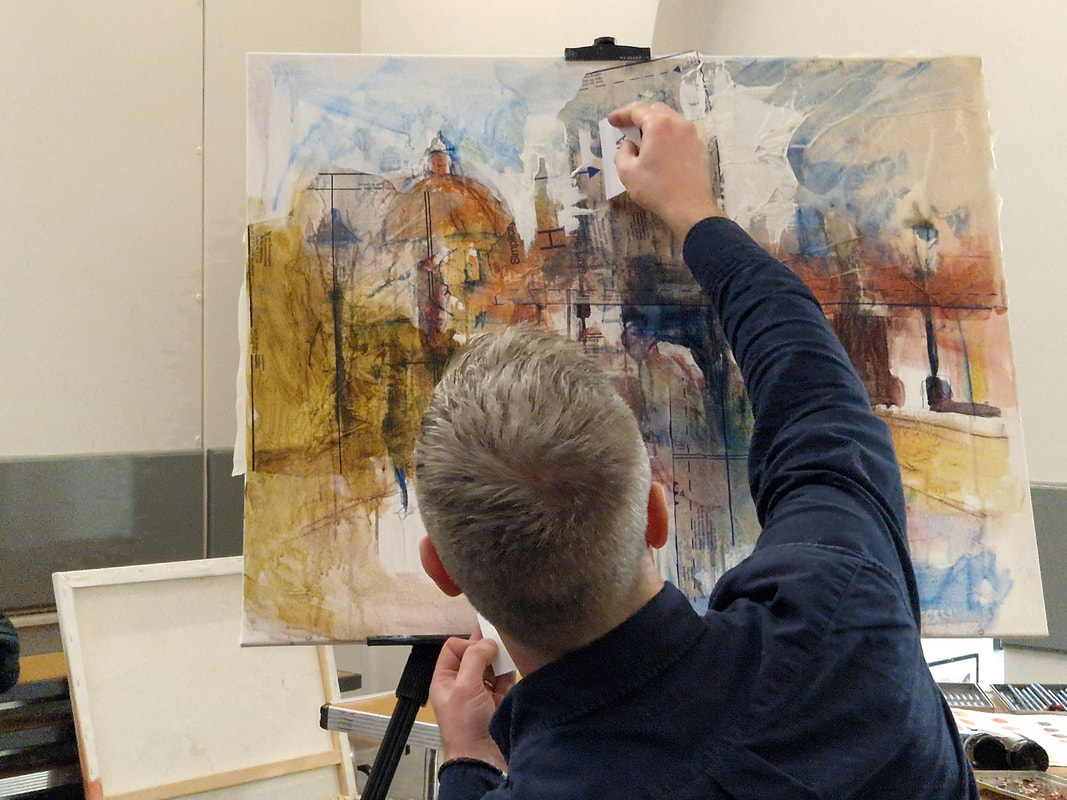
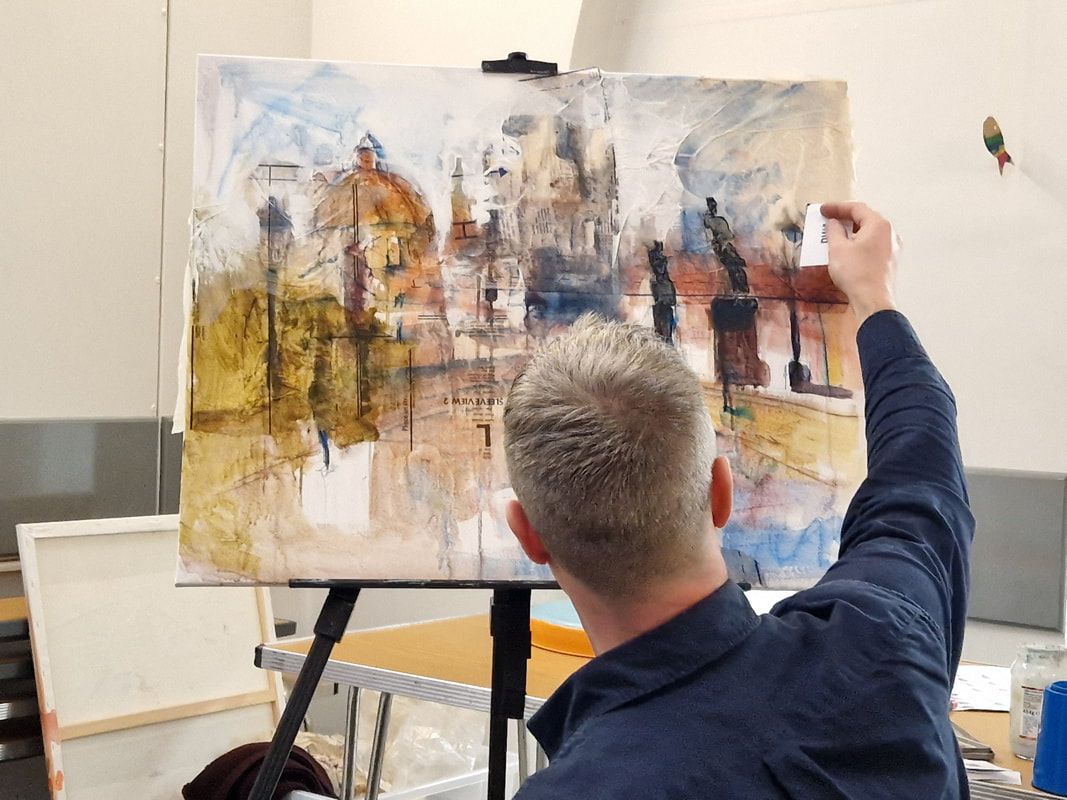
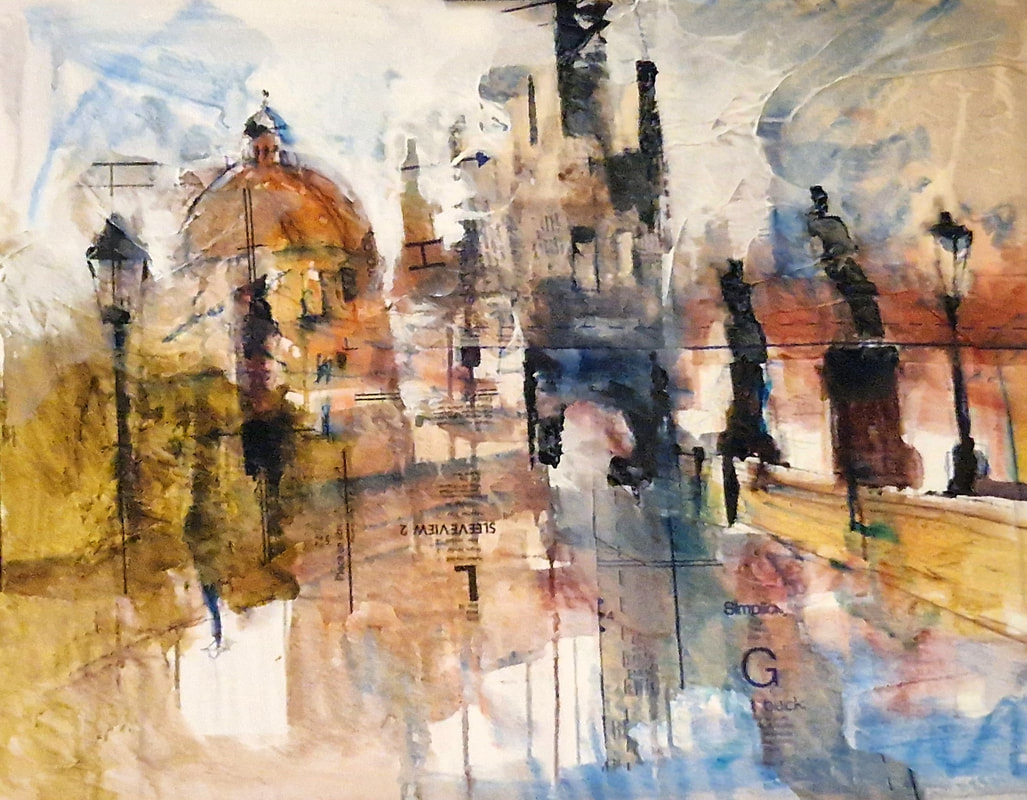
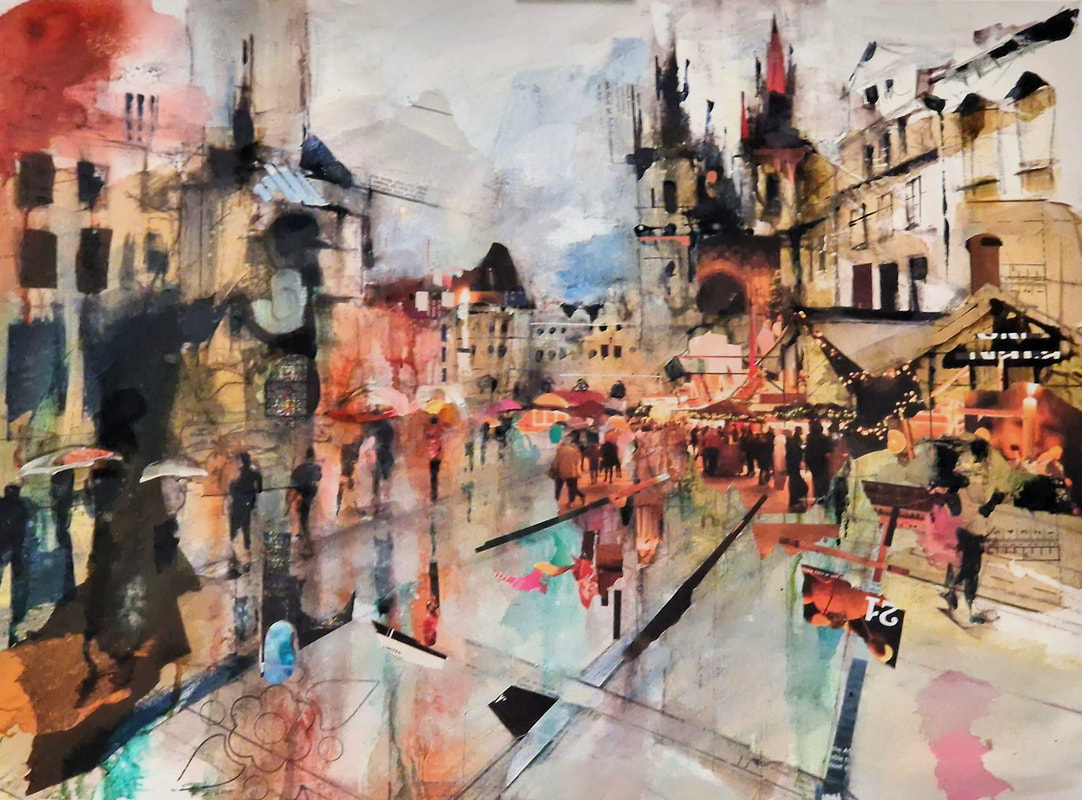
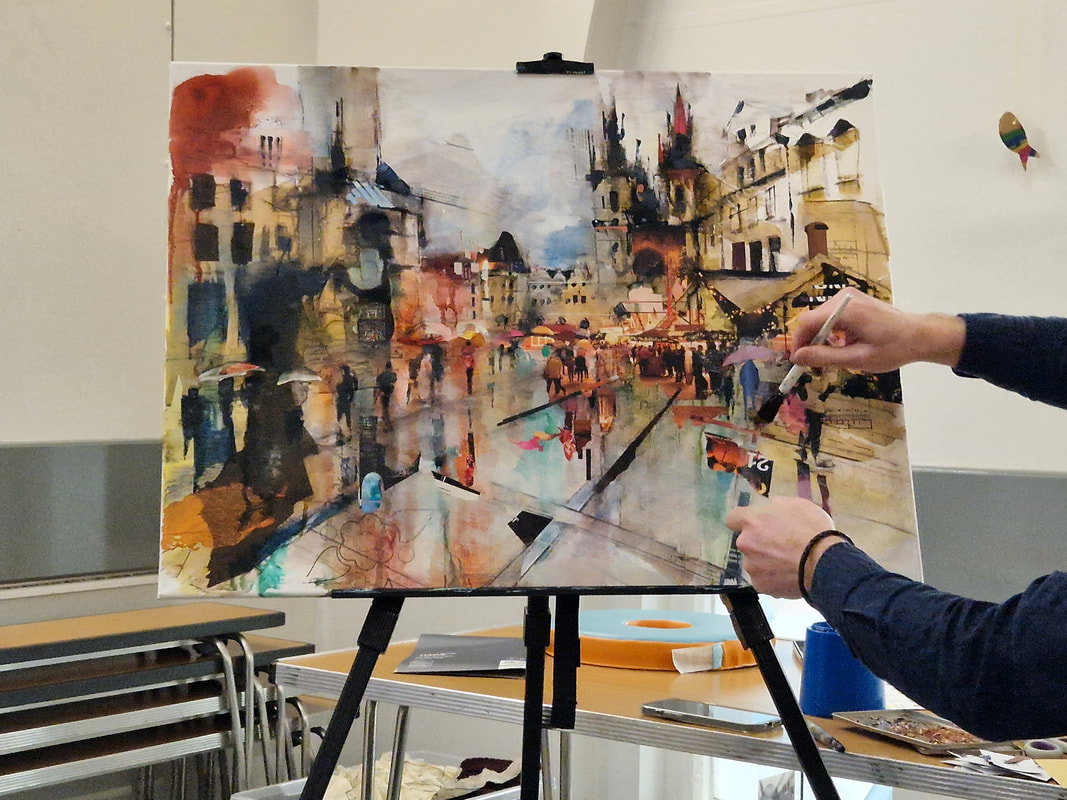
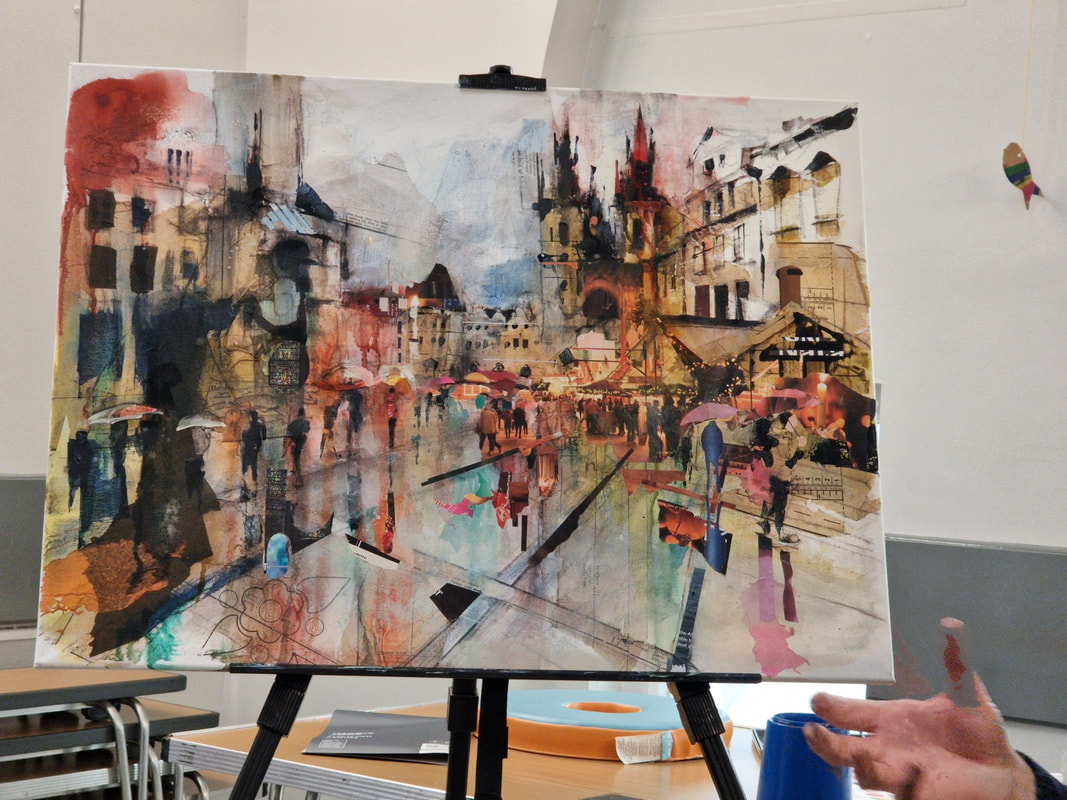
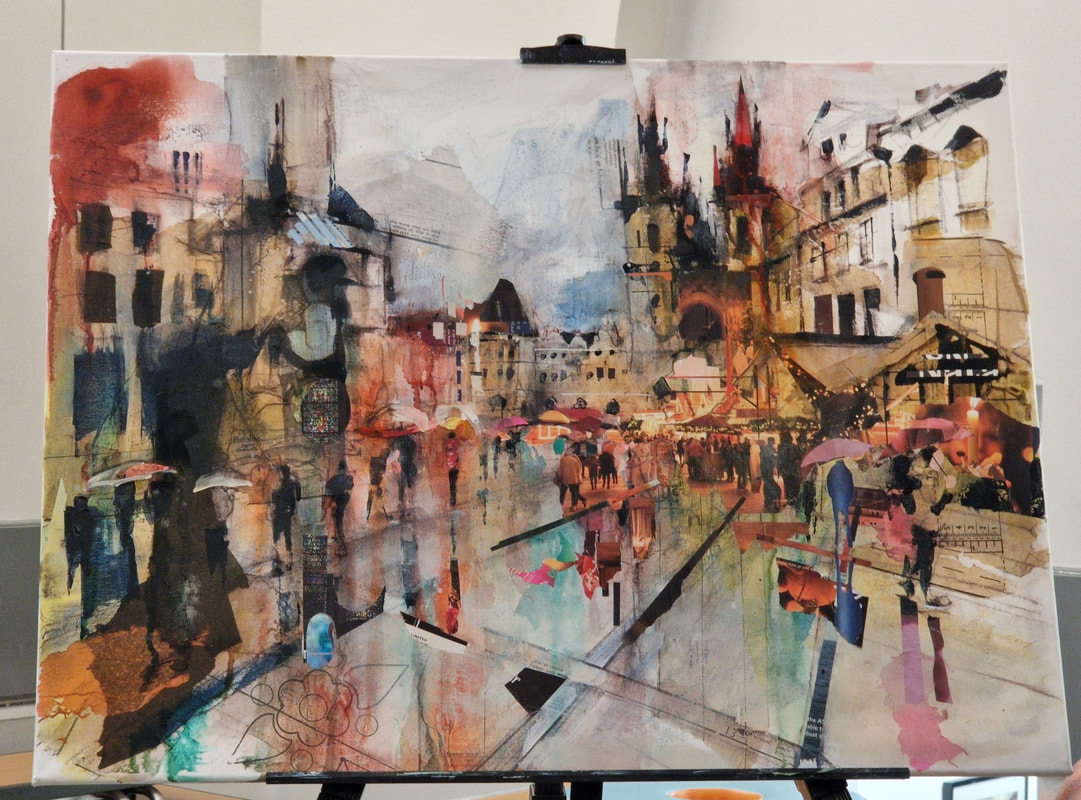
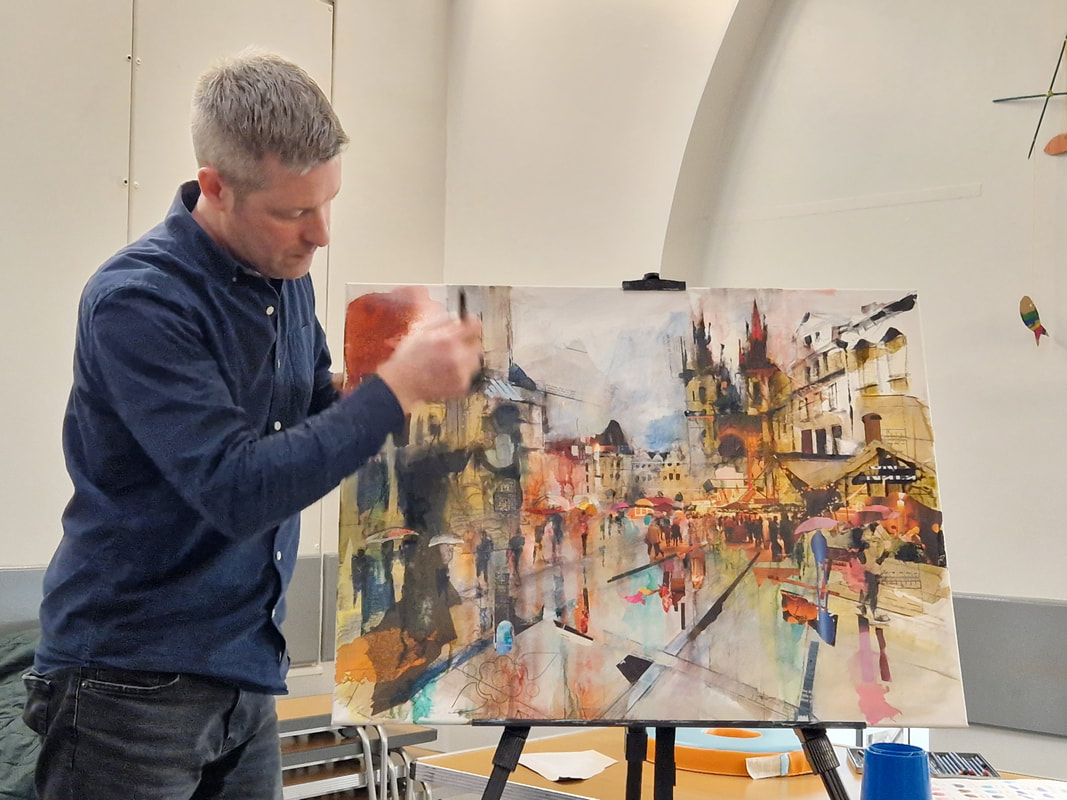
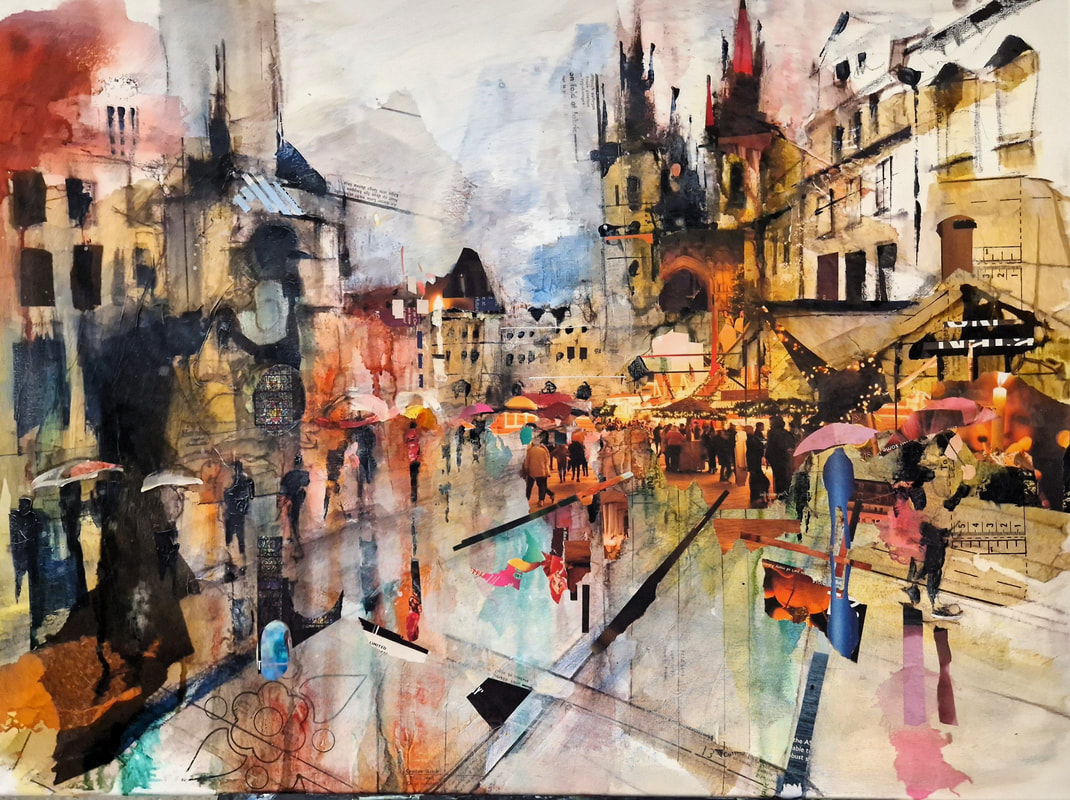
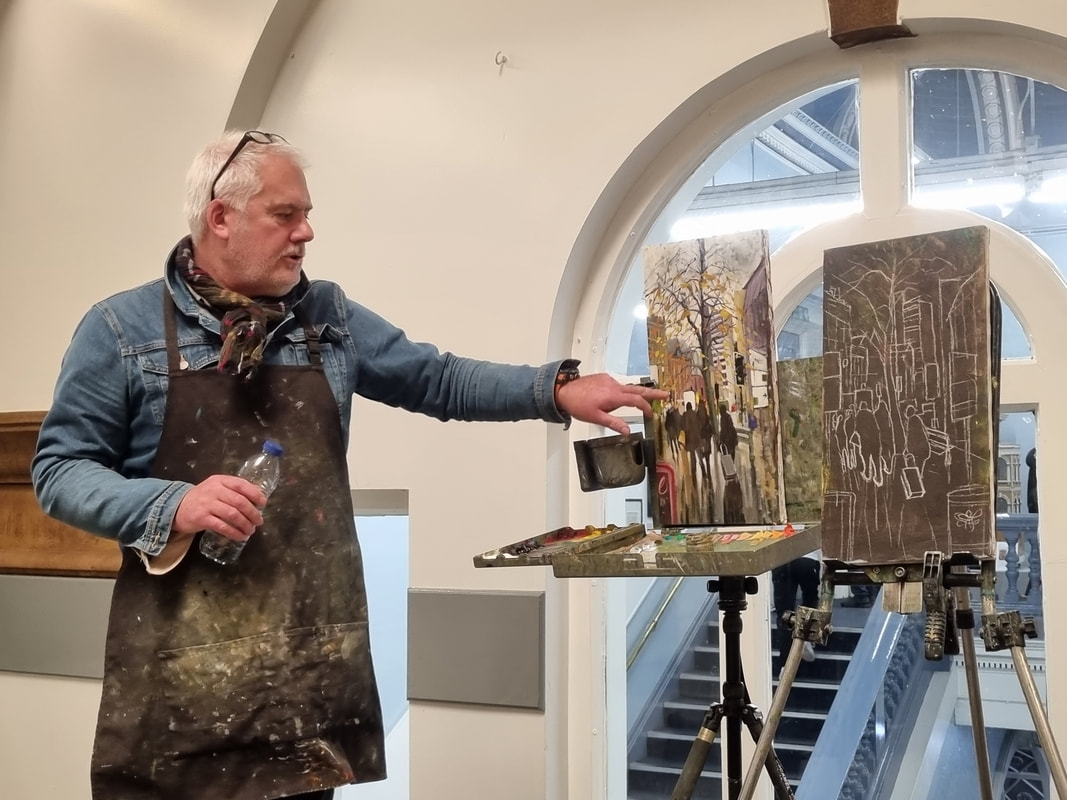
An enjoyable afternoon spent with a knowledgeable artist. #artrobwilson #salfordartclub #salfordmuseumandartgallery #mixedmediapaintingRob introduced himself and then mentioned Liam Spencer, Alice Kettle and Michael Bernard who had all influenced his work, which now was a combination of all their techniques in his own unique style. For this demonstration he was using Inktense pencils and doing a picture of Prague. He started with a quick drawing on canvas with a brown pencil doing a rough sketch before shading in the dark areas. He used a large canvas and at this stage he captured the essence of the picture. He doesn't use black but mixes his own dark colours before he using red oxide for the roofs. He slowly introduced more colours, before adding a deep blue to the sky and other areas. At this stage he added a little P.V.A. to some water as he would be adding tissue paper to the canvas. This was when the true colours of the Inktense pencils was revealed. He also mentioned that he normally works with the canvas flat but as this was a demonstration, he used an easel for our easier viewing. Using tissue from old clothing patterns, he covered most of the canvas, wetting some areas to create different textures. At times he dragged some colour onto the tissue paper with a brush before he allowed it to dry. For the final stage on this painting, he illustrated other techniques he uses on his work, starting with acrylic inks and washes of colour, as well as white acrylic to bring back contrasts in the silhouettes of the buildings, for which he used a business card to scrape on the white paint. Finally, he used a brush to push the white around a little then a Prussian Blue and Raw Umber mixed to make a nice dark colour applied with the corner of card, quite thick in areas. After reaching this stage he left this painting and brought out another one to show us the next stages. He enjoys using magazines to add to the work and ripped out a pink colour for adding to the umbrella, as a background, which he could work on afterwards. Once satisfied he then proceeded to work across the painting, concentrating on separate areas. Next, he added washes of thin watercolour to unify areas and brings out textures. Then he used a dry brush with a little white paint on it, rubbing some areas to bring out the light. Finally, he said he would take the canvas off frame so that he could sew on it with an industrial sewing machine allows him to add up to 8 to10 different coloured cottons. The finished painting would then be varnished to unity the surface colours before being framed behind U.V. Glass. A fascinating insight into Rob’s working style and I am sure everyone was inspired by his technique as well as enjoying the demonstration.
Week 1 Week 2 |
Categories |


 RSS Feed