|
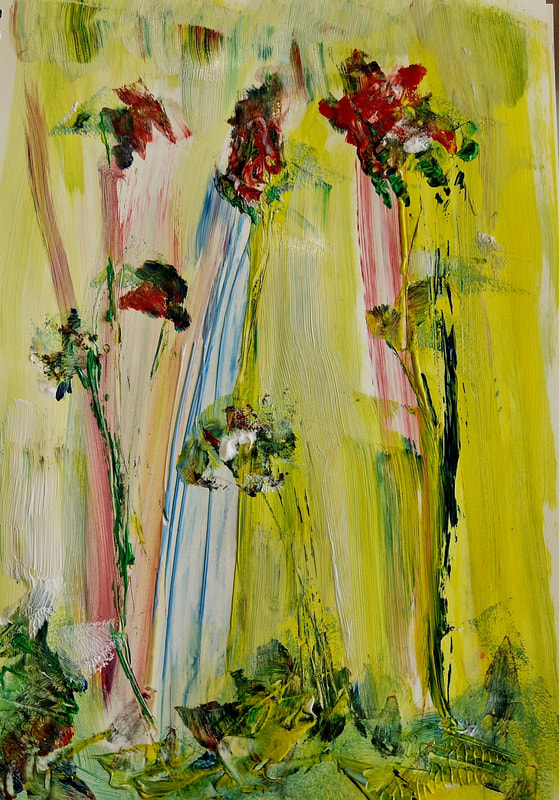
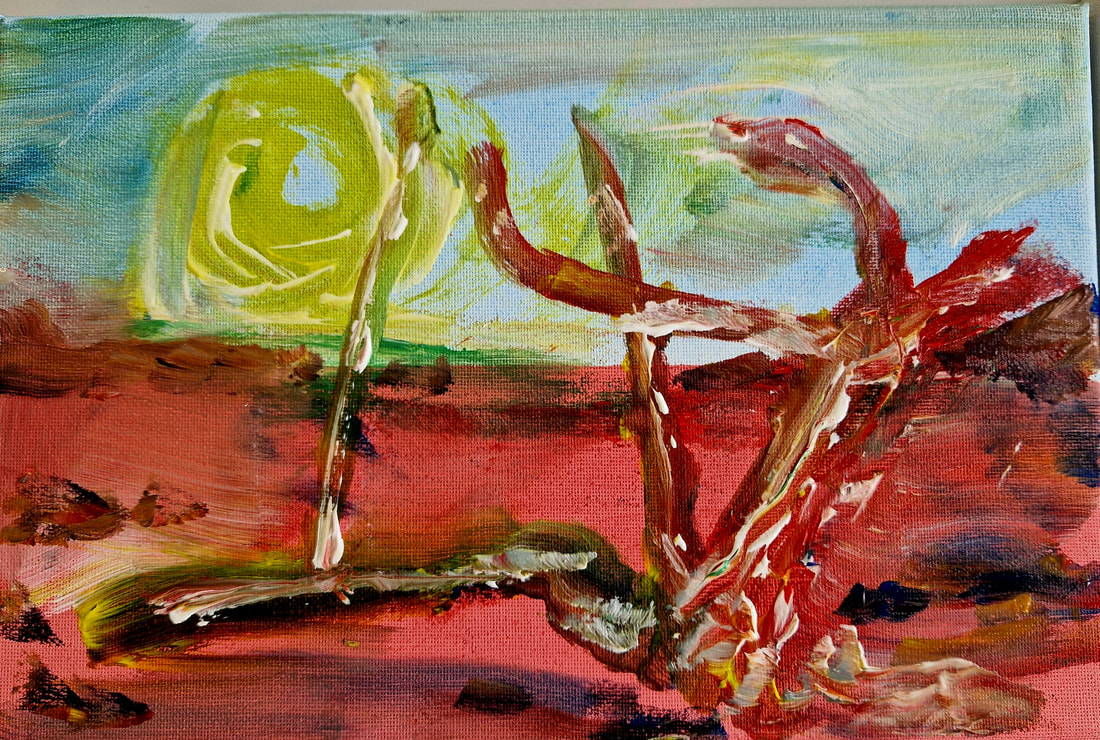
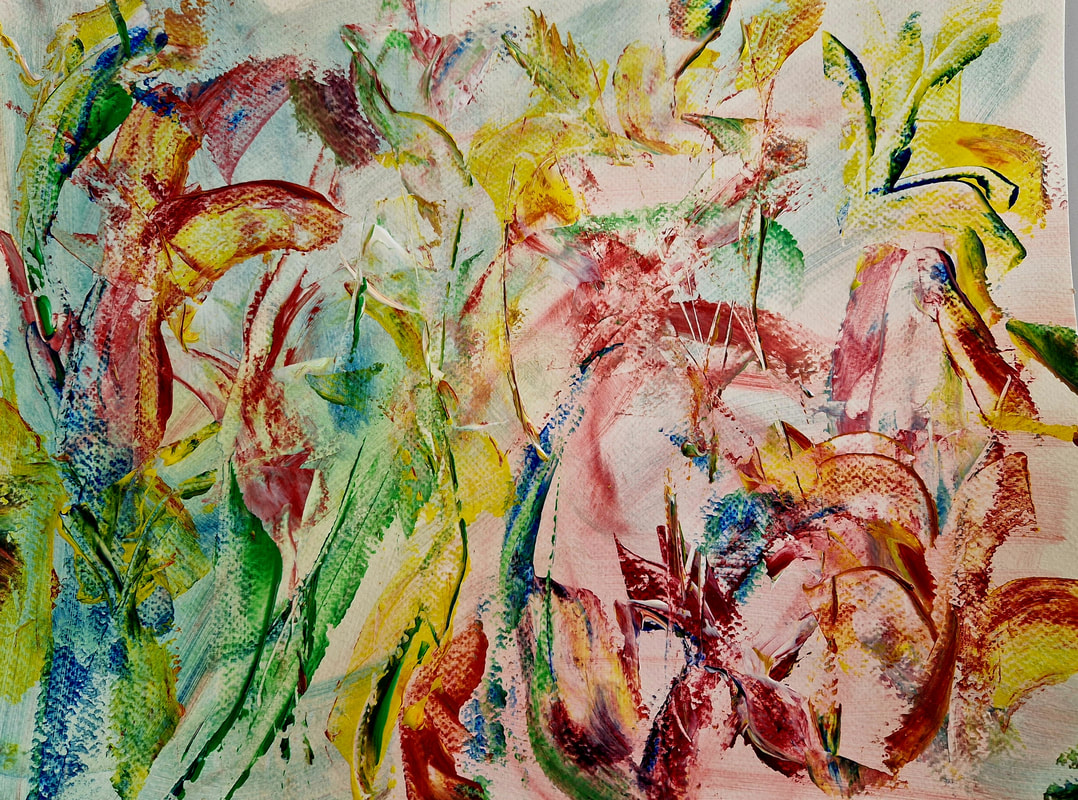
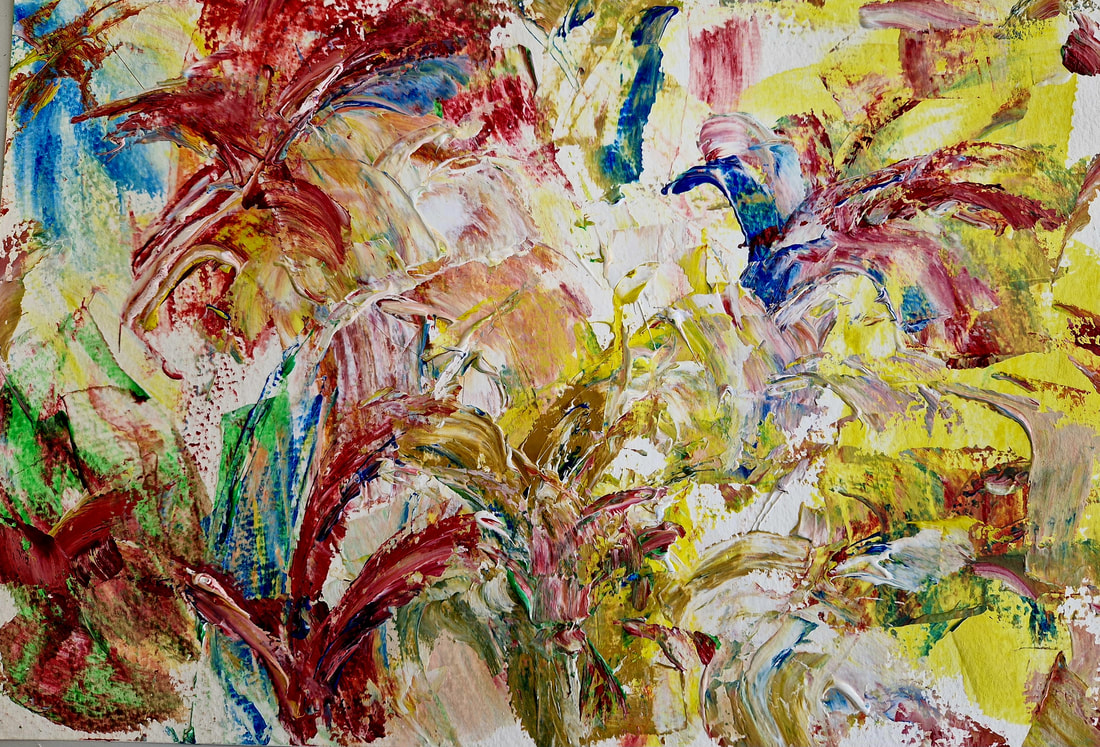
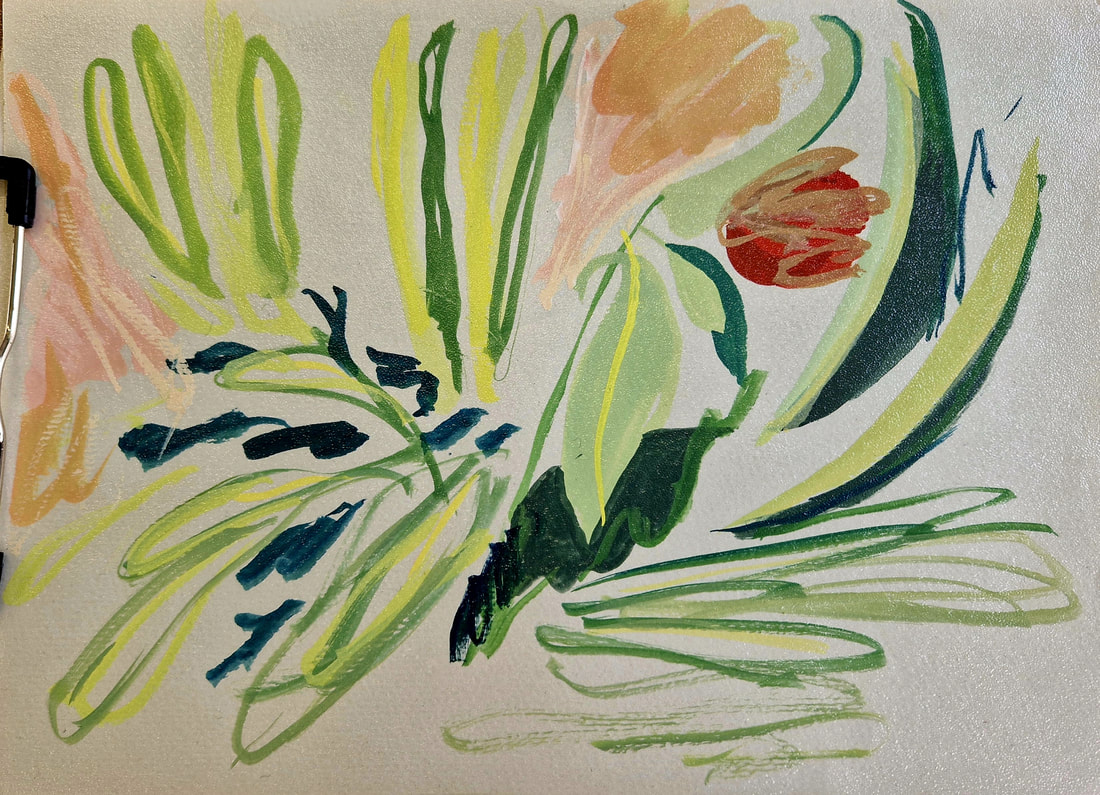
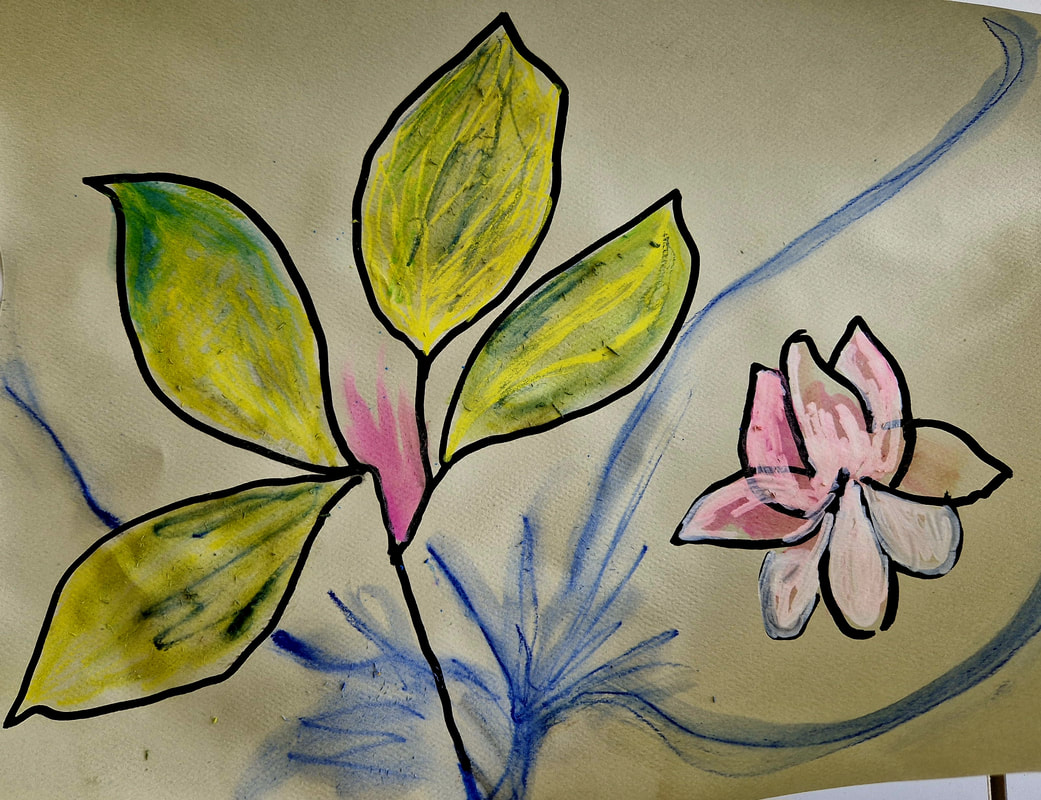
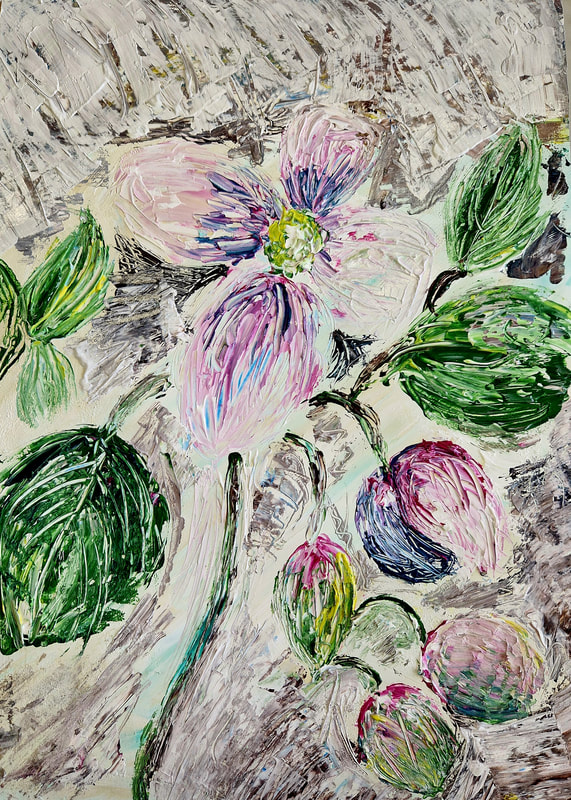
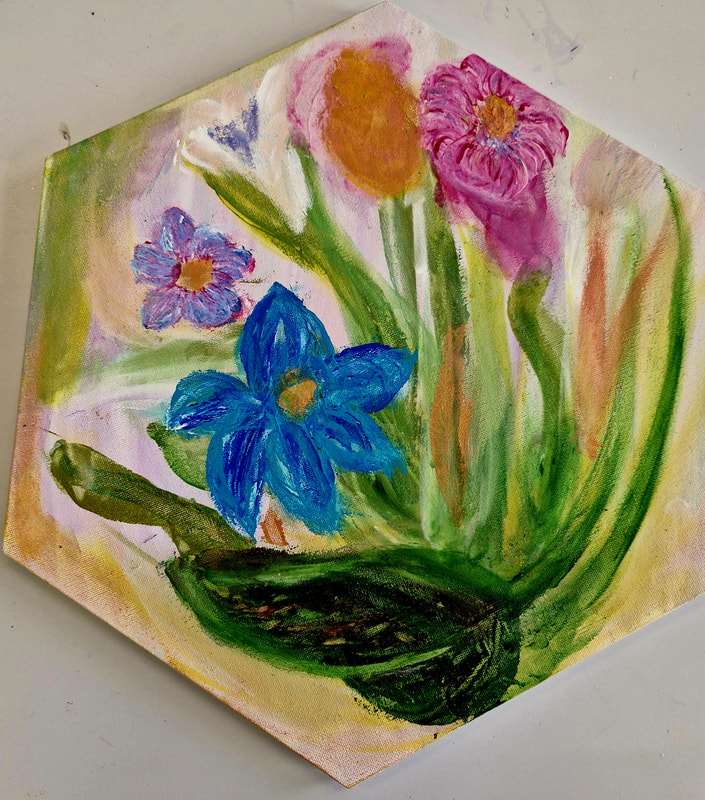
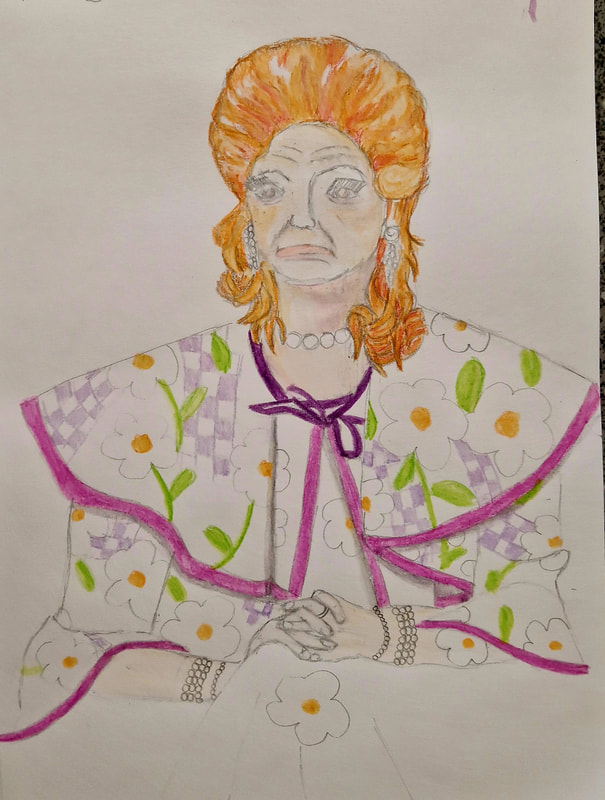
Susan introduced herself to the group and gave a brief talk about herself and her artwork. She enjoys painting flowers and started by reading a poem from a book she is working on about her artwork. After showing a couple of her finished paintings she started work on her demonstration piece. This was on a canvas, on the theme Spring. It was on a recycled canvas and needed an undercoat of mainly white acrylic with a few added subtle colours. This background would become part of the final painting. Using a sponge she blended in this underpainting. Paint was then applied with a palette knife and again smoothened with a sponge in areas. Roots, grasses and stems were then added, starting at the bottom of the canvas. She continued to work all over the areas, mixing the colours on the canvas, achieving a sense of movement. As she progressed paint was applied and areas removed as necessary. This would continue until the work needed to be left a few days before it would be retuned to for extra work to be done where necessary. At this stage several members of the group started work on their own interpretations of the floral theme and we are hoping to continue with this theme next week. Members interpretations of the floral theme.Susan demonstrated an interesting way of working and I’m sure members learnt a lot from this and will be able to use these techniques on their own work in future.
0 Comments
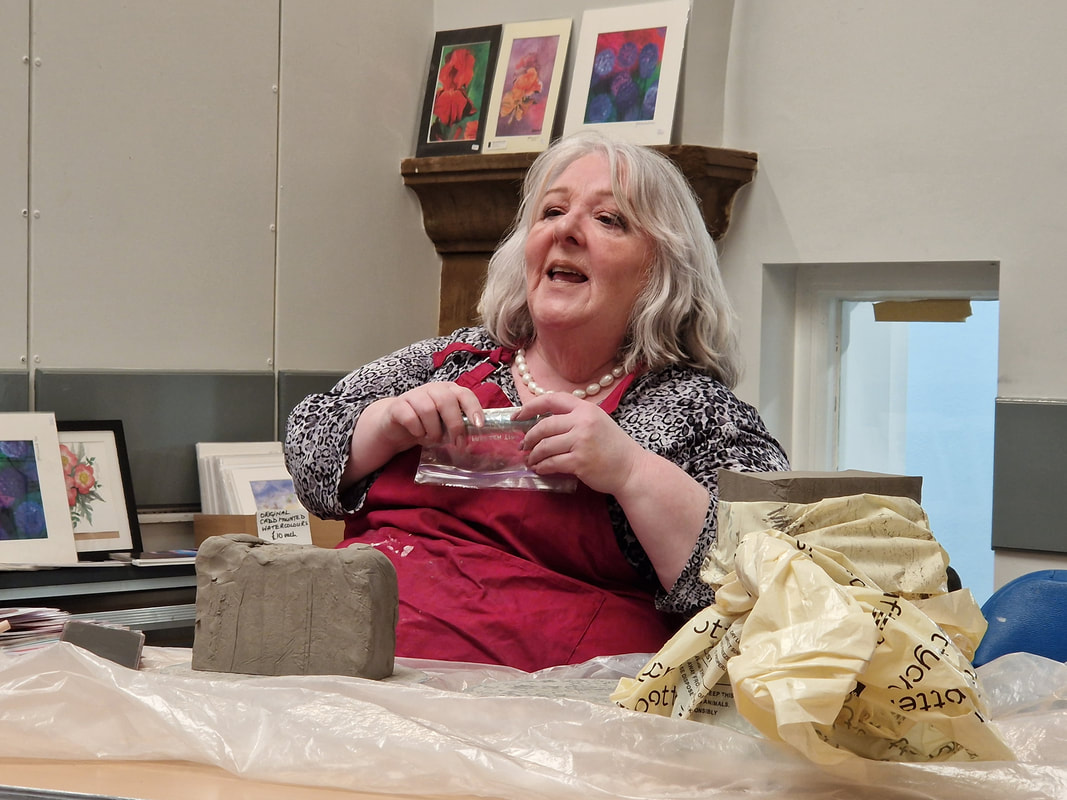
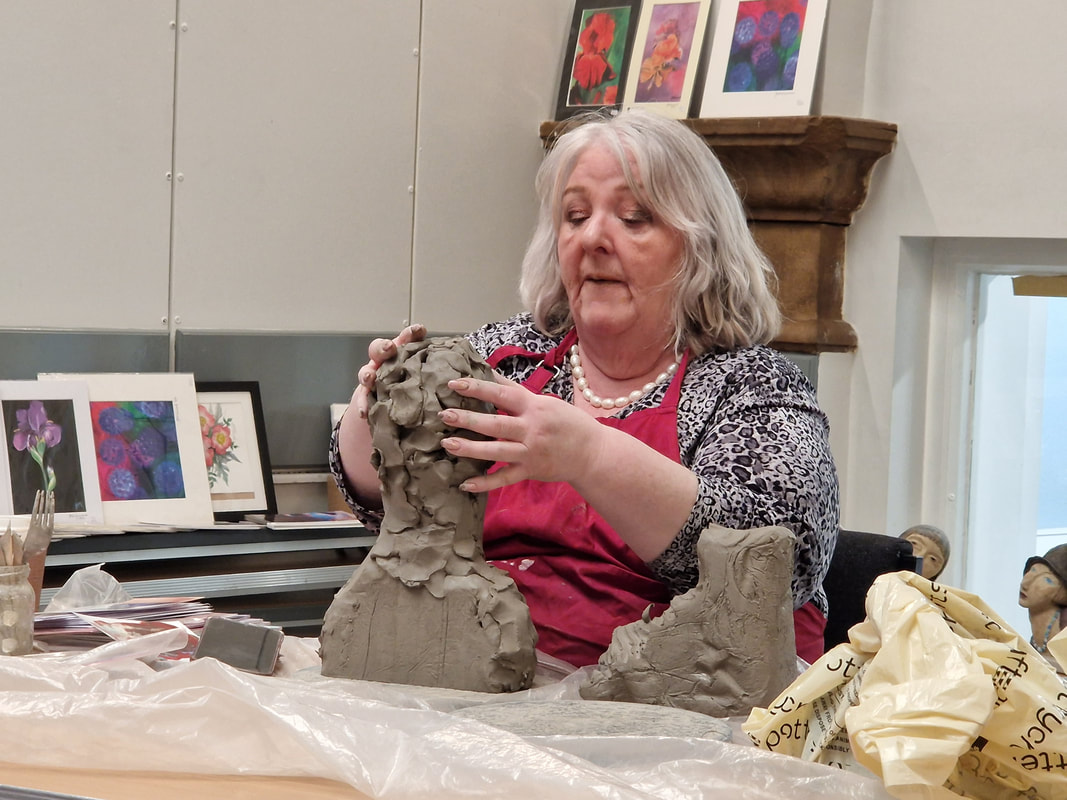
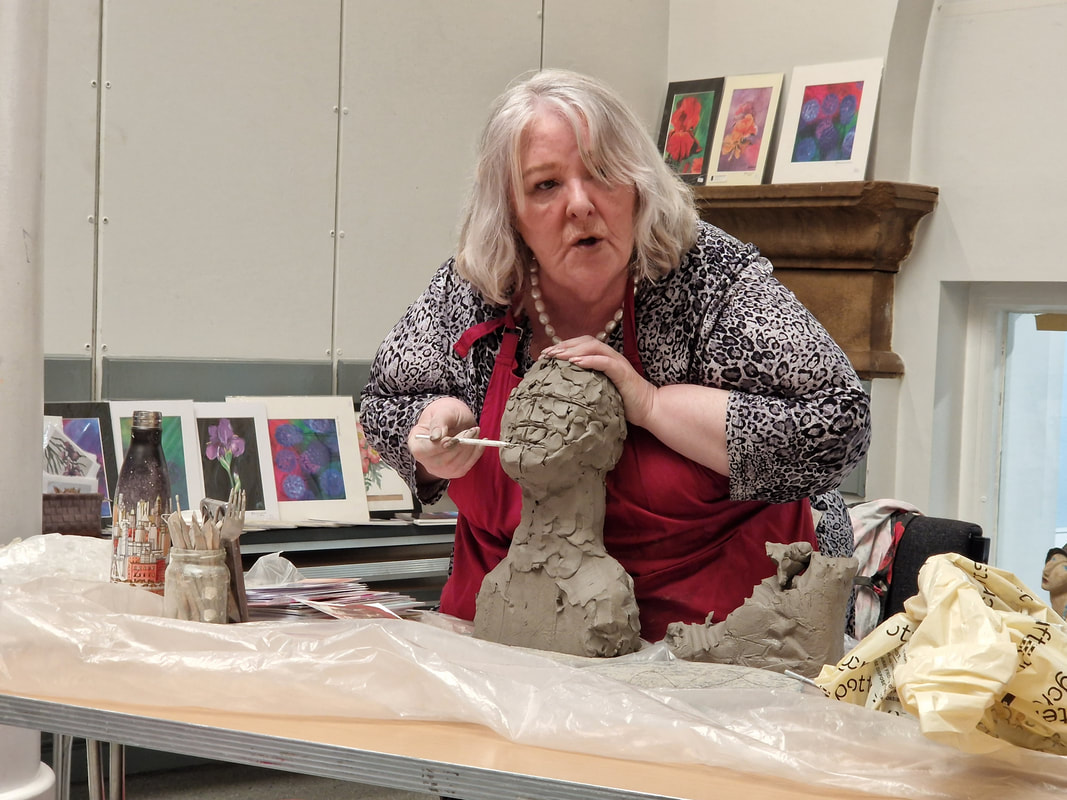
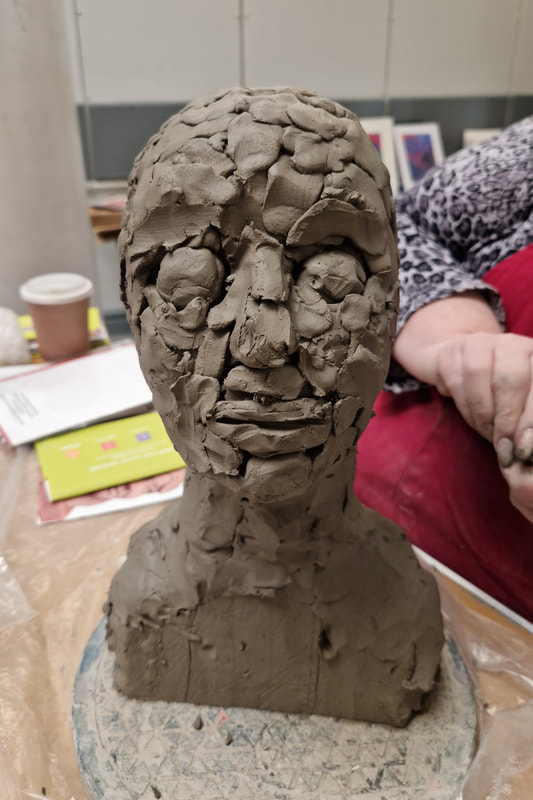
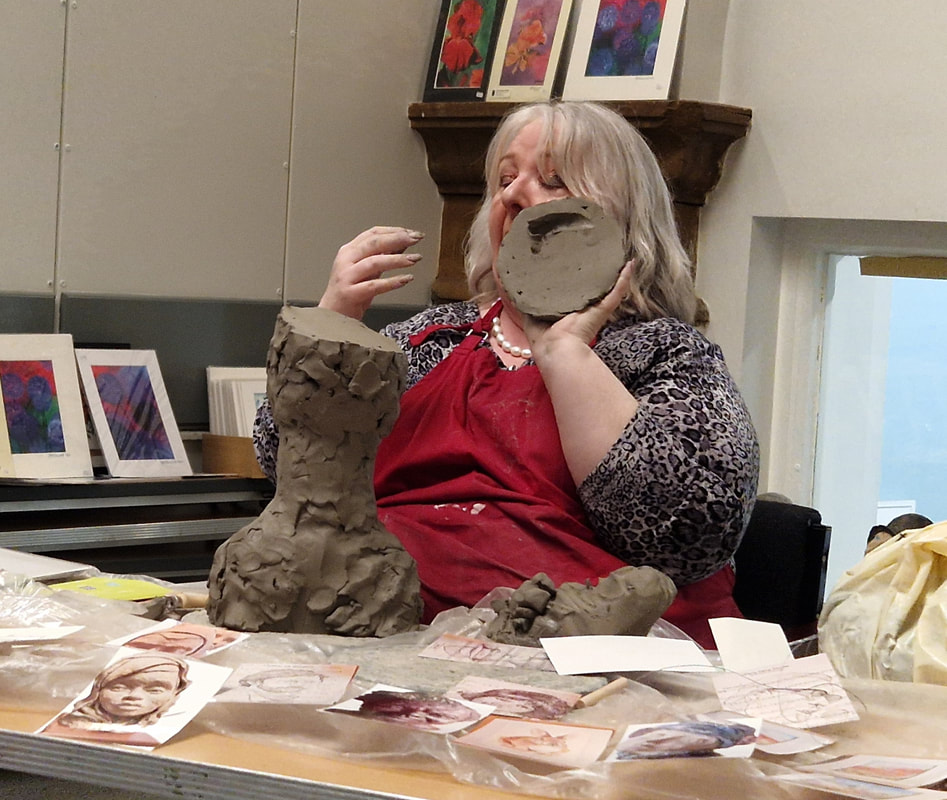
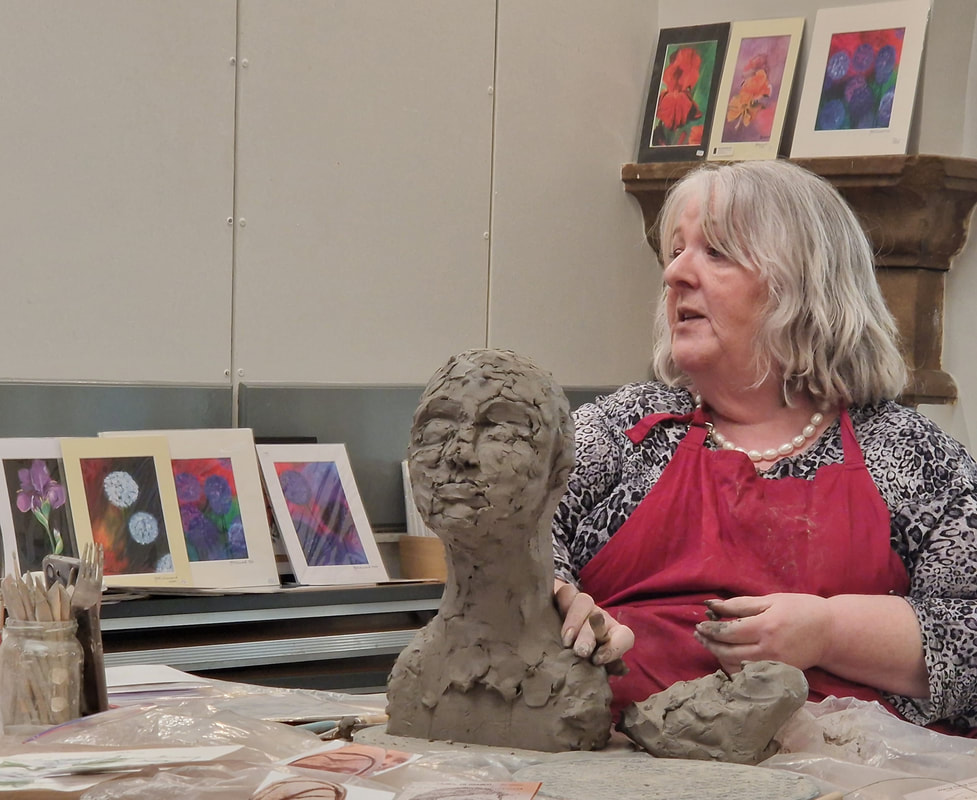
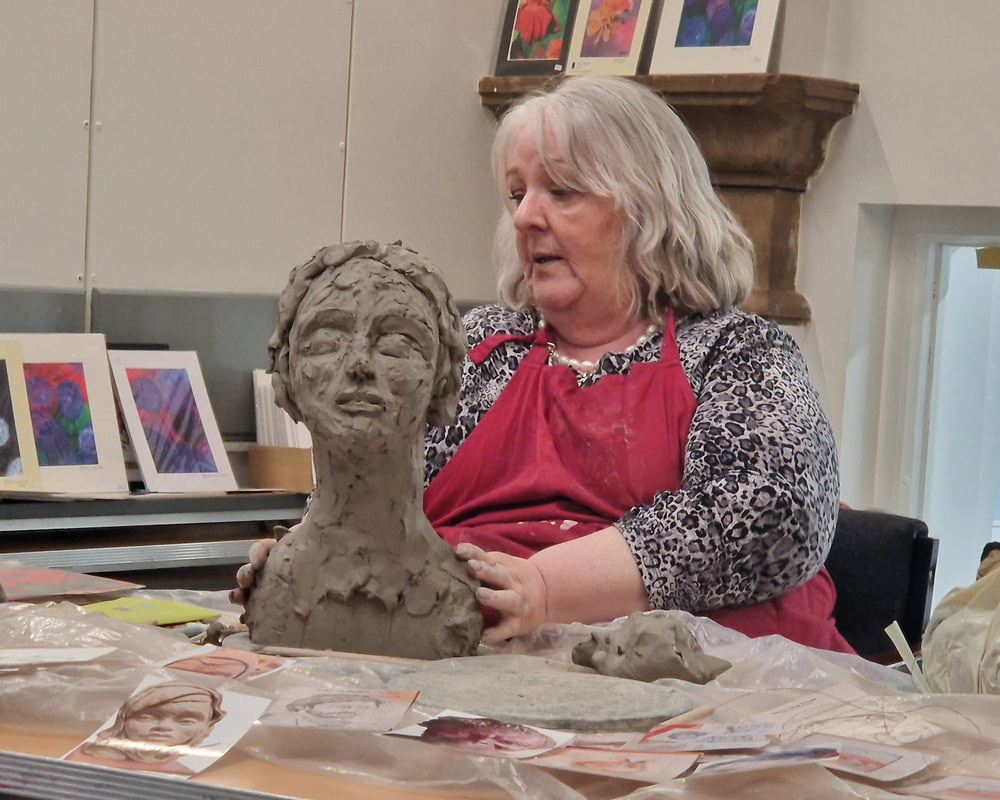
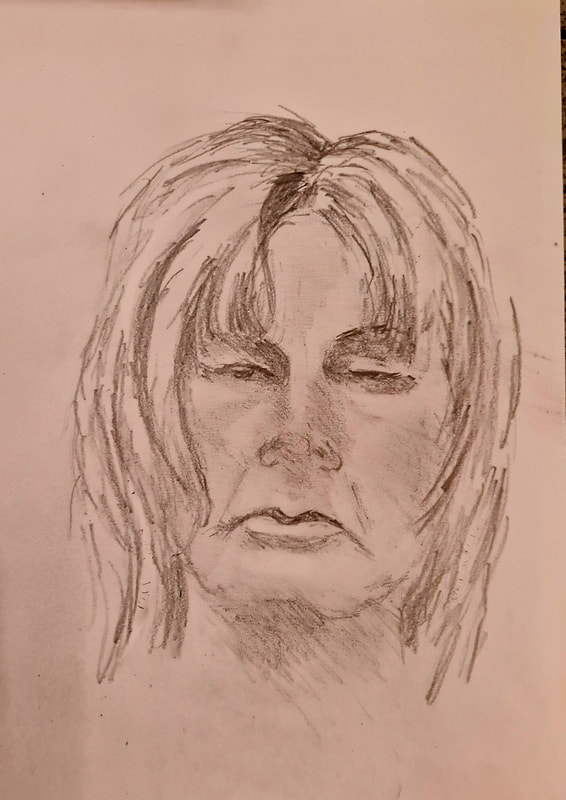
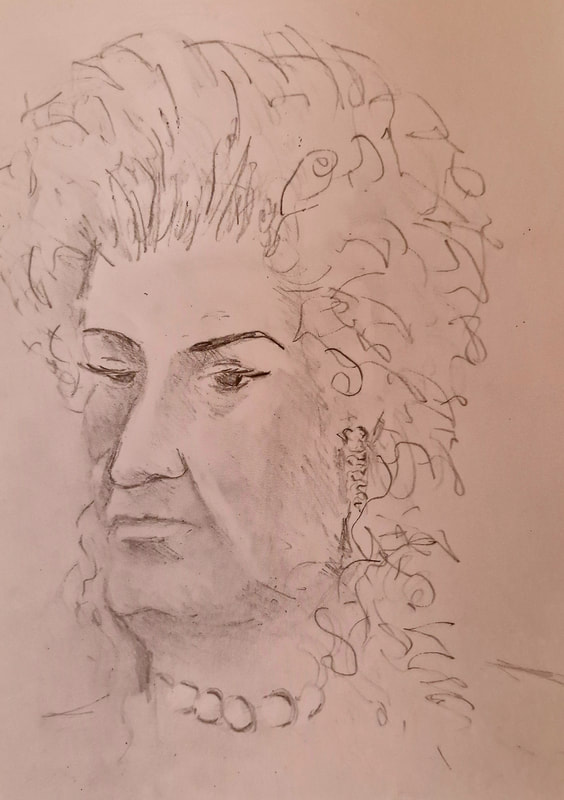
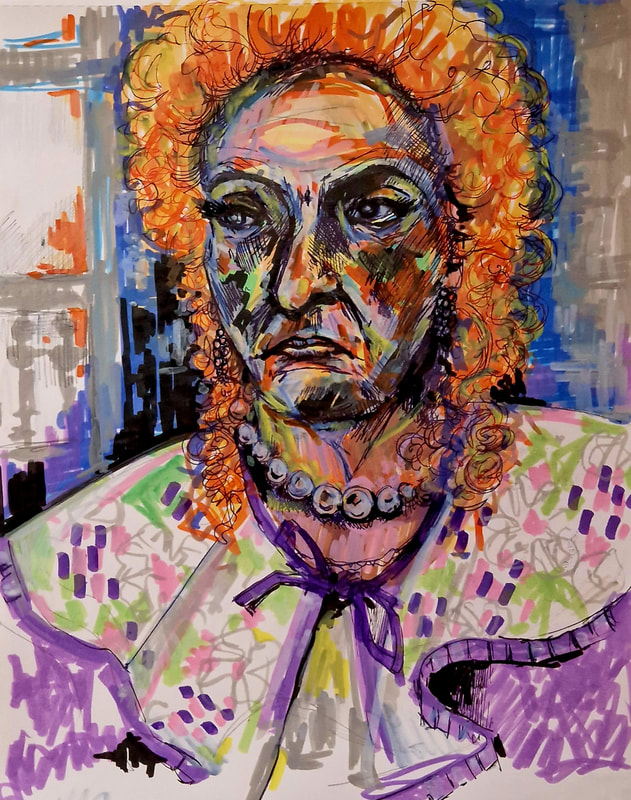
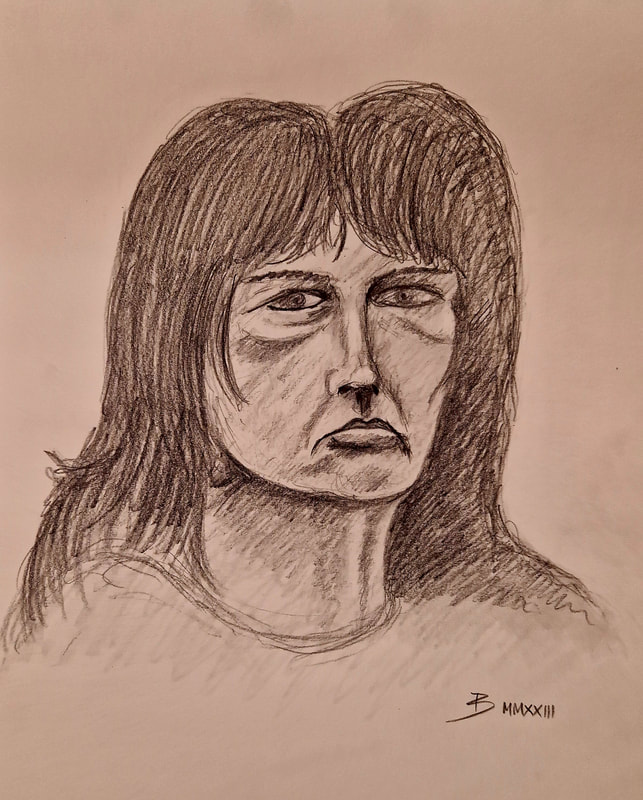
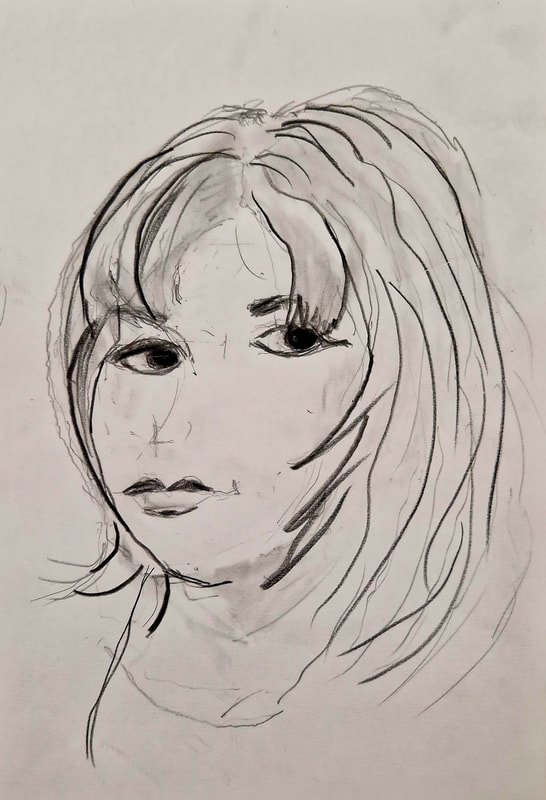
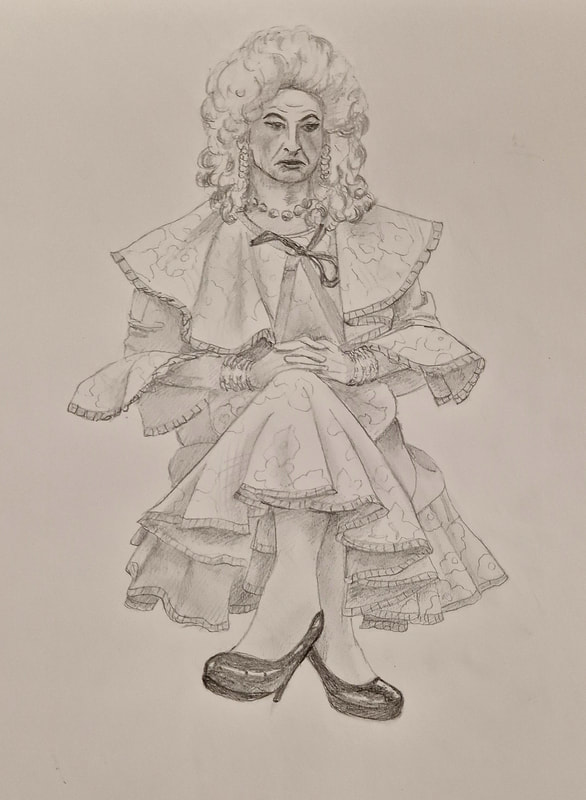
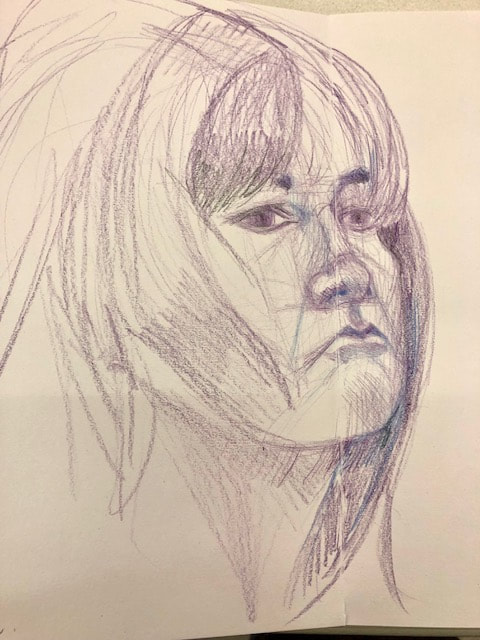
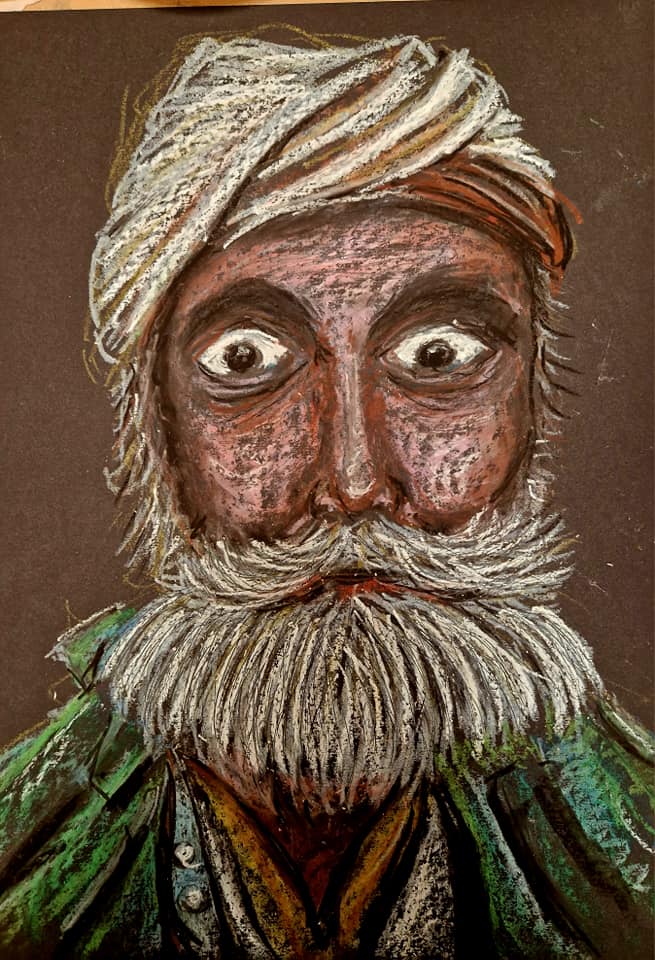
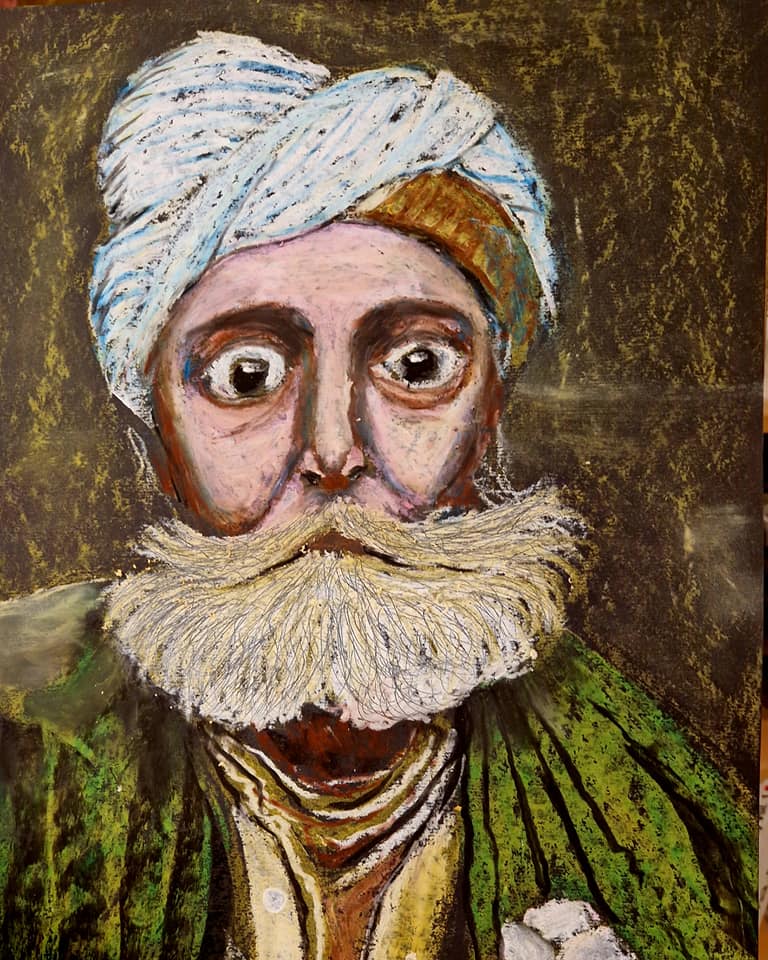
Jane works in clay but also uses watercolours and other materials to enhance her work. In this instance the demonstration was using clay from a block. She started her career working part time, creating smaller shapes before deciding to move on to be full time artist. A highlight was appearing on television in 'Home is Where the Art is' and when she won the commission, her career really took off and since then she hasn't looked back. Today, she slowly built up a head shape adding to it where needed, working in a tried and tested way that suits her subject matter. She often works on a range of sculptures at the same time in various stages of finishing. When working on the sculpture she says, "You must remember to turn it 360 degrees making sure that you work on all the way round and not just on the front for it to be successful." Having started with the basic shape of a woman's head, she drew a line half way across vertically and adds horizontal lines where the features, such as the eyes and nose, would be. When working on commissions she stressed that it was important for her to talk to clients to make sure she knows exactly what they want. Next, she carried on adding shapes to the head and slowly the features started to appear, She stated that knowing the anatomy of the face is important to her work. She continued by making two small balls the same size to add as eyes, before starting to add muscles to the face. Working in her studio it would take several hours to do one of these heads, but for this demonstration she can work a lot quicker. She continued by adding more features and muscles continually visualizing it in 3D. When working she doesn't use tools until the basic shape is formed by hand. When working with beginners the mistakes they often make are to start adding features too soon or in random areas which can create problems. One way to get around this is to squint and you then see just the basic shapes. When asked about adding ears she does this to show how it is done, although in many cases a hat or hair mean these can't be seen in her work. At this stage she started to to smooth out some areas and continued to work on the features before adding hair. By this time it was starting to get near to the final image that she hoped for and demonstrated how she would achieve hollowing out the final sculpture (Hollowing out is done from horizontal cuts) Even though in reality this would be done at a later stage when it would be dryer and the shape would not collapse. She then joined this section, back together to finish working on it for this session, and then revealed that the idea for the face came from a Modigliani portrait. Jane doesn't use glazes which is very technical skill as she wasn't taught this way. This is just her particular way of working with final colours added using acrylic paint. An impressive demonstration and it's not often that someone can work in front of a group and pass on so much useful information about a working process and how their style has developed.
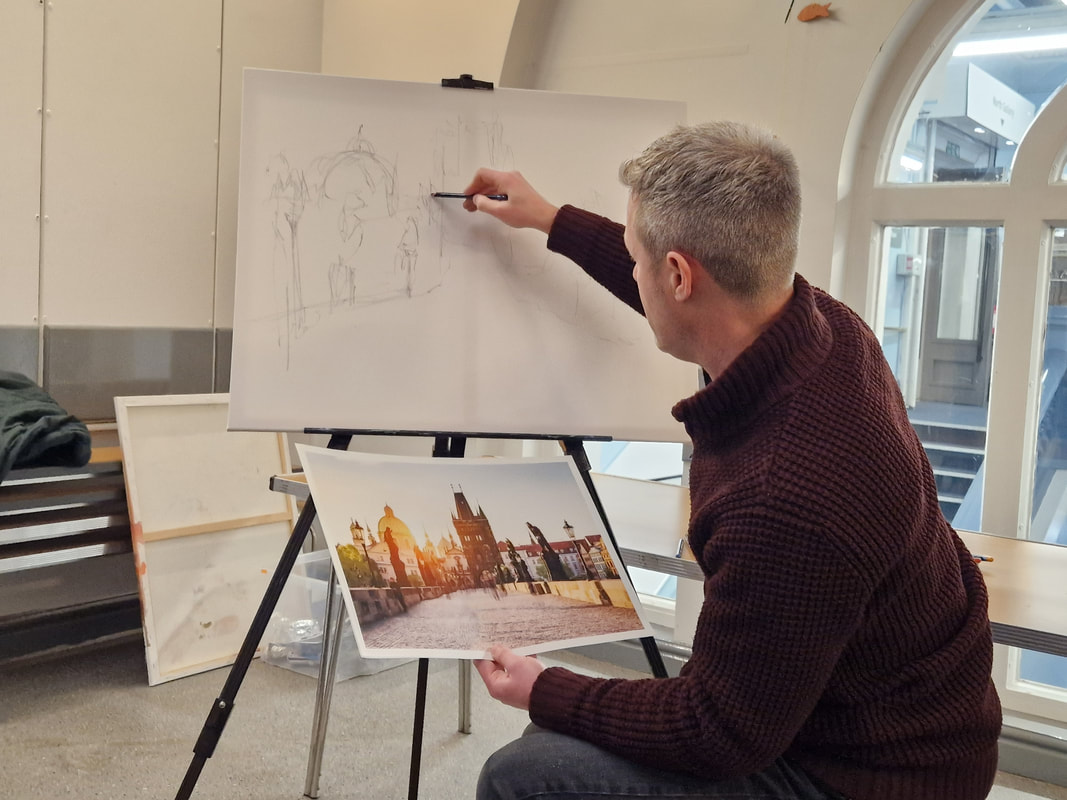
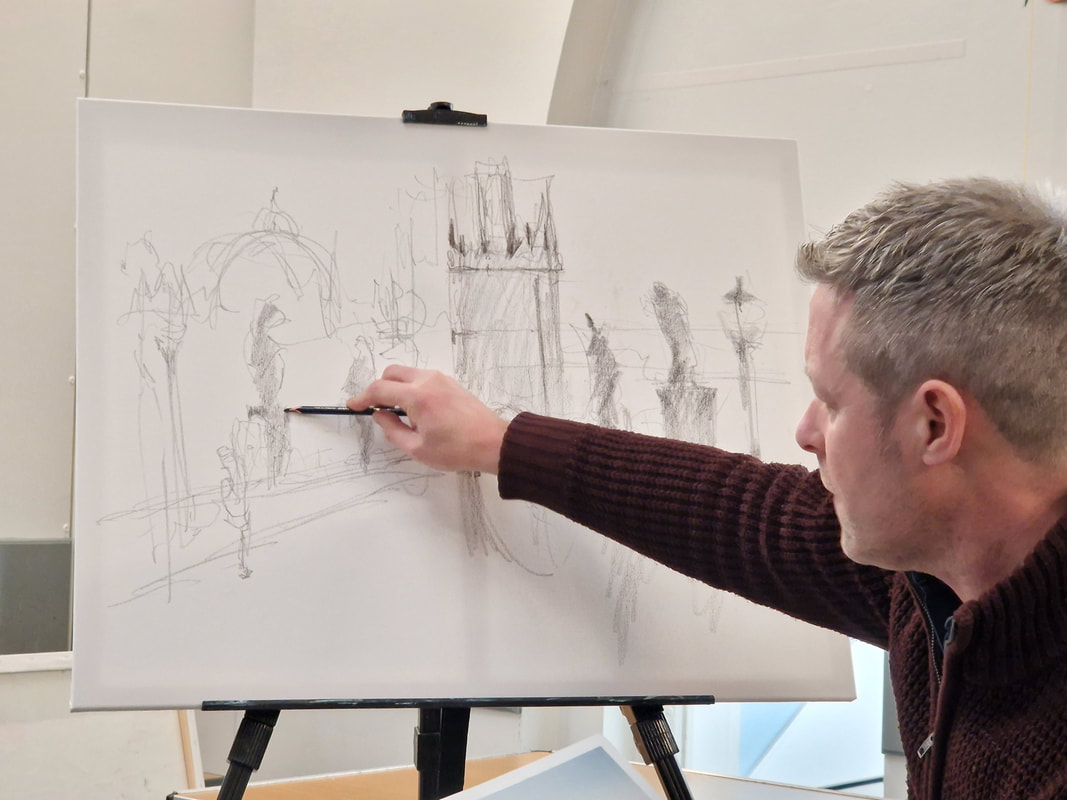
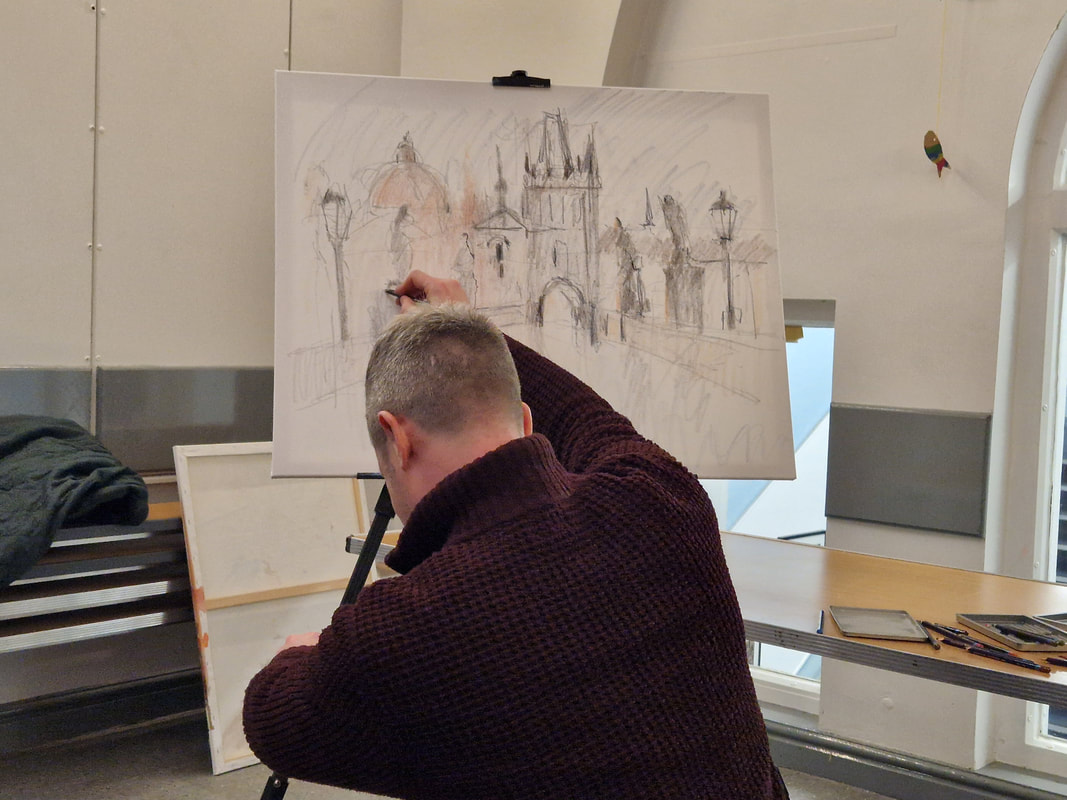
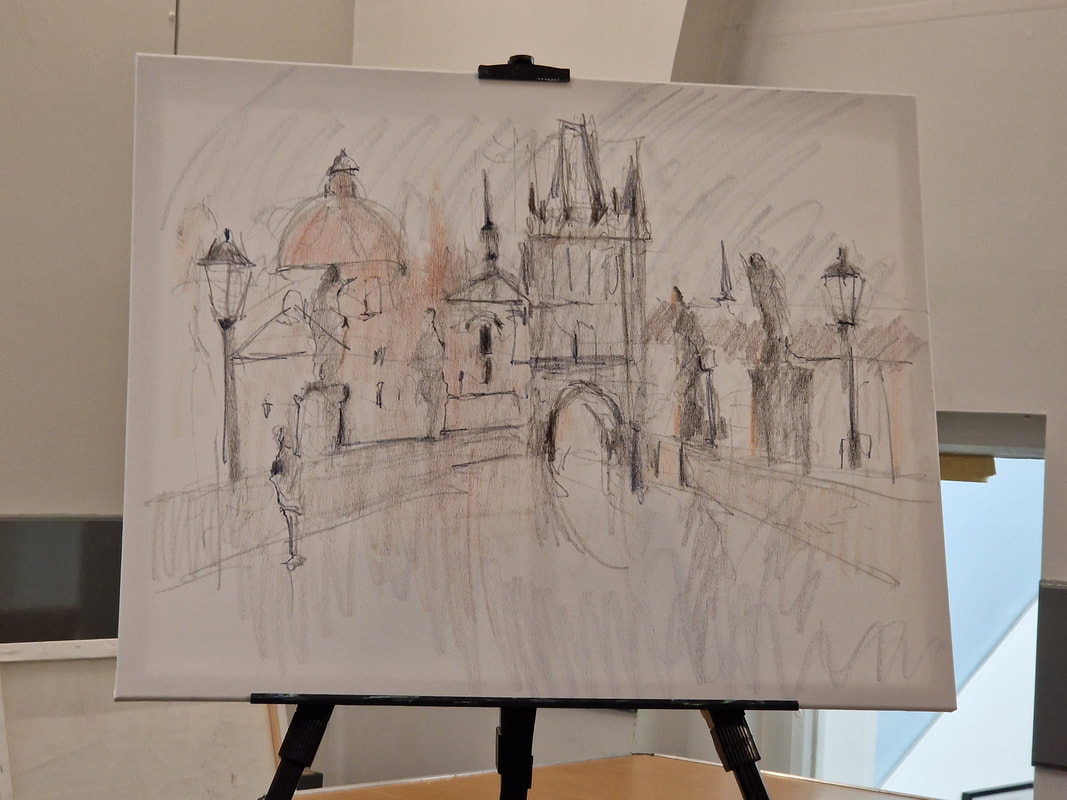
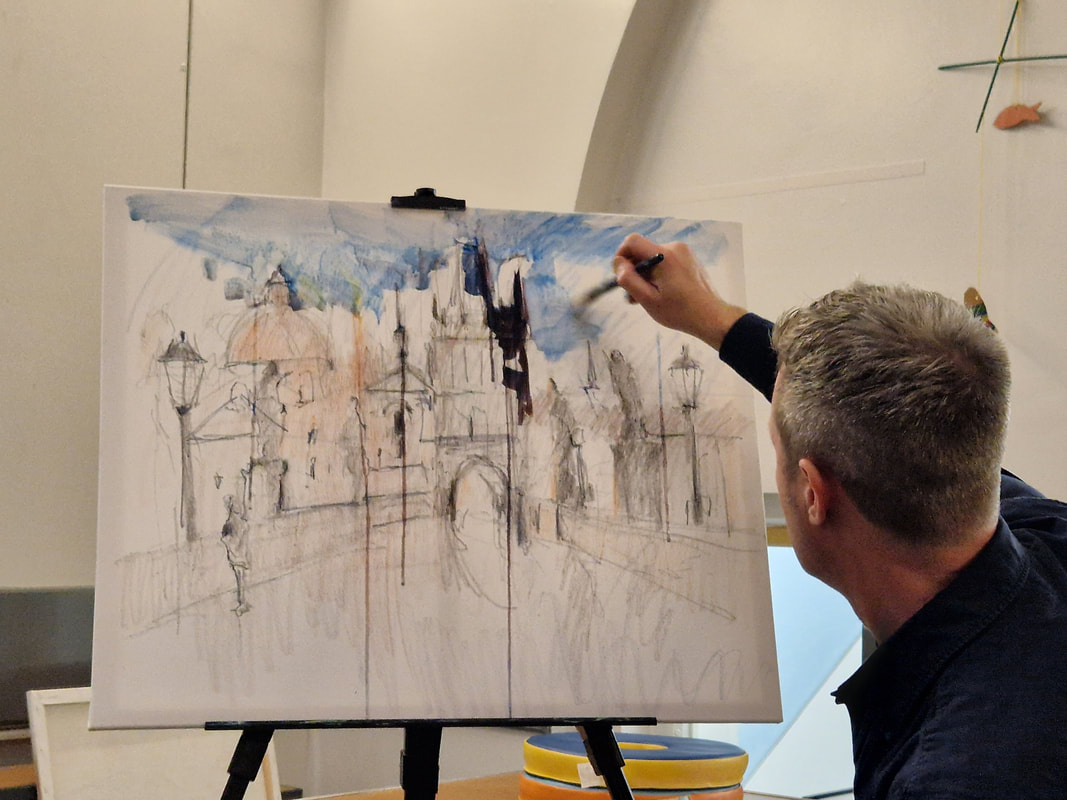
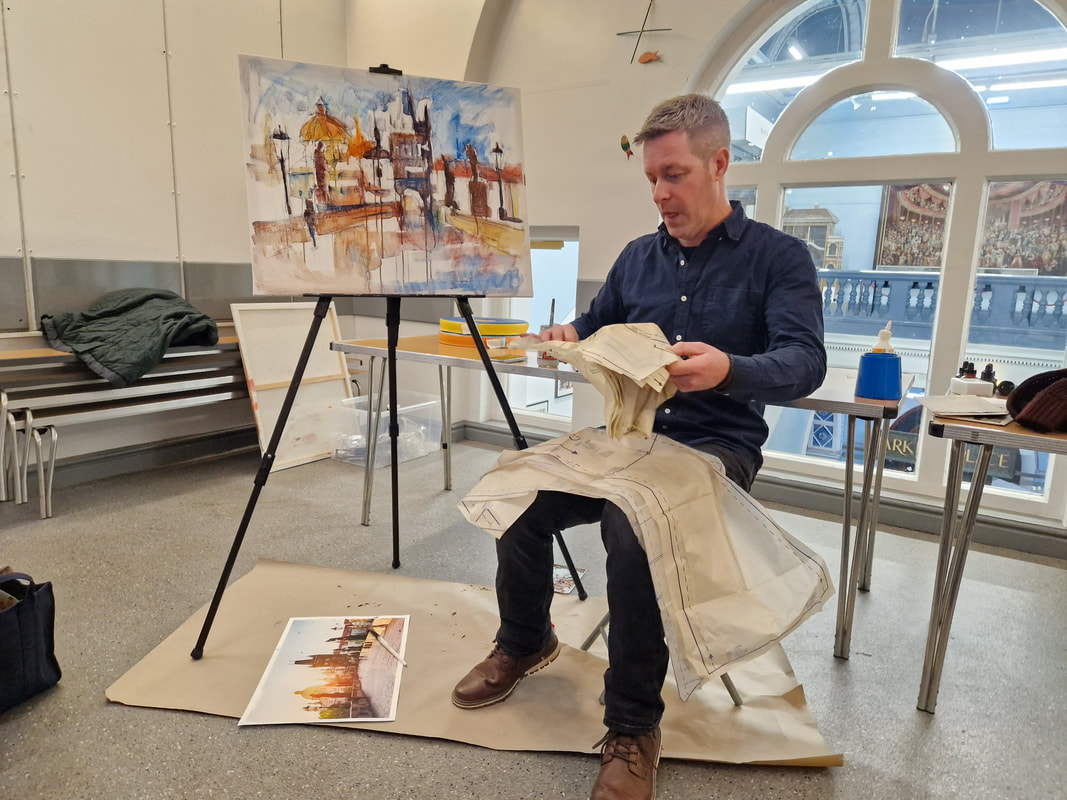
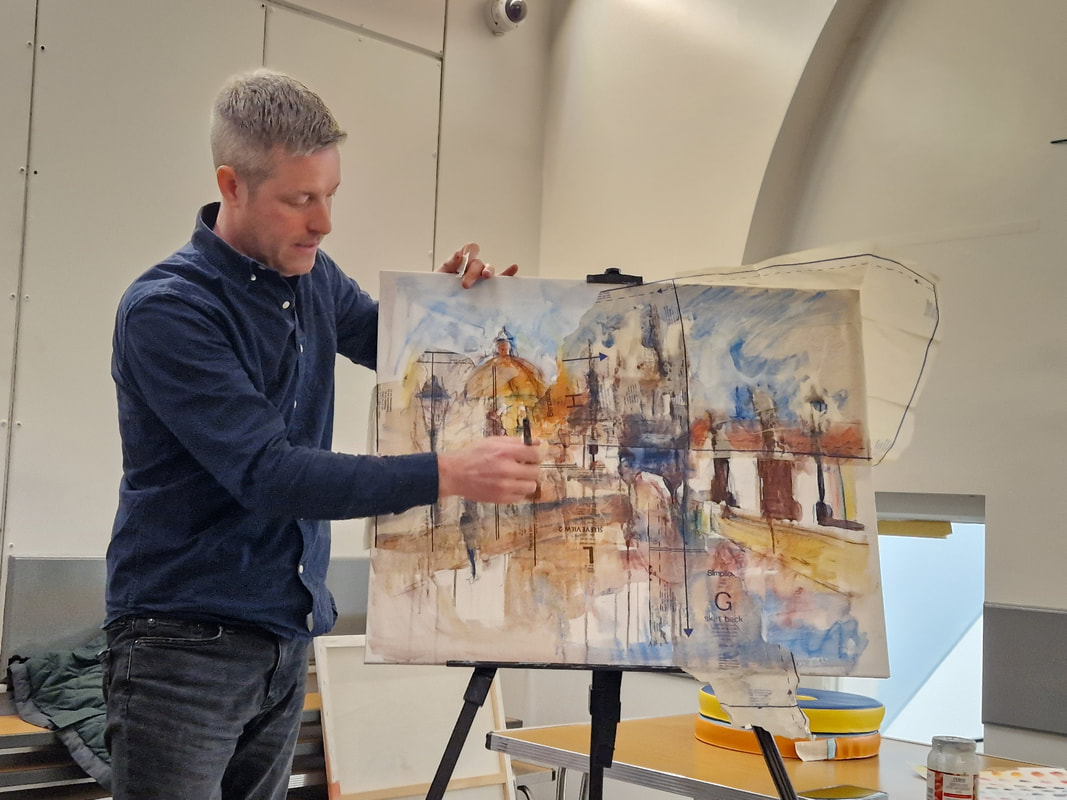
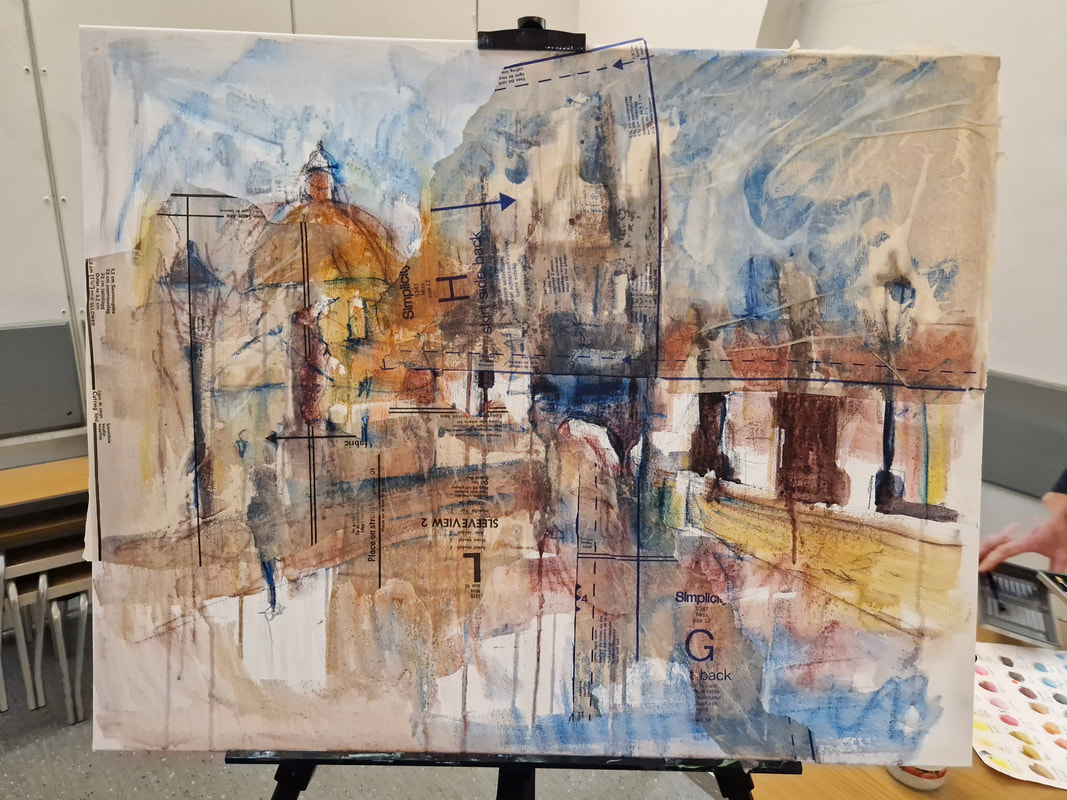
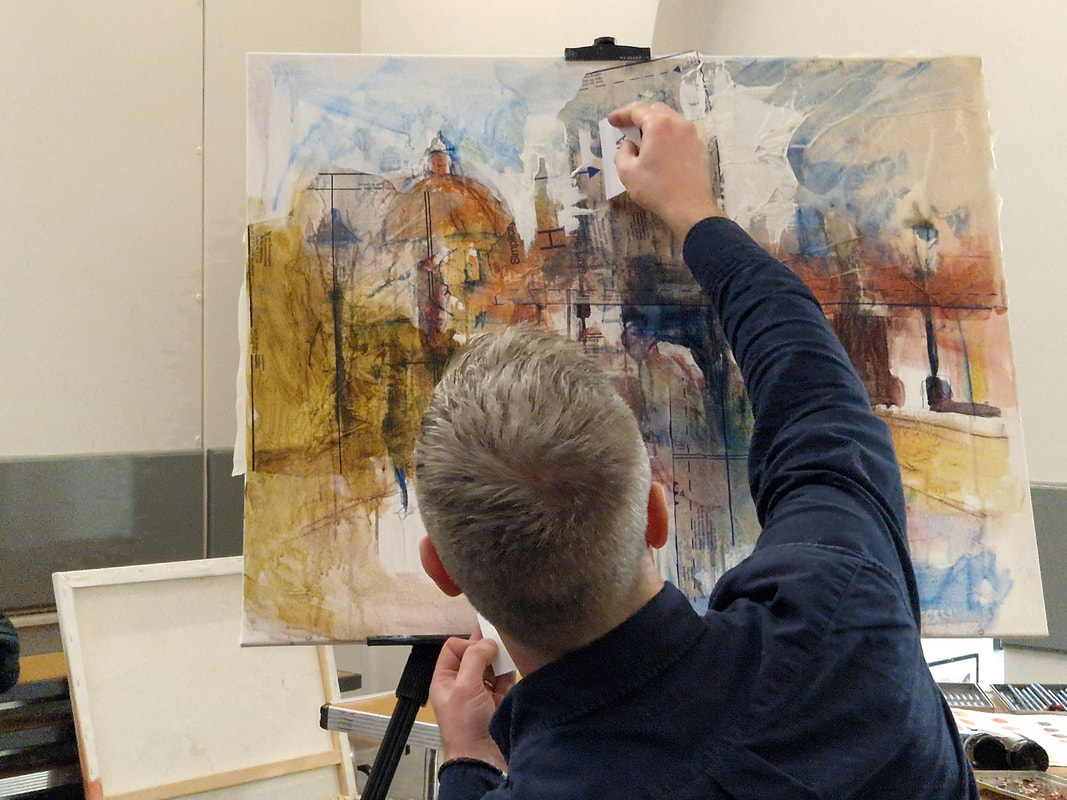
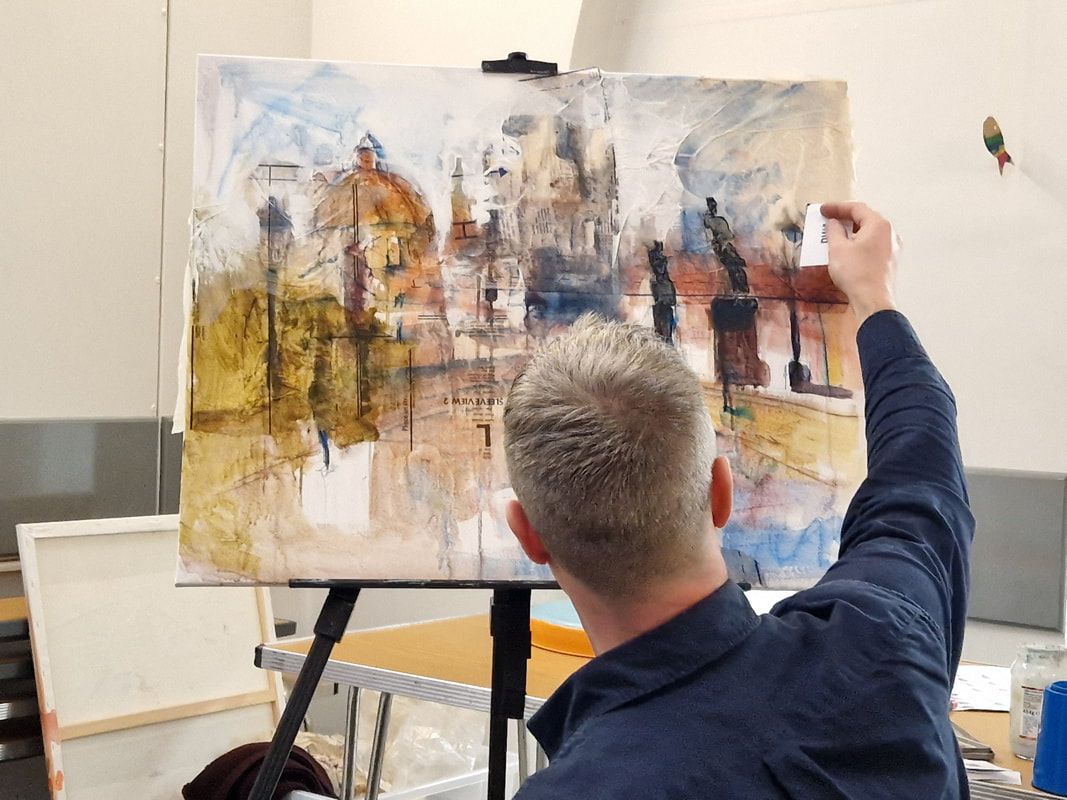
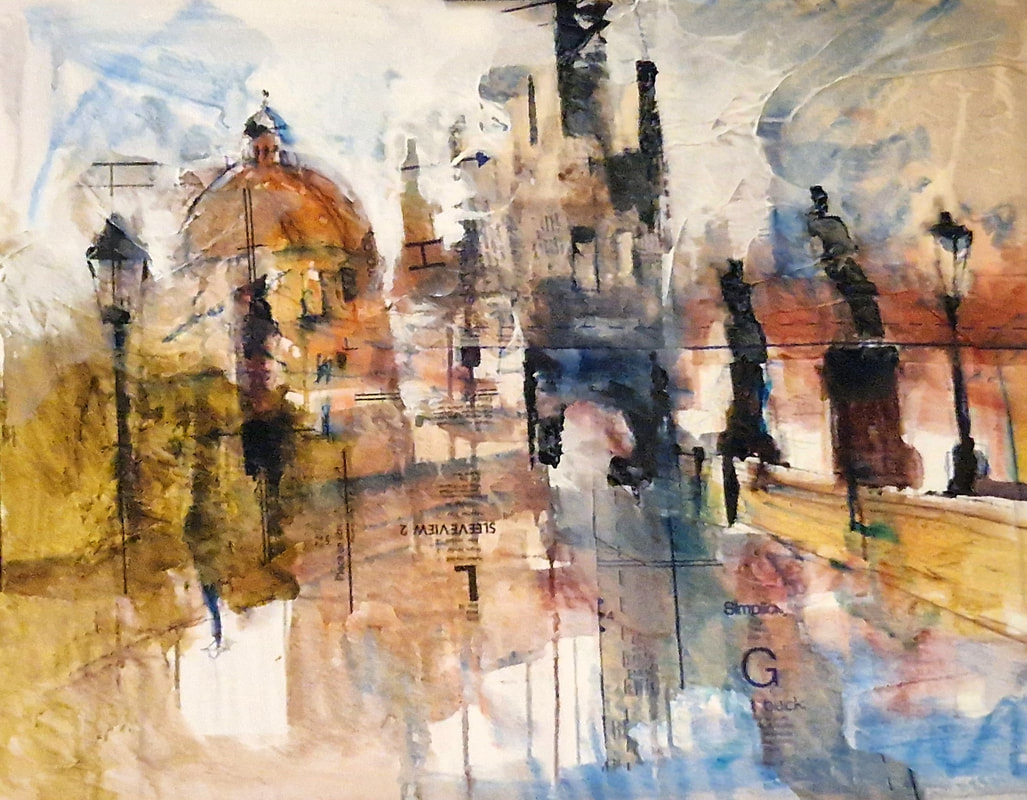
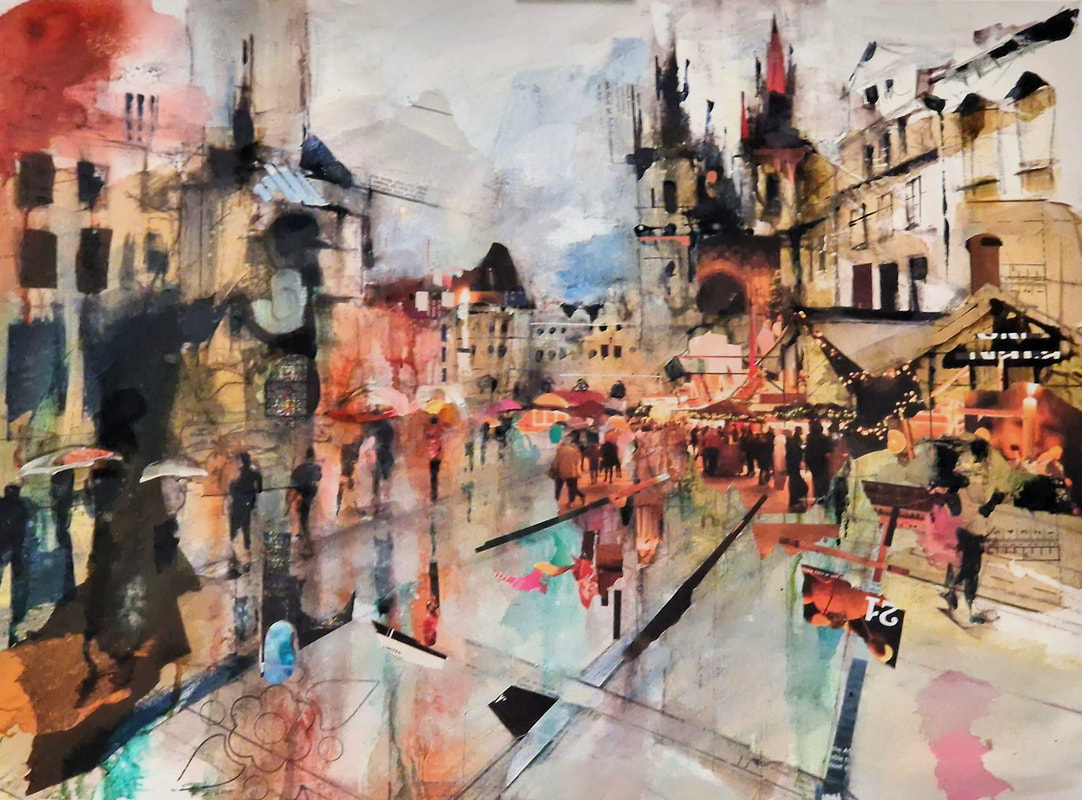
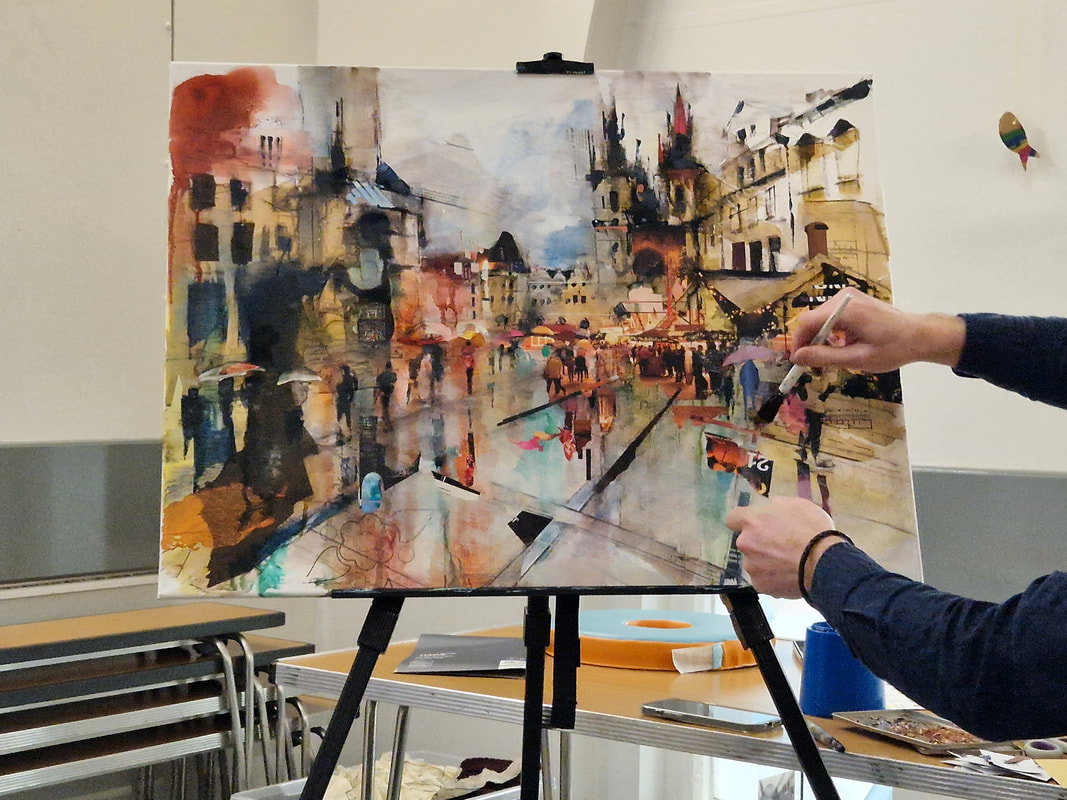
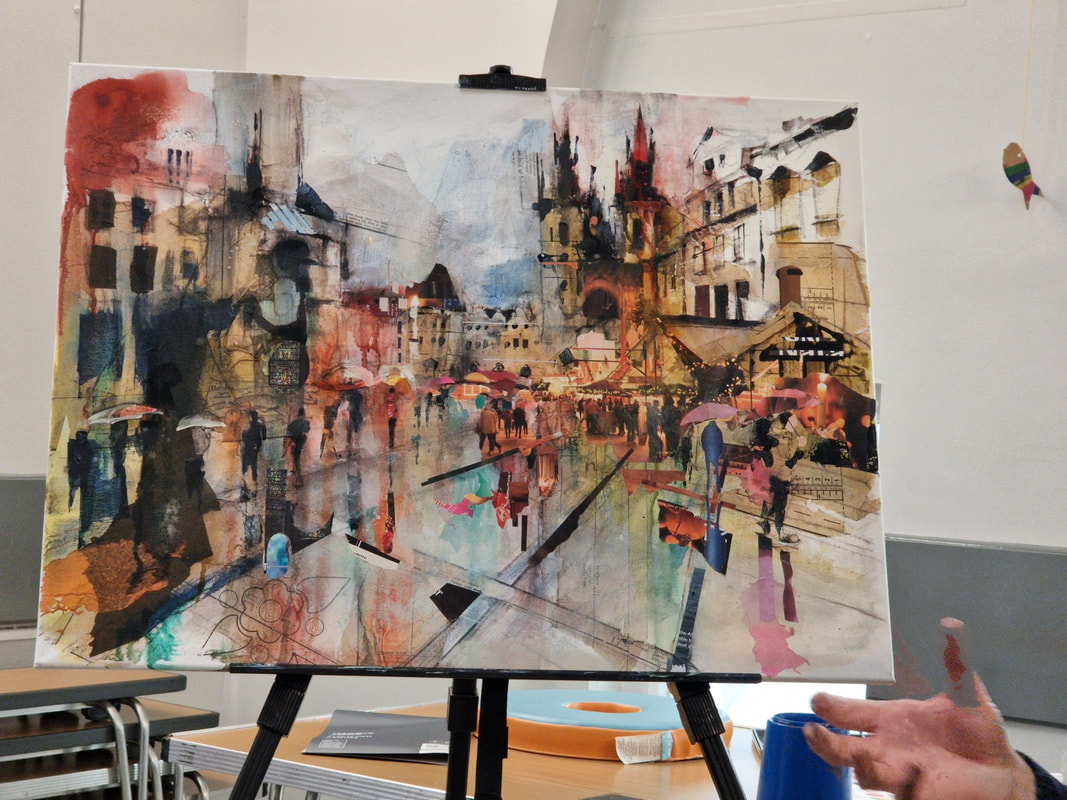
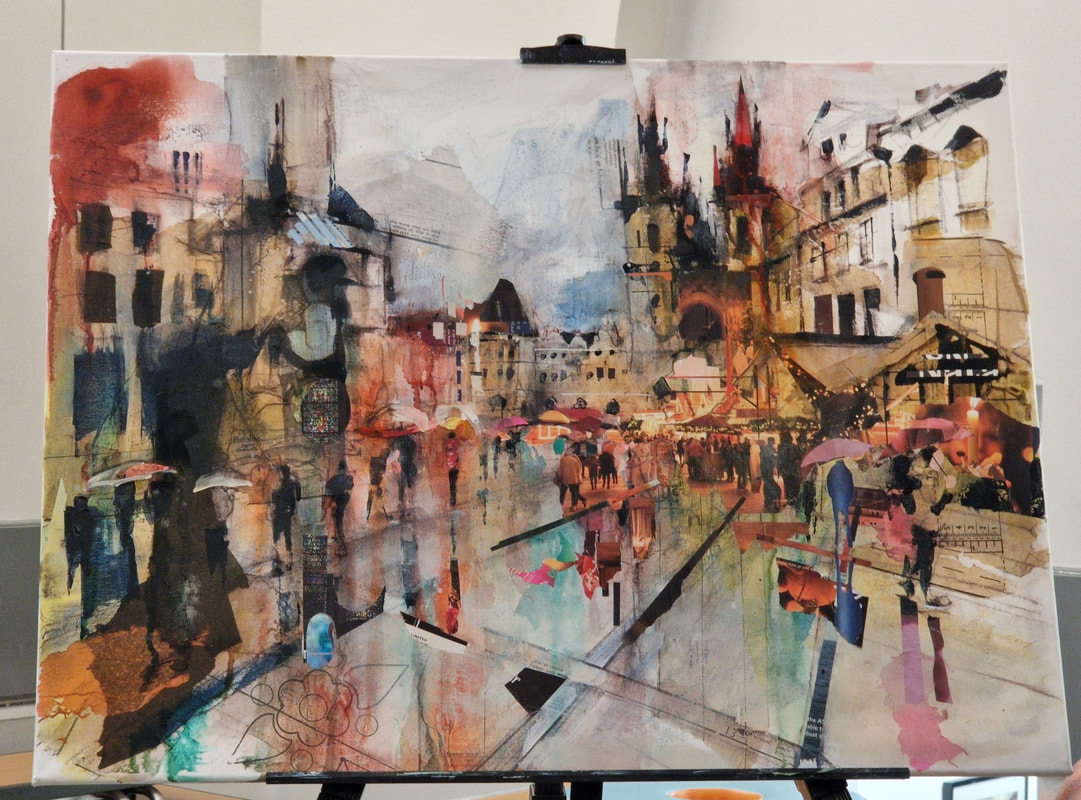
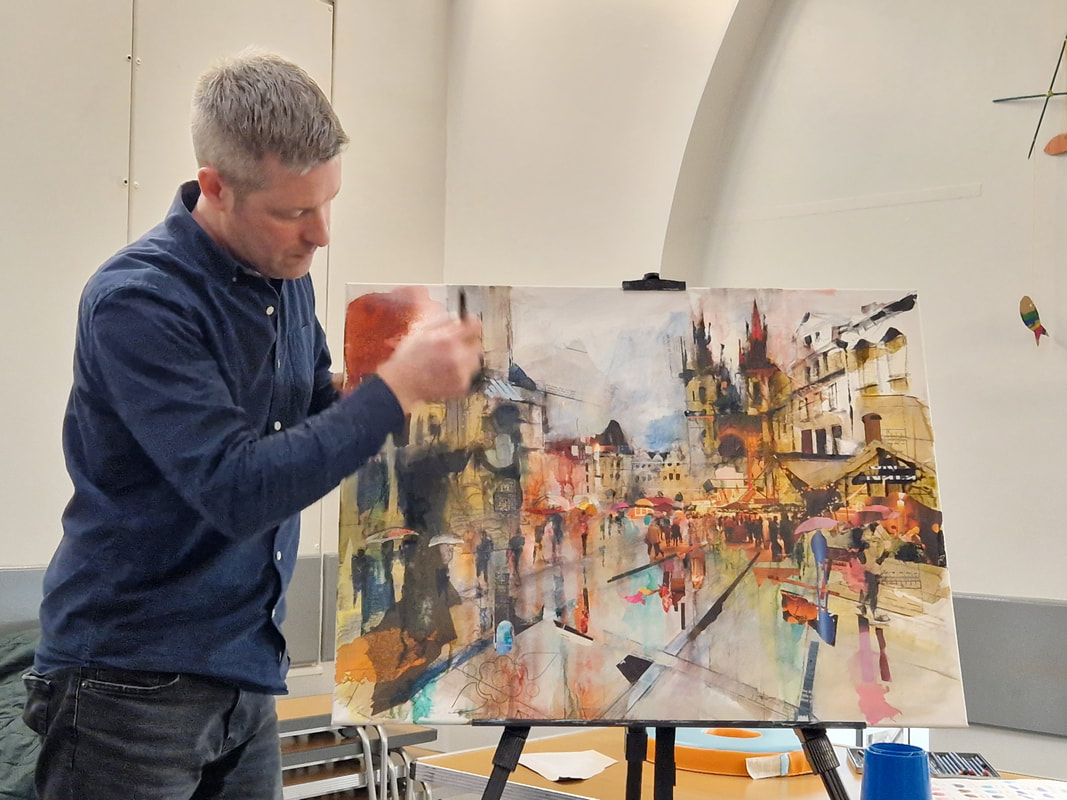
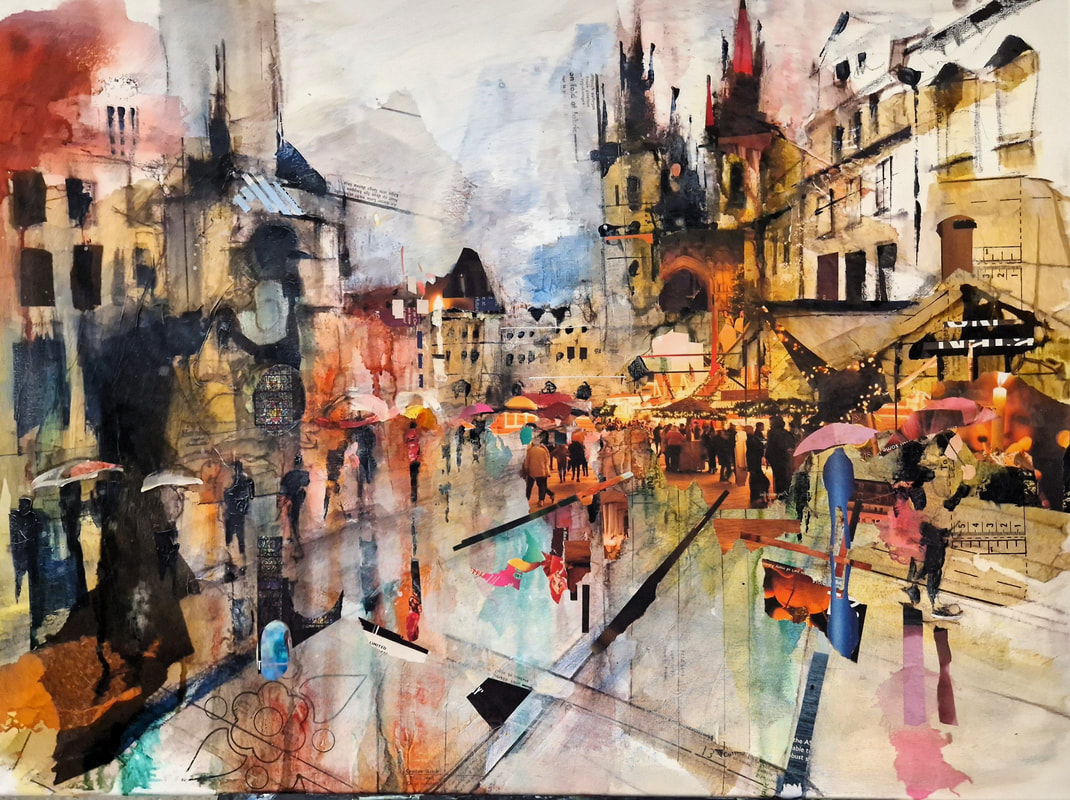
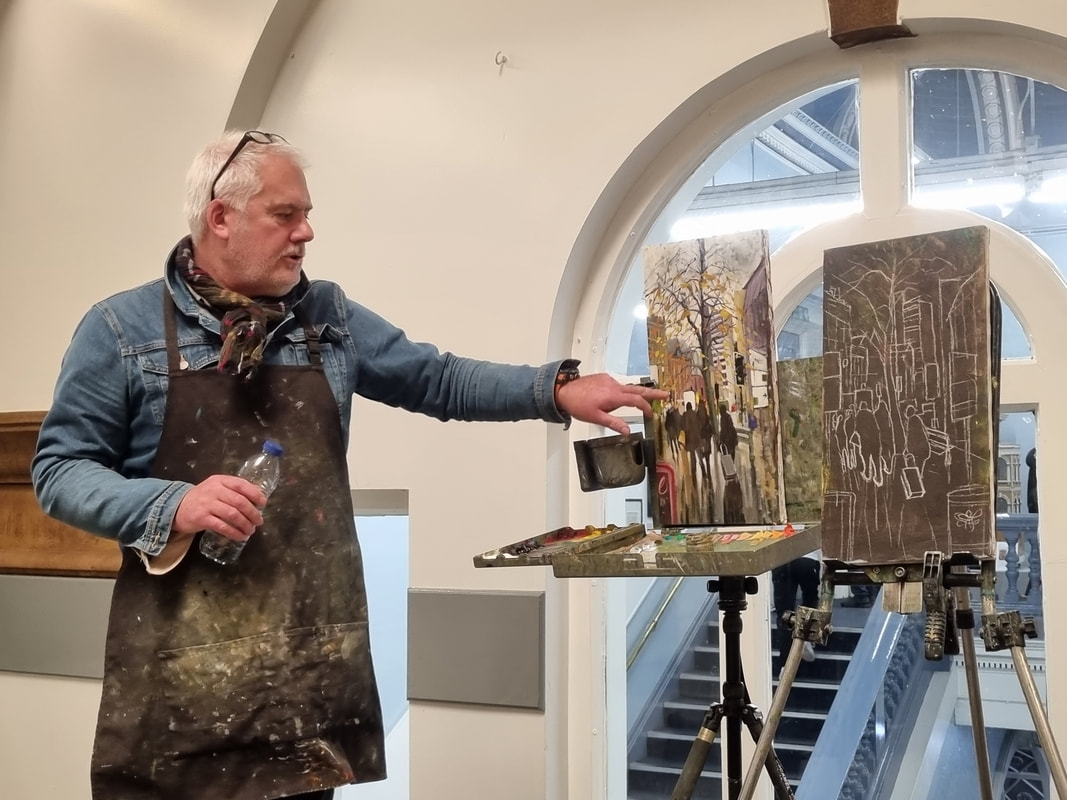
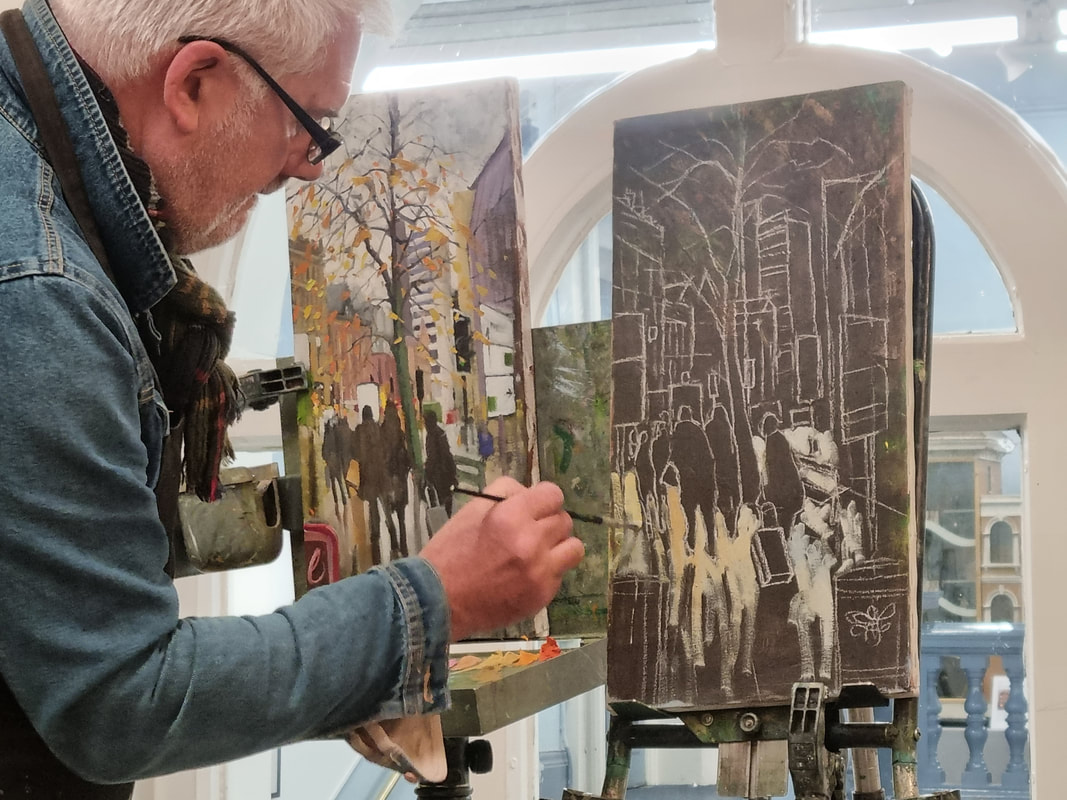
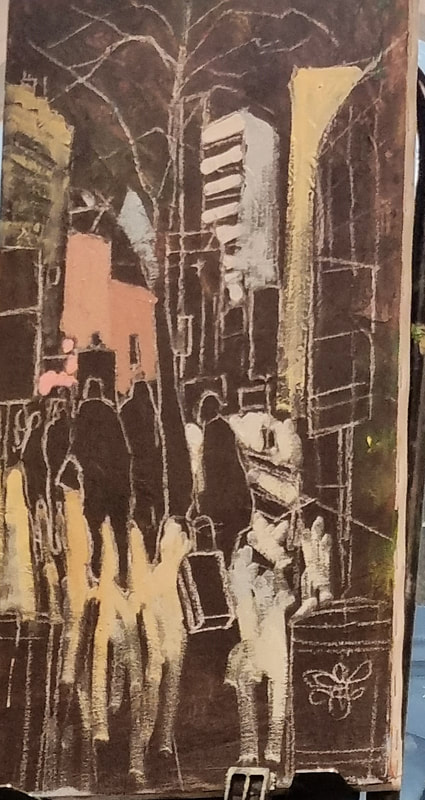
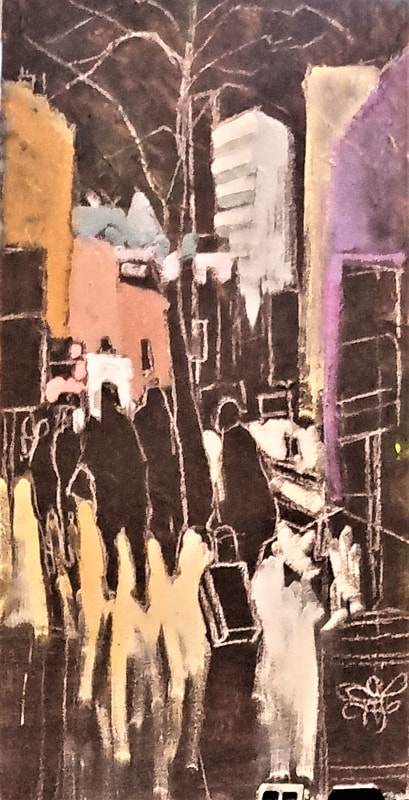
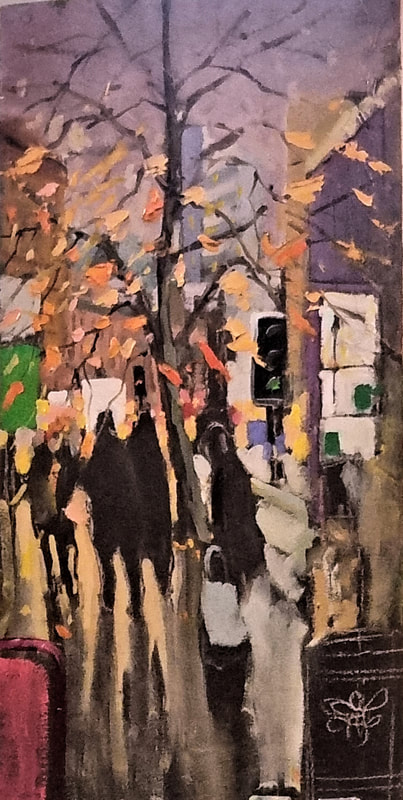
An enjoyable afternoon spent with a knowledgeable artist. #artrobwilson #salfordartclub #salfordmuseumandartgallery #mixedmediapaintingRob introduced himself and then mentioned Liam Spencer, Alice Kettle and Michael Bernard who had all influenced his work, which now was a combination of all their techniques in his own unique style. For this demonstration he was using Inktense pencils and doing a picture of Prague. He started with a quick drawing on canvas with a brown pencil doing a rough sketch before shading in the dark areas. He used a large canvas and at this stage he captured the essence of the picture. He doesn't use black but mixes his own dark colours before he using red oxide for the roofs. He slowly introduced more colours, before adding a deep blue to the sky and other areas. At this stage he added a little P.V.A. to some water as he would be adding tissue paper to the canvas. This was when the true colours of the Inktense pencils was revealed. He also mentioned that he normally works with the canvas flat but as this was a demonstration, he used an easel for our easier viewing. Using tissue from old clothing patterns, he covered most of the canvas, wetting some areas to create different textures. At times he dragged some colour onto the tissue paper with a brush before he allowed it to dry. For the final stage on this painting, he illustrated other techniques he uses on his work, starting with acrylic inks and washes of colour, as well as white acrylic to bring back contrasts in the silhouettes of the buildings, for which he used a business card to scrape on the white paint. Finally, he used a brush to push the white around a little then a Prussian Blue and Raw Umber mixed to make a nice dark colour applied with the corner of card, quite thick in areas. After reaching this stage he left this painting and brought out another one to show us the next stages. He enjoys using magazines to add to the work and ripped out a pink colour for adding to the umbrella, as a background, which he could work on afterwards. Once satisfied he then proceeded to work across the painting, concentrating on separate areas. Next, he added washes of thin watercolour to unify areas and brings out textures. Then he used a dry brush with a little white paint on it, rubbing some areas to bring out the light. Finally, he said he would take the canvas off frame so that he could sew on it with an industrial sewing machine allows him to add up to 8 to10 different coloured cottons. The finished painting would then be varnished to unity the surface colours before being framed behind U.V. Glass. A fascinating insight into Rob’s working style and I am sure everyone was inspired by his technique as well as enjoying the demonstration.
Week 1 Week 2 |


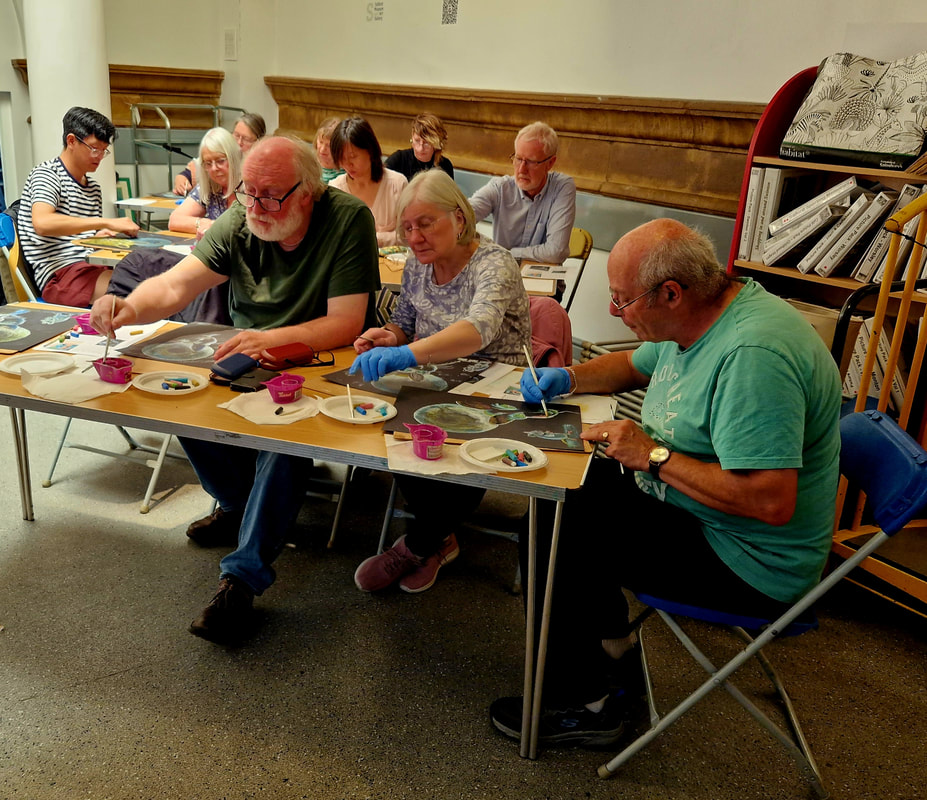
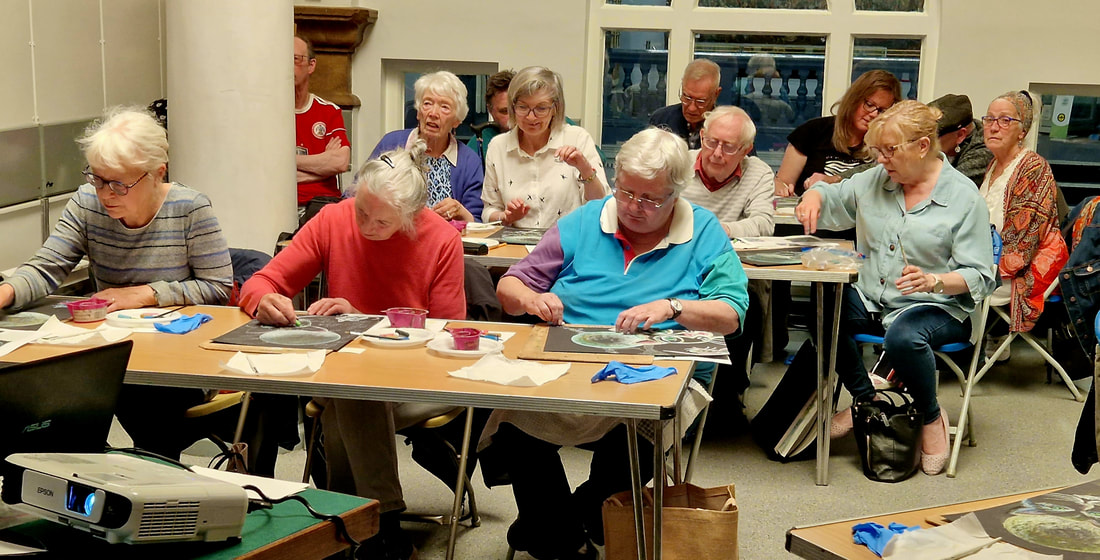


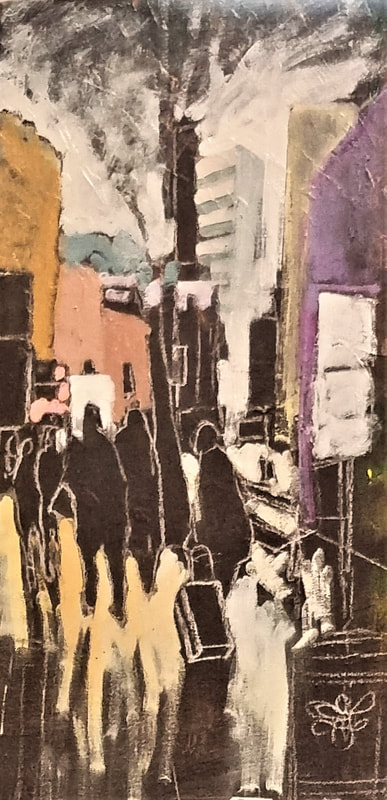
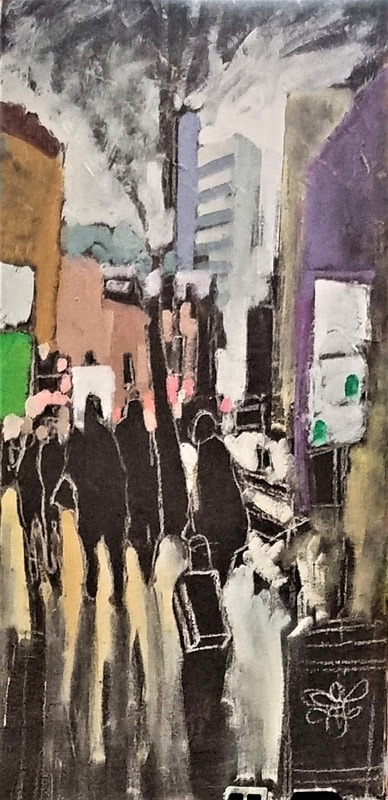
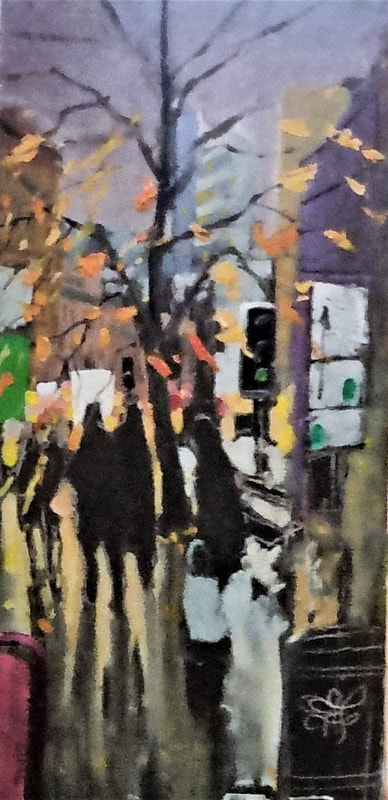
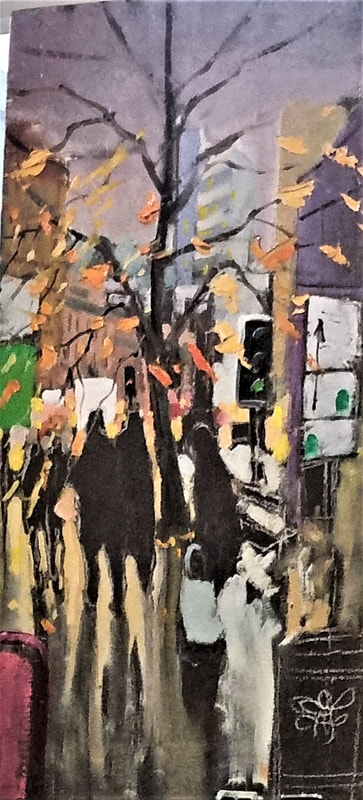

| An interesting workshop with several members using this medium for the first time. A step-by-step session with a range of final results. | 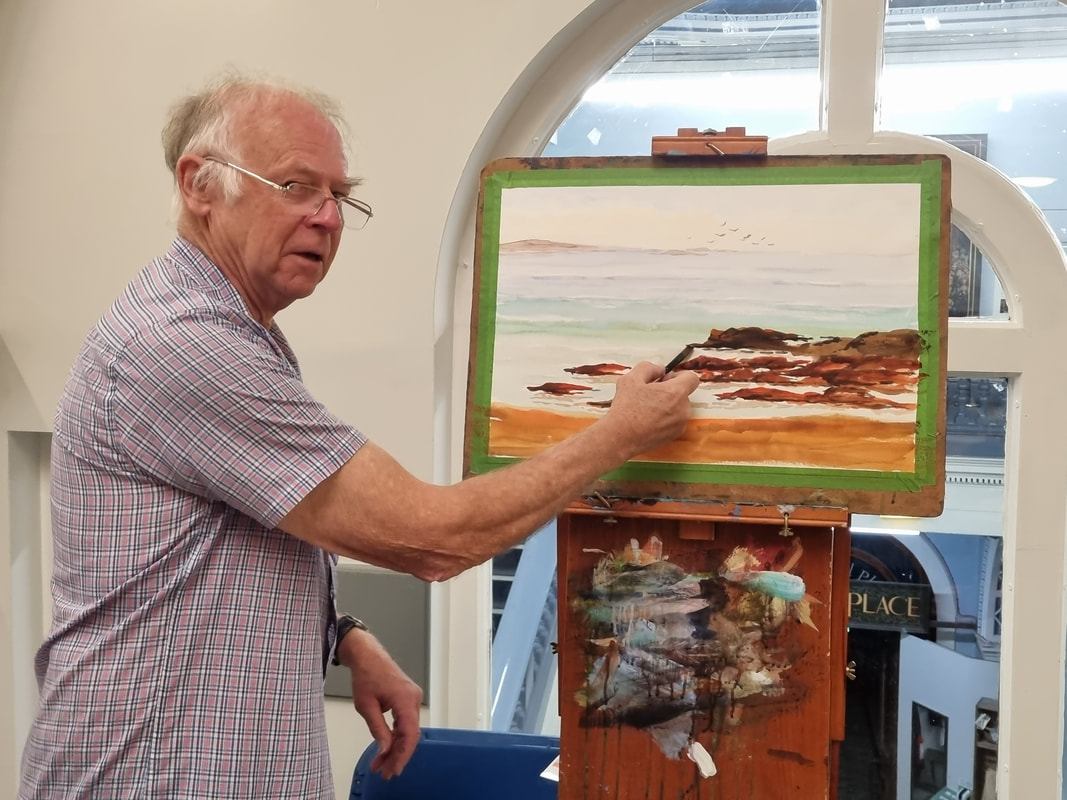 |
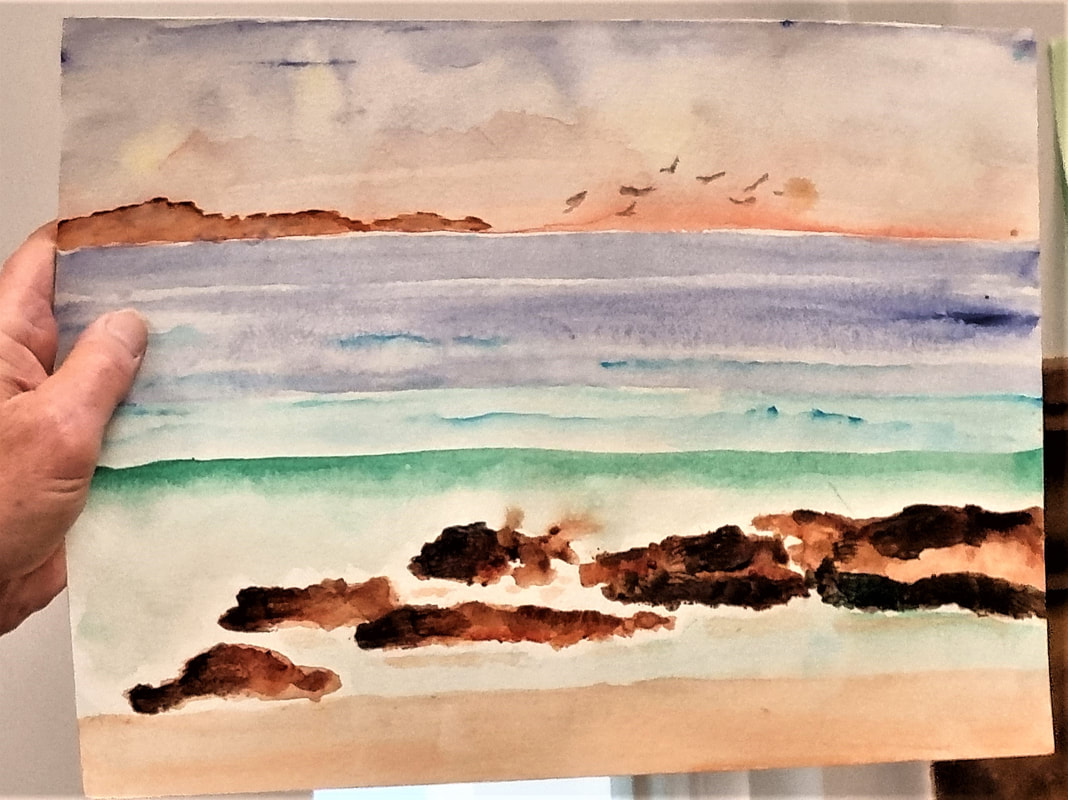

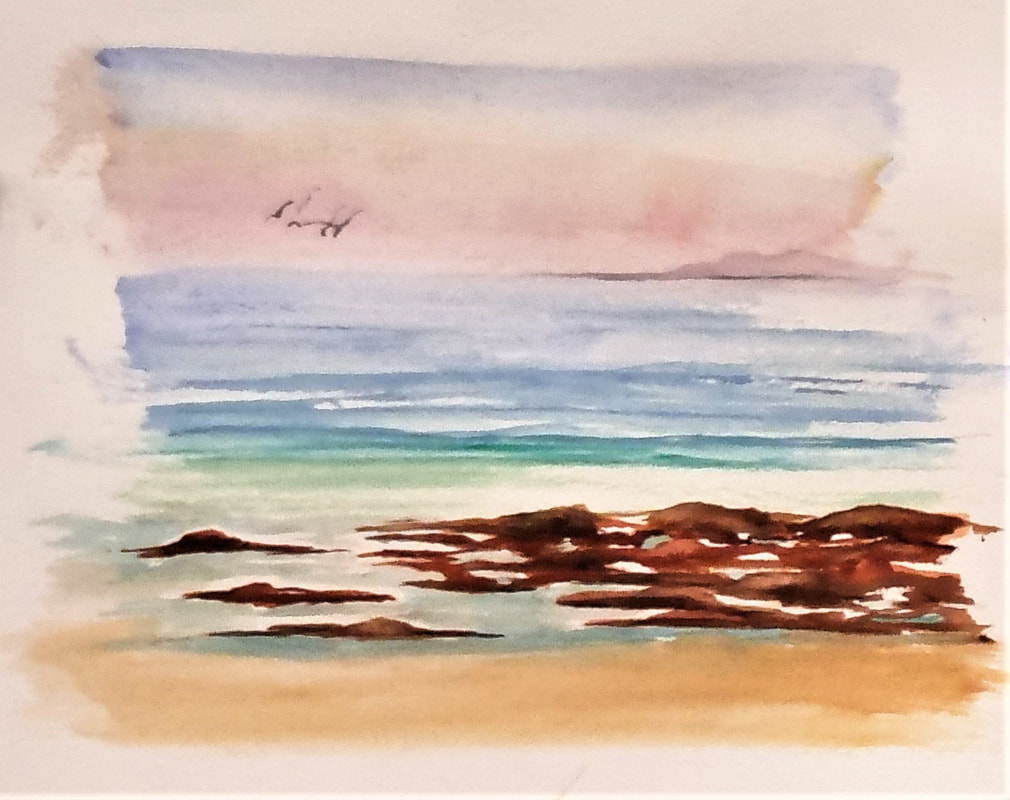
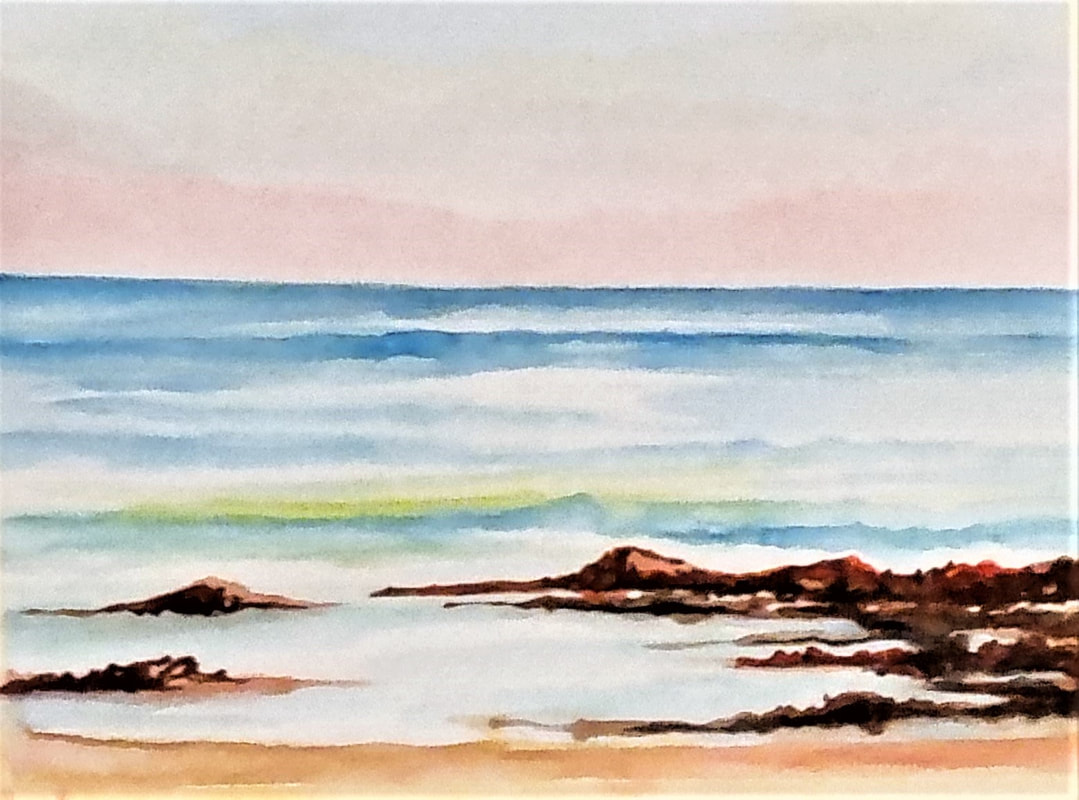
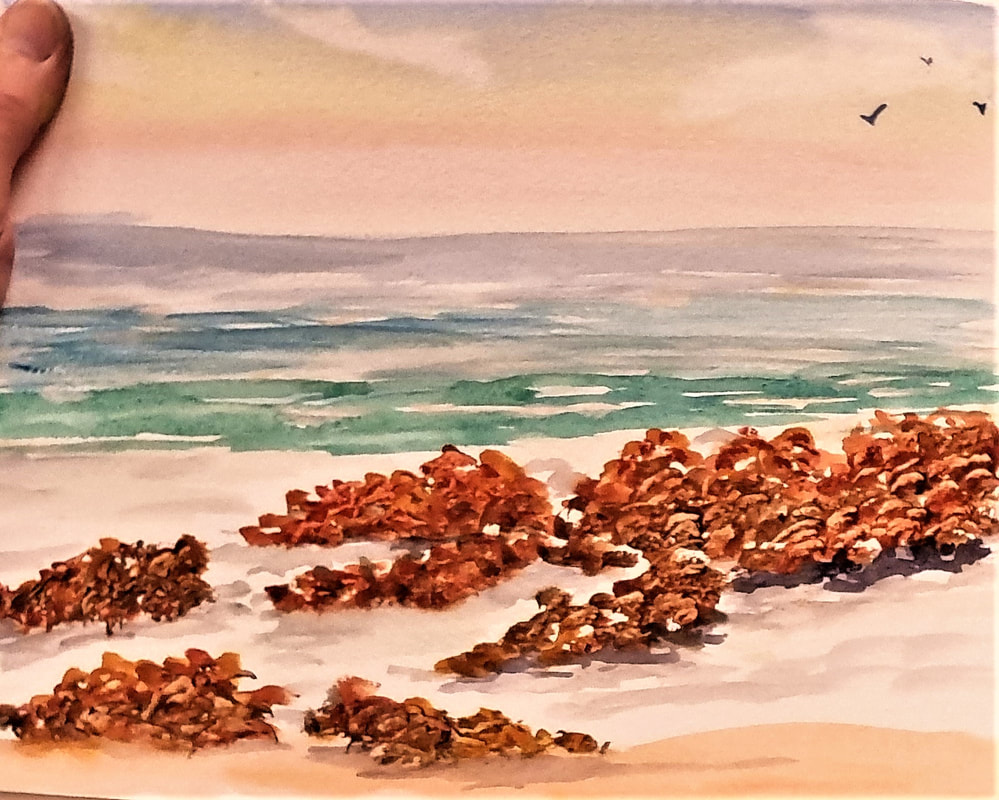
Acrylic workshop
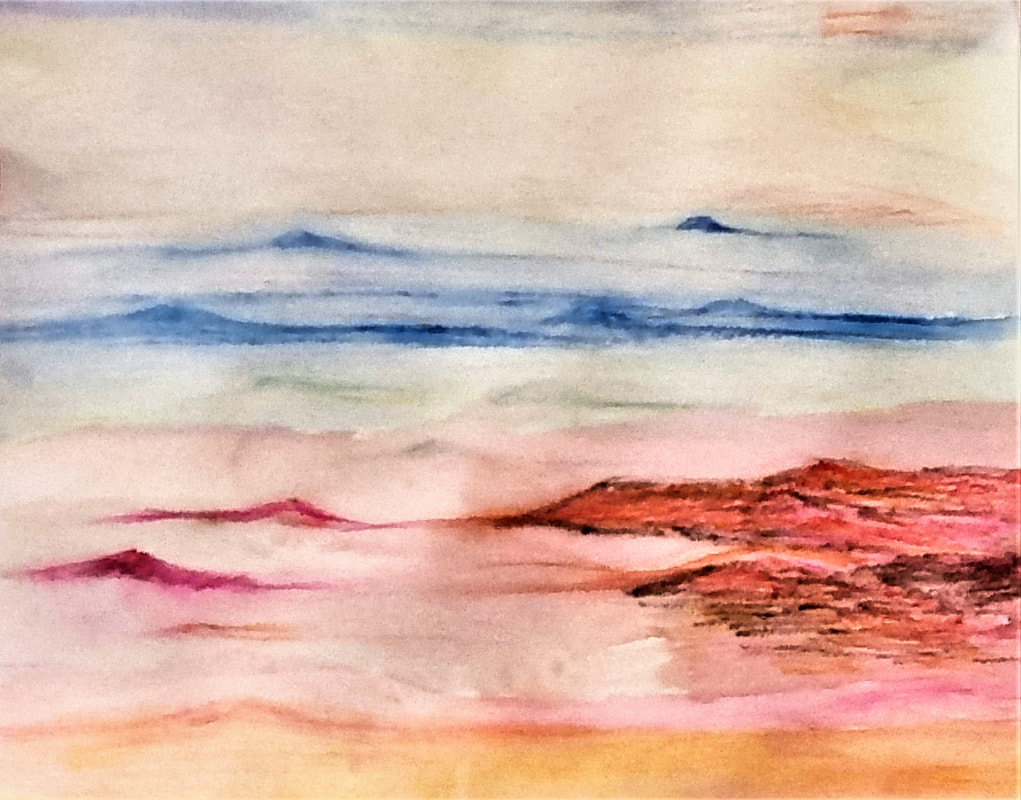
After the first week there was an excellent turn out again where members followed along painting an Autumn scene. Again, some super paintings with individuals own interpretations of the landscape.
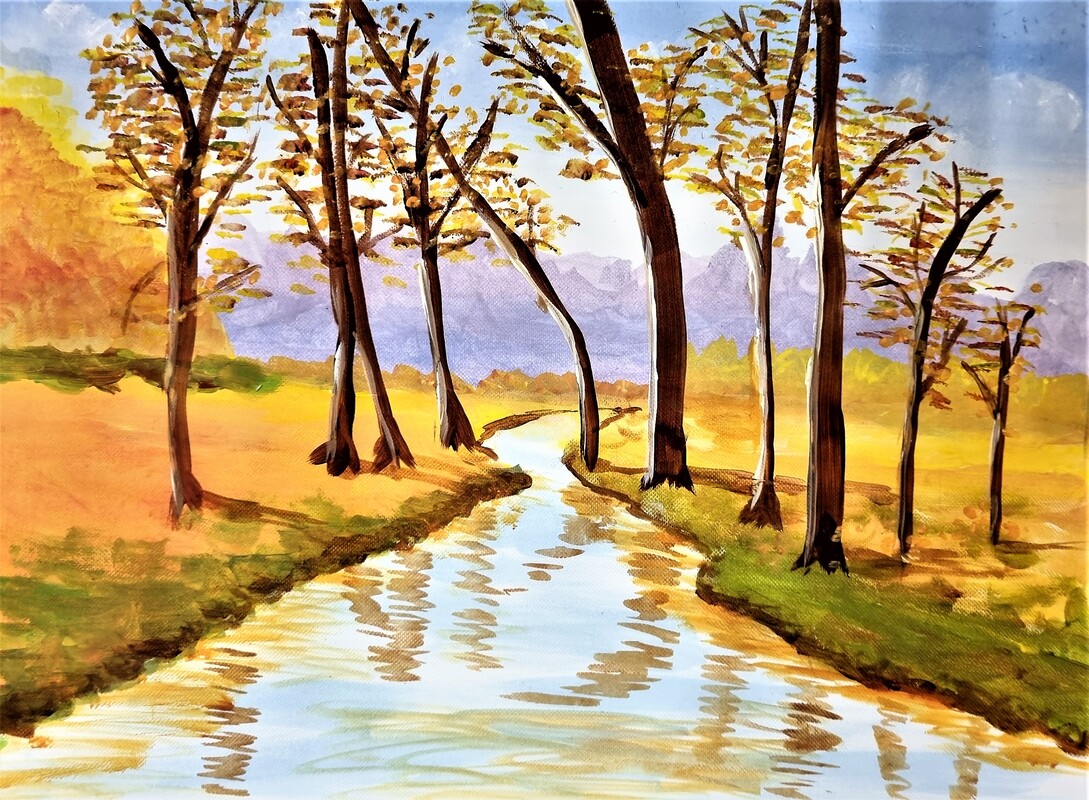
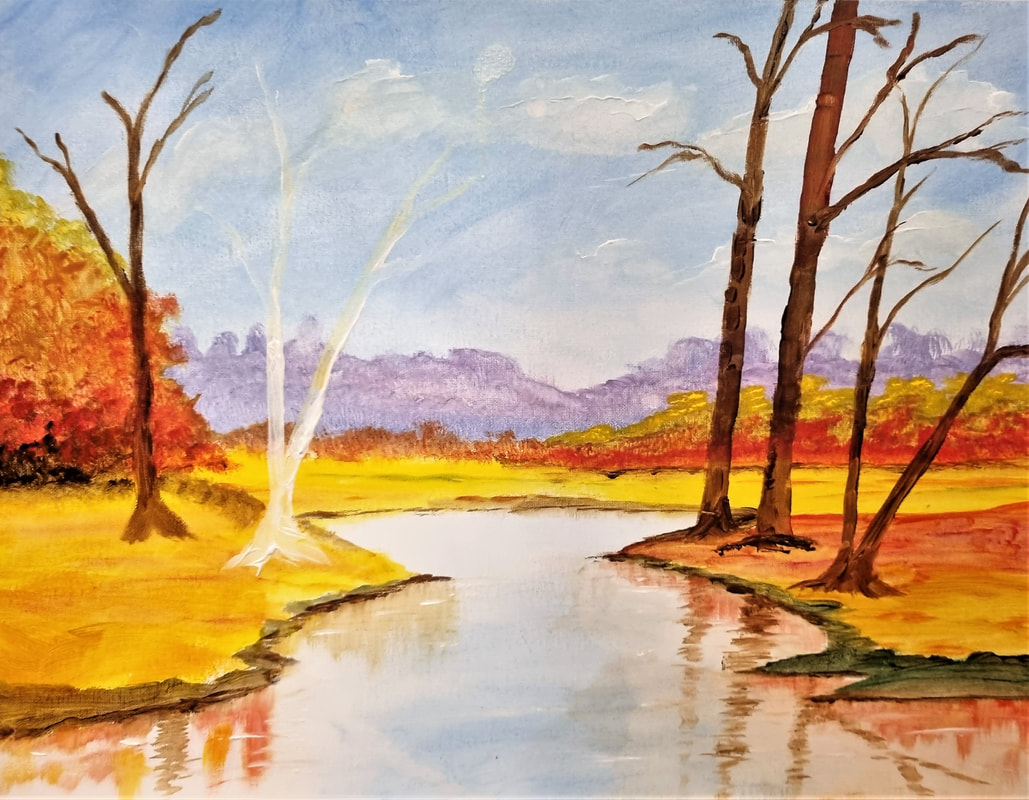
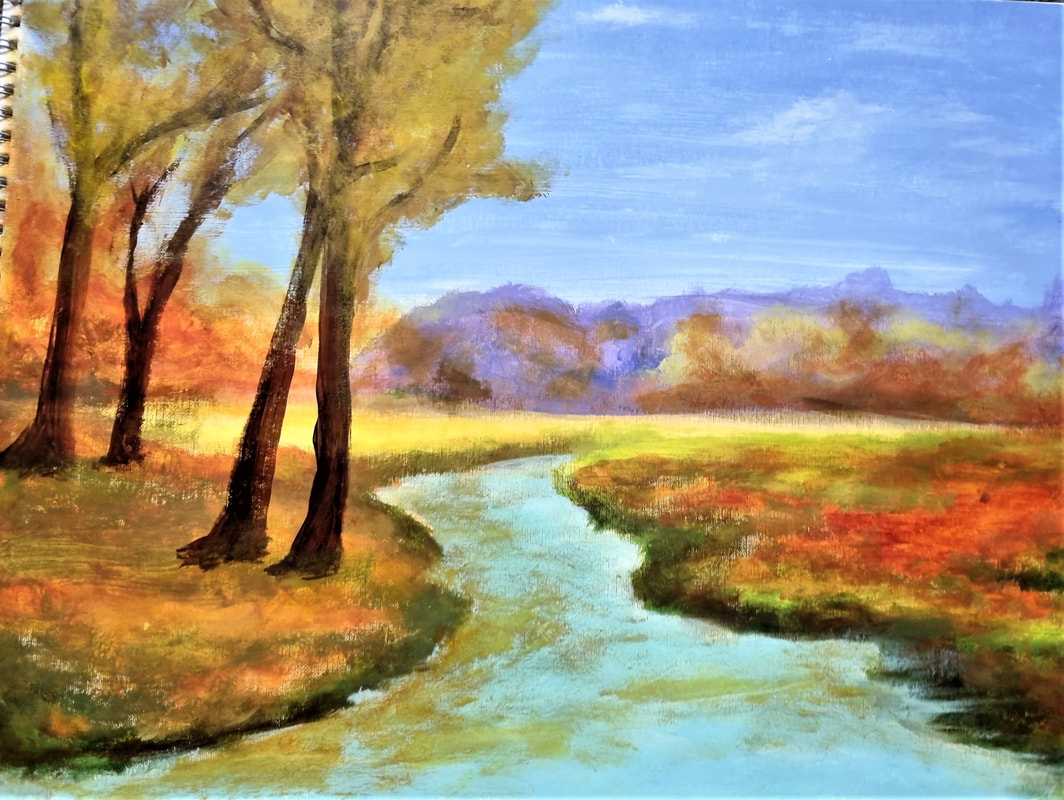
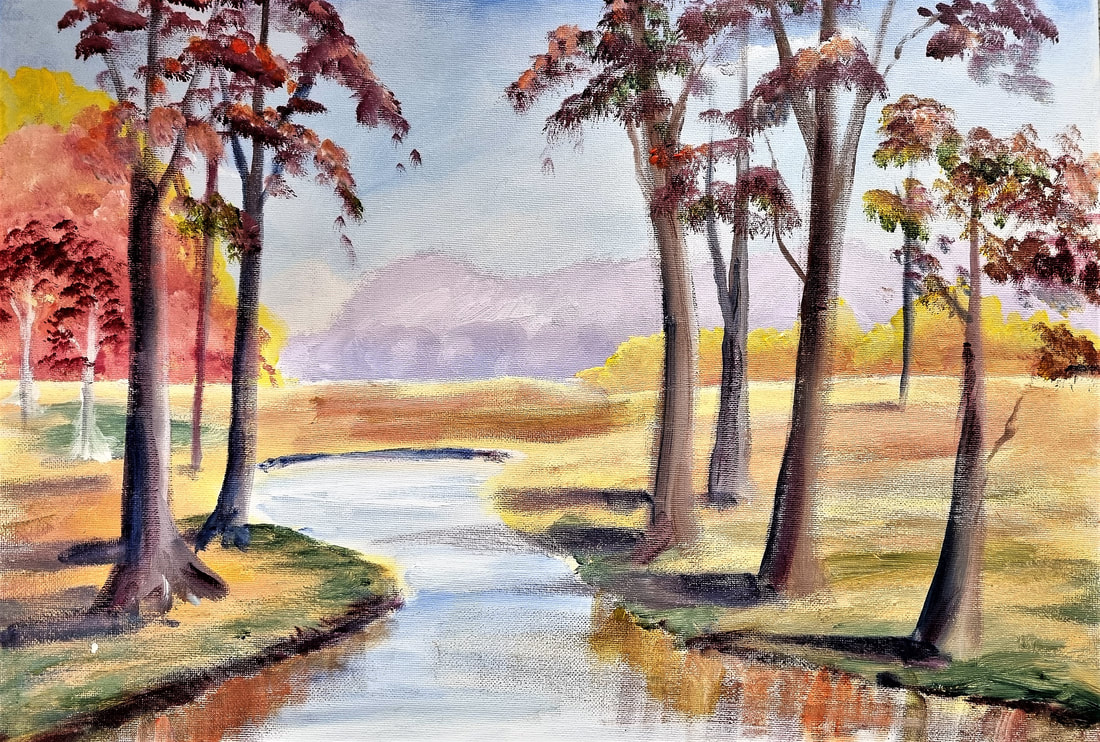
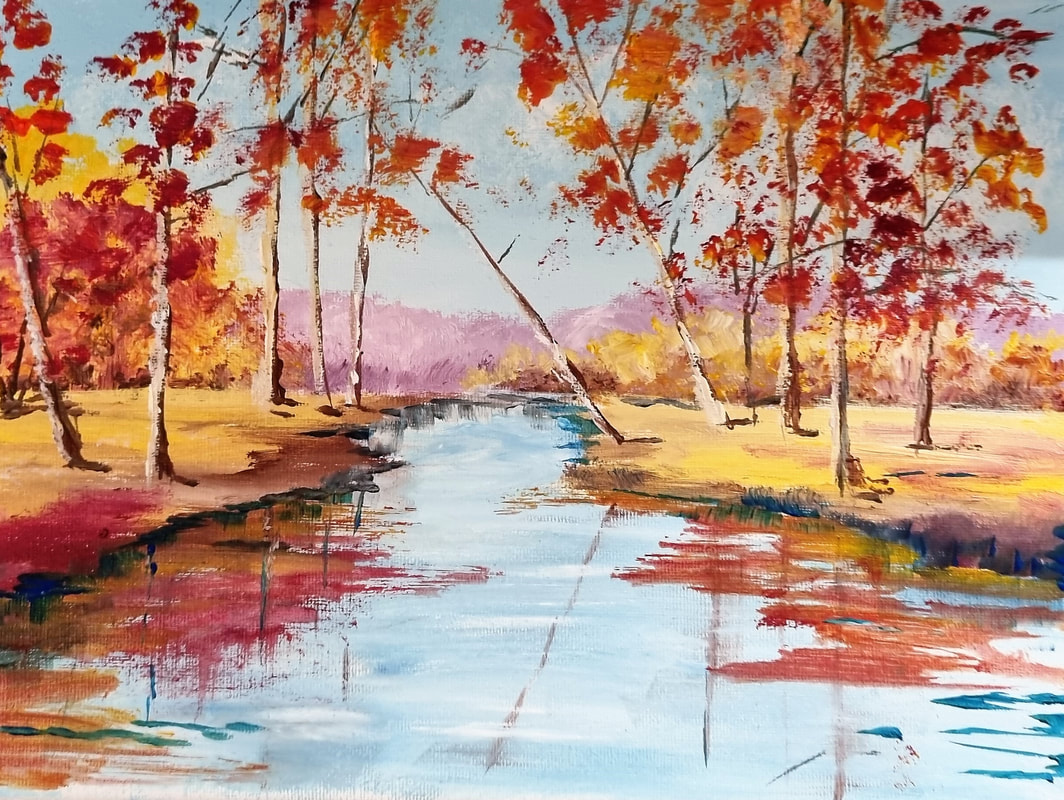
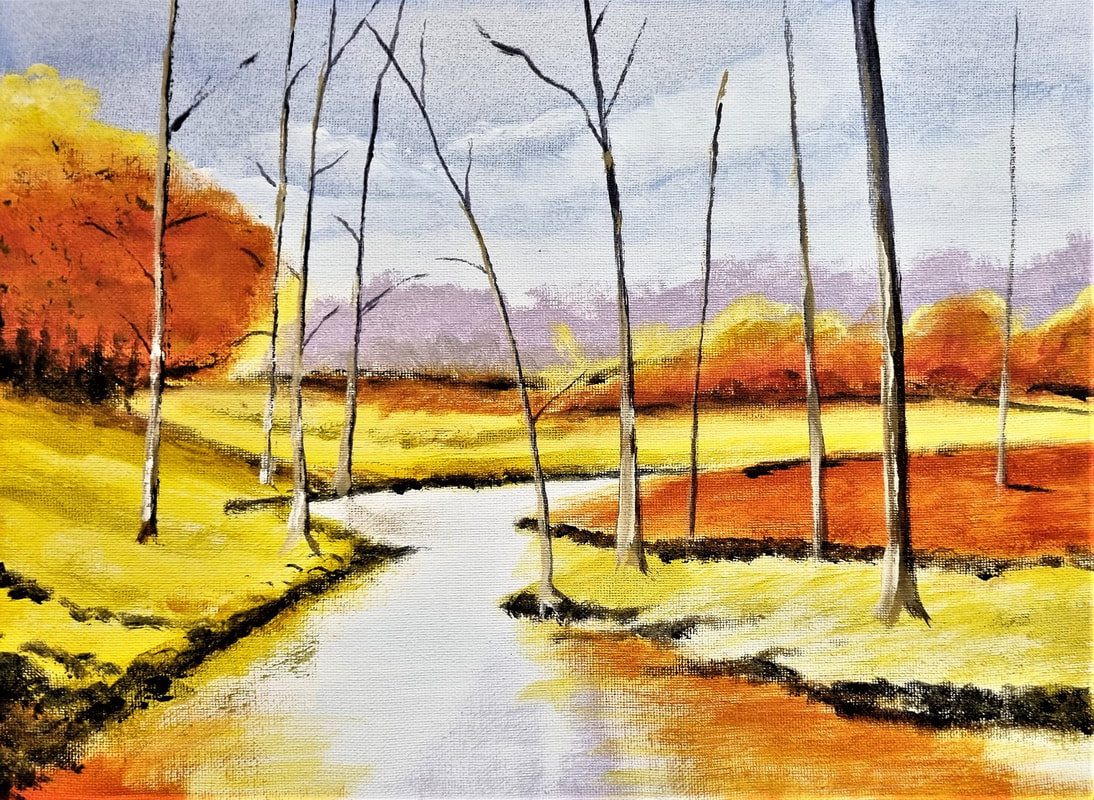

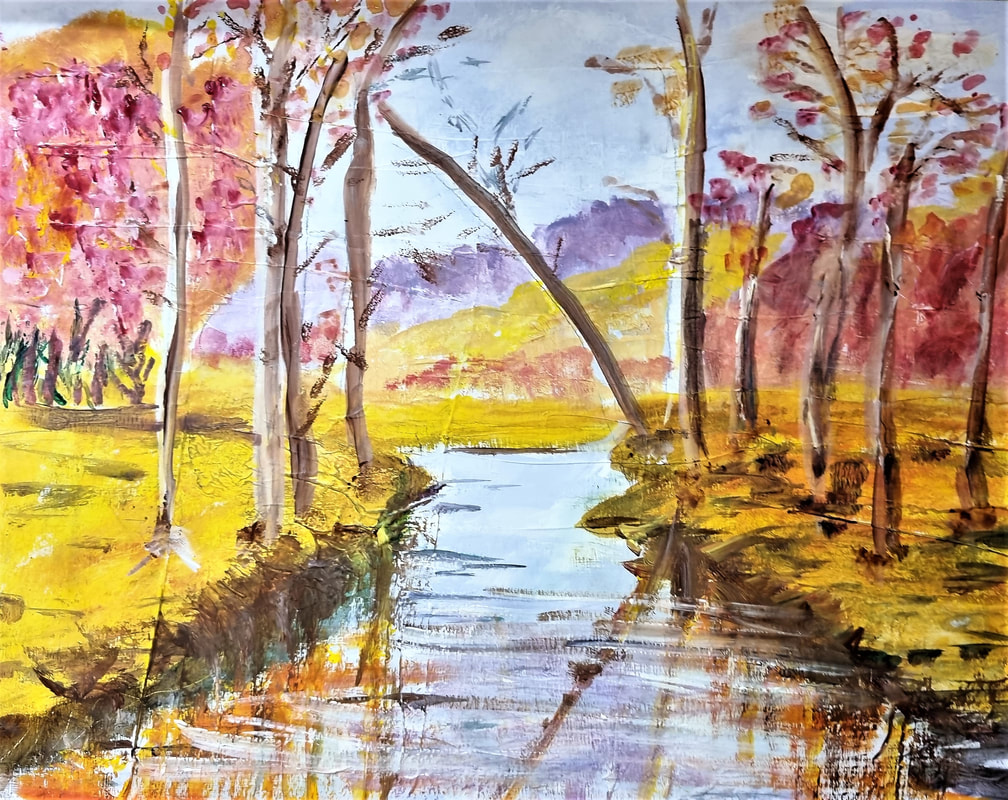
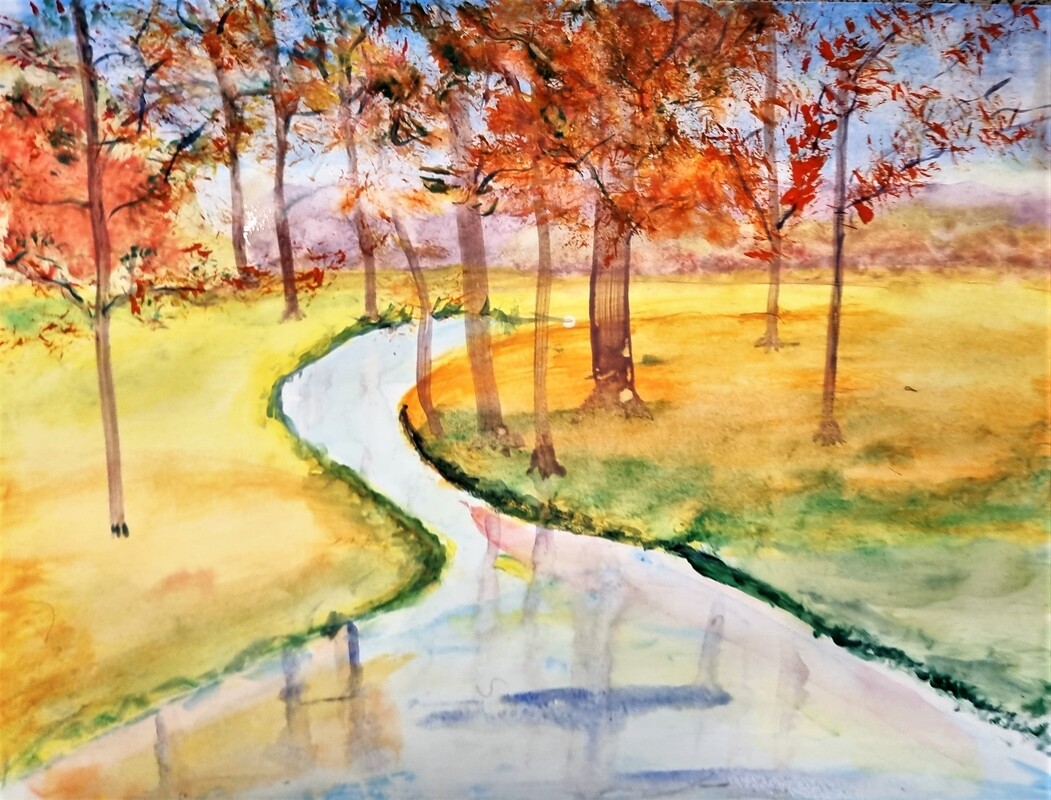
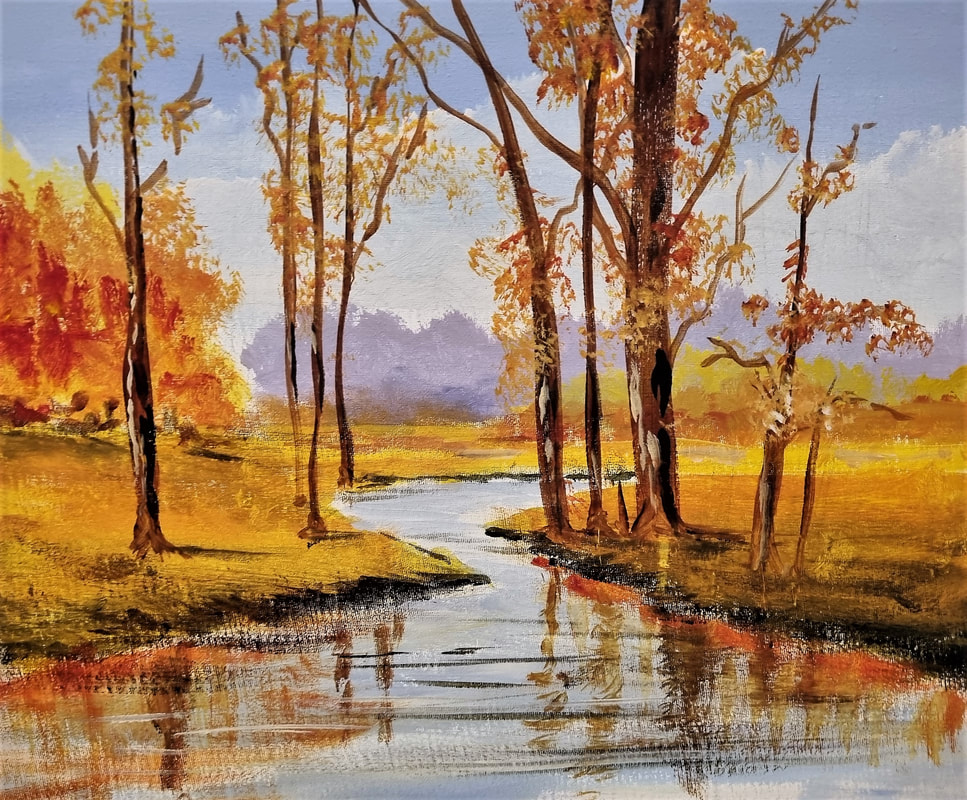
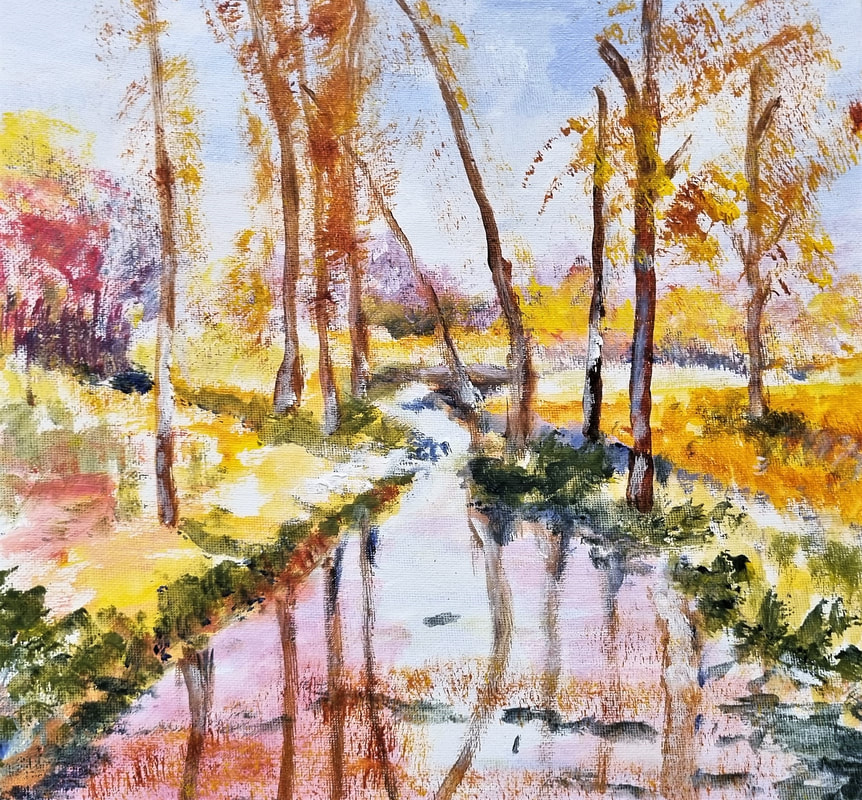
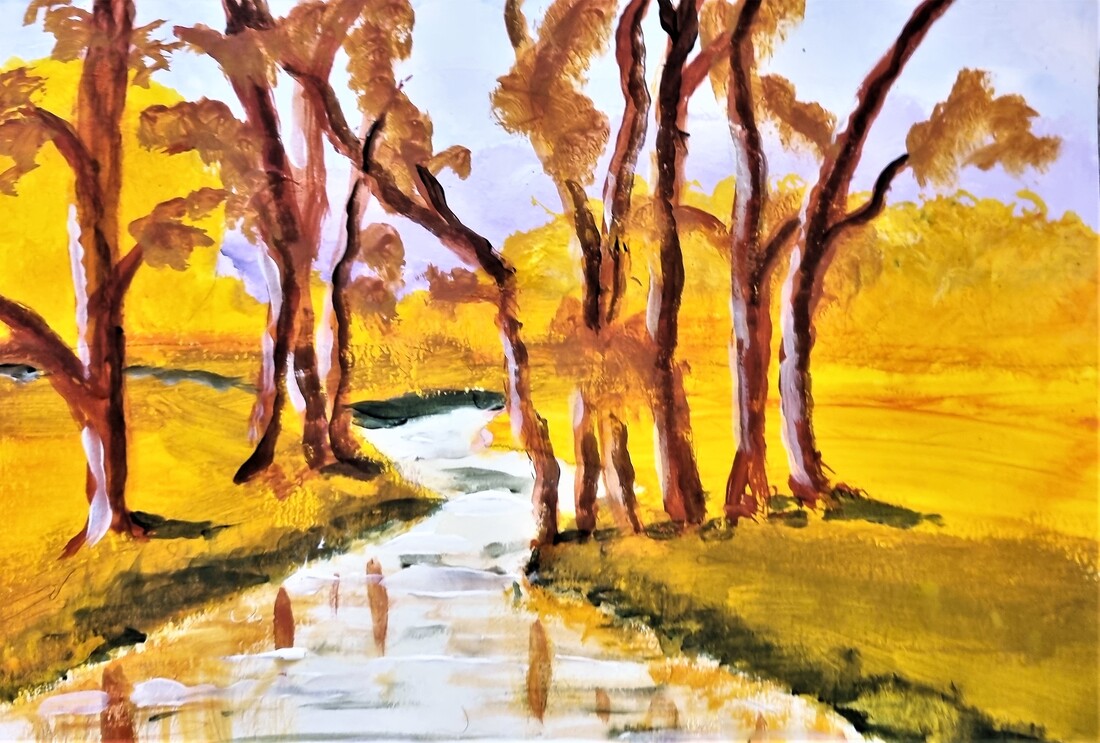
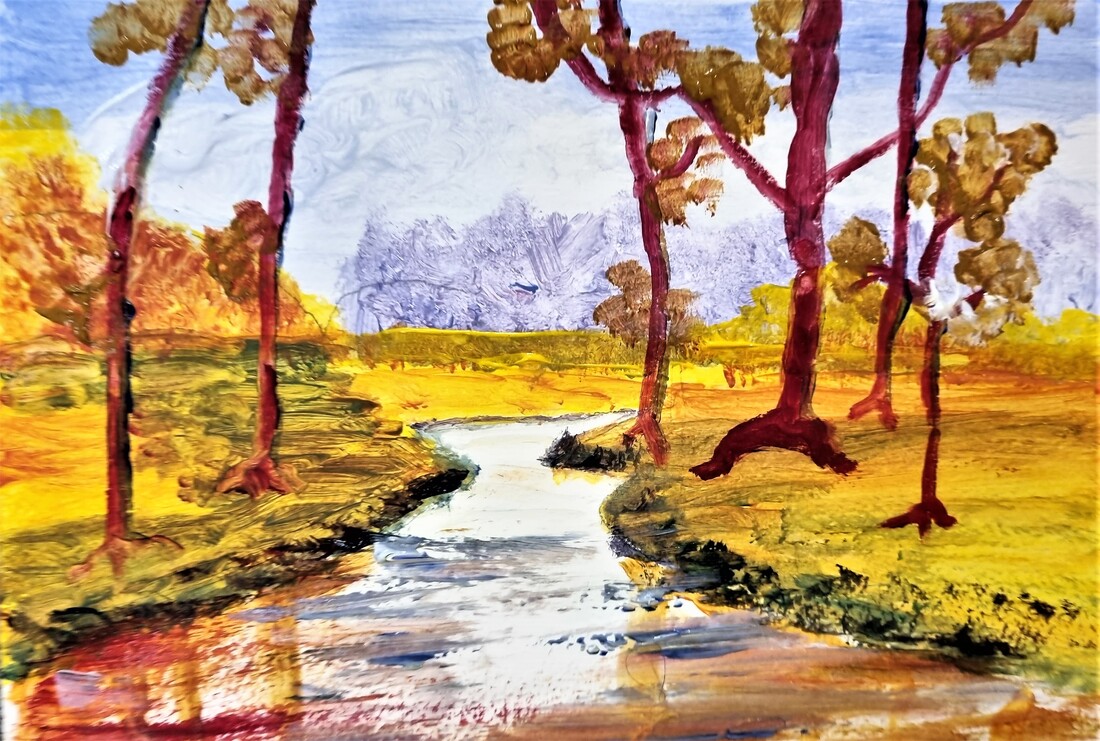

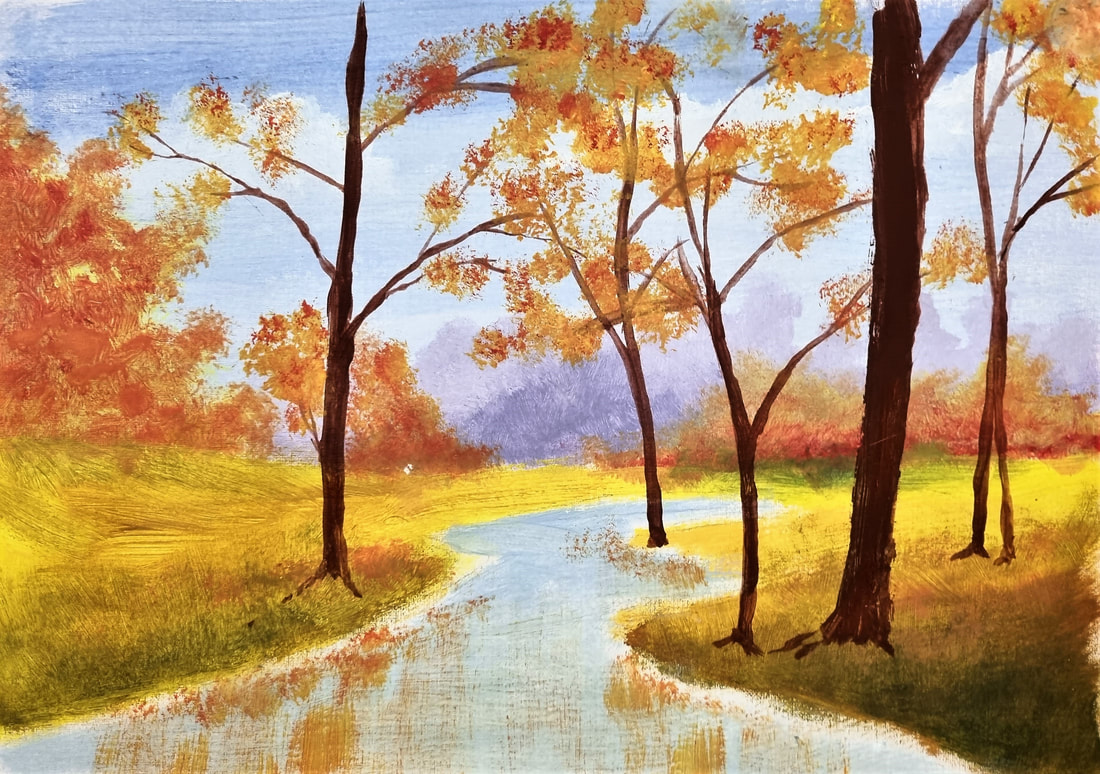
Two super sessions and we look forward to Steve running another one in the future.
#gillnicholas #salfordartclub #salfordmuseumandartgallery
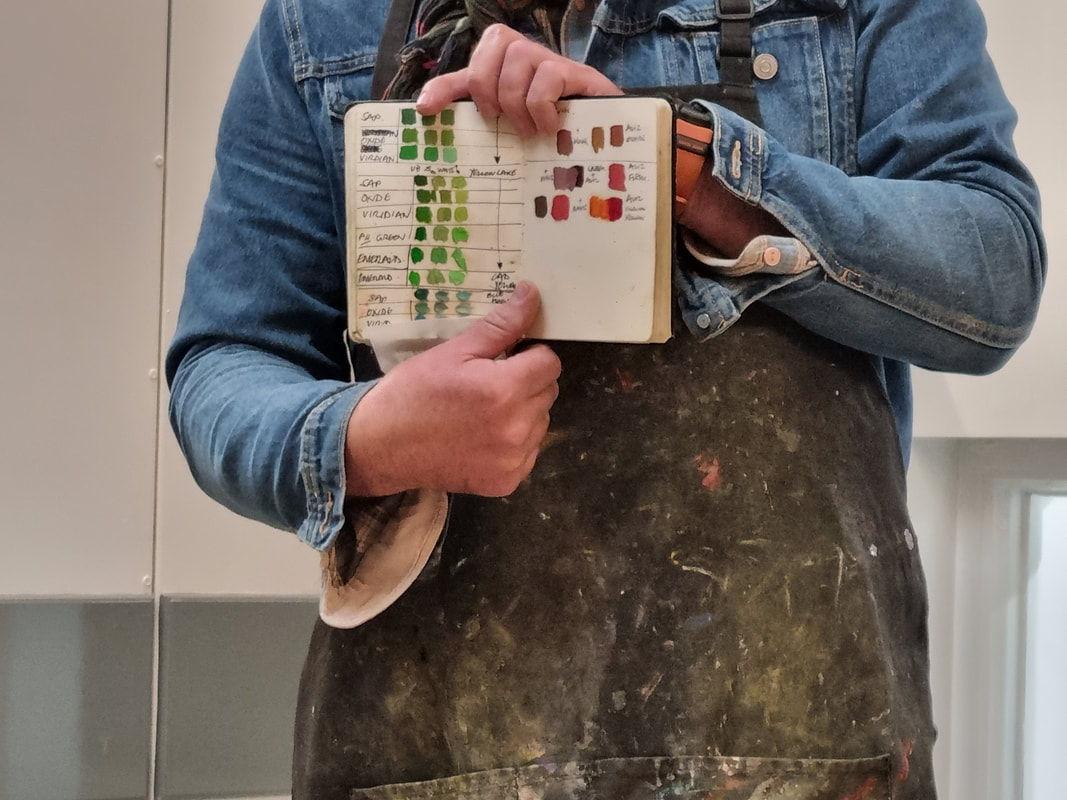
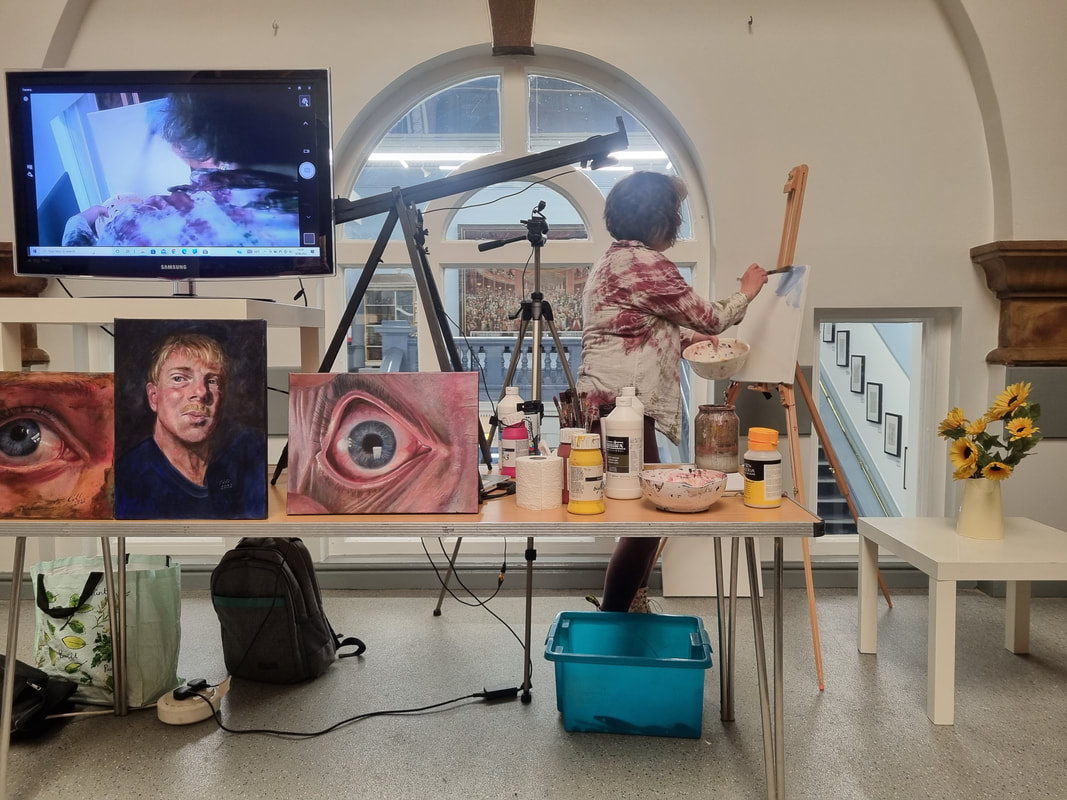
Gill uses a bowl as a palette so that it is easier to transport and save the paints. She uses just 6 colours, with two extra for special colours, as she is able to mix all the combinations need from these. Todays talk was about producing paintings using glazes.
She talked about using both Galleria gloss and Liquitex mediums and at times Matt medium for the glazes.
To demonstrate the effects she achieves she started by putting some white paint on paper then adding gloss medium . Gill mixed raw umber and medium to get a glaze and compares this with acrylic mixed with water to show the different effects.
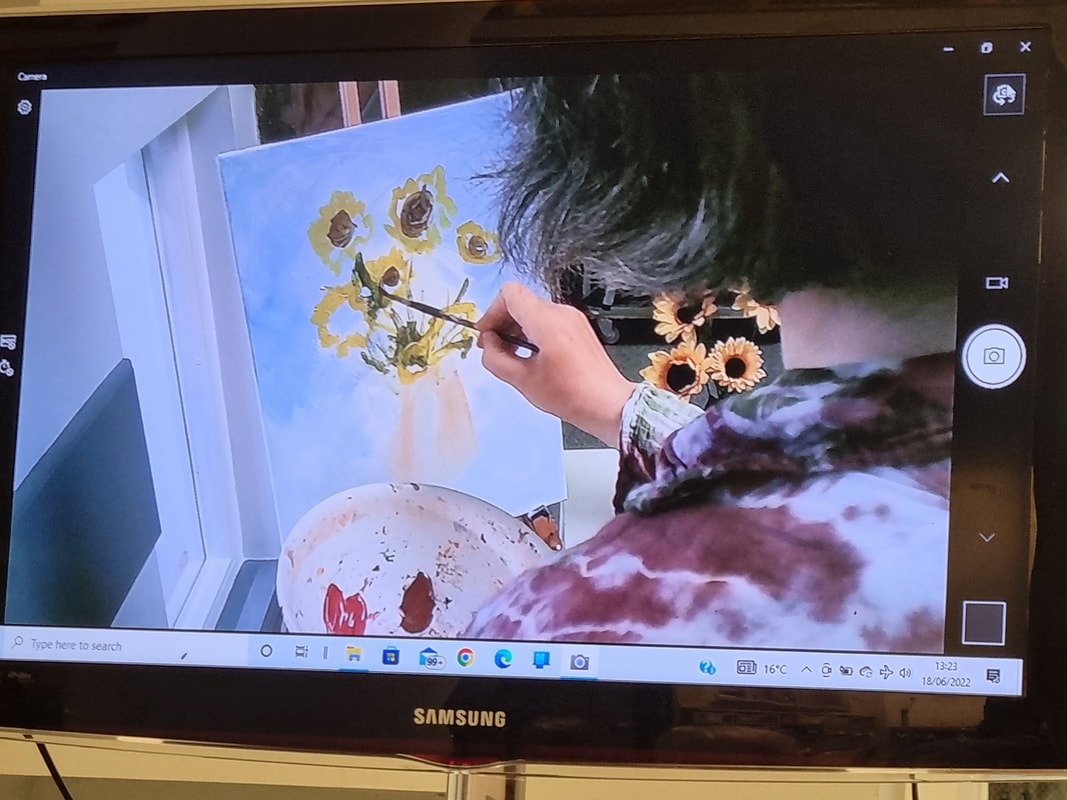
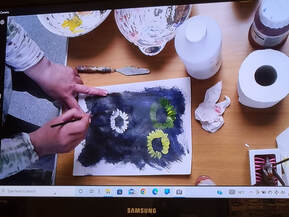
For the demonstration she painted two versions of sunflowers . On the first one she covers the canvas with a slightly watered down blue background using ultramarine and white paints mixed together. Then used Burnt Sienna and white for a creamy background before using Raw Umber and Yellow Ochre and Ultramarine for the flowers. Then left this one to dry.
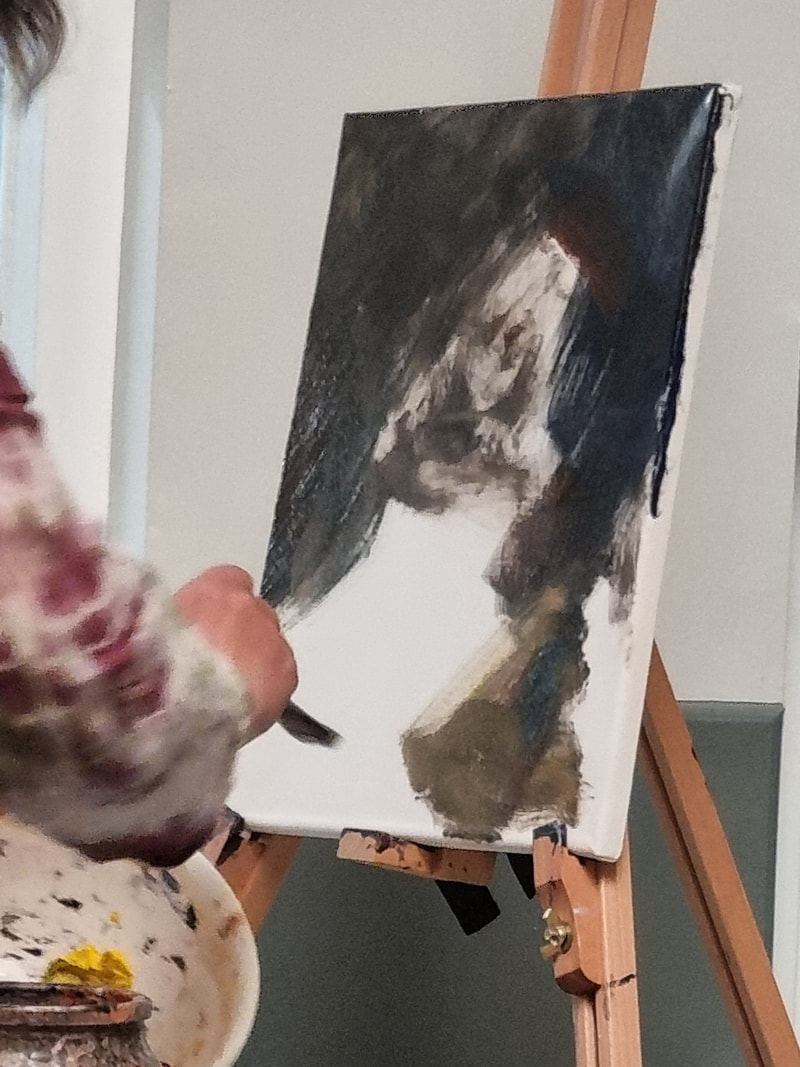
Whilst the first one is drying she started a second canvas this time with a dark base from Raw Umber. Then leaves this to dry.
She talked about using both Galleria gloss and Liquitex mediums and at times Matt medium for the glazes.
To demonstrate the effects she achieves she started by putting some white paint on paper then adding gloss medium . Gill mixed raw umber and medium to get a glaze and compares this with acrylic mixed with water to show the different effects.
For the demonstration she painted two versions of sunflowers . On the first one she covers the canvas with a slightly watered down blue background using ultramarine and white paints mixed together. Then used Burnt Sienna and white for a creamy background before using Raw Umber and Yellow Ochre and Ultramarine for the flowers. Then left this one to dry.
Whilst the first one is drying she started a second canvas this time with a dark base from Raw Umber. Then leaves this to dry.
Whist waiting for these to dry she talked about colour shift what happens when you put one paint on top of another.
When putting one colour on top of a previous colour the first colour will effect the result, but by adding glazing medium first the colours stay true.
When putting one colour on top of a previous colour the first colour will effect the result, but by adding glazing medium first the colours stay true.
She then returned to first canvas adding a thin white glaze which knocked back colours before next layer is applied.
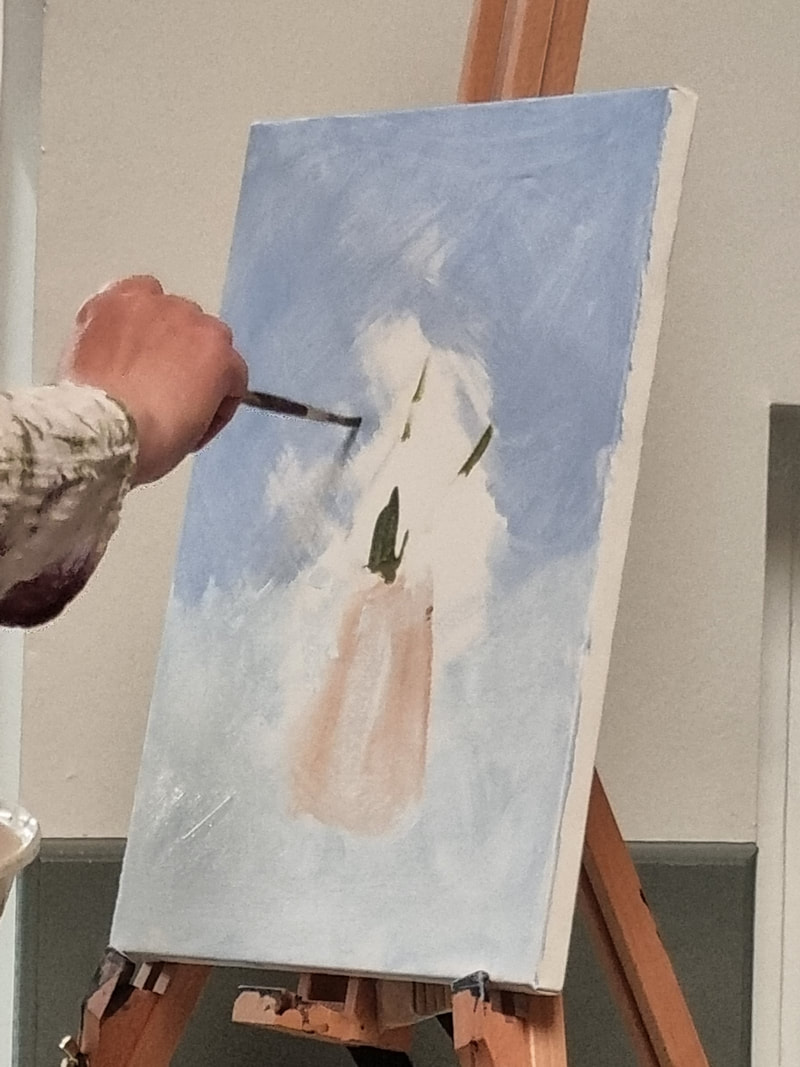
Next she worked on the second painting, just using white. Not, yet, worried about shapes of sunflowers, then drawing the leaves in pale blue before adding colour for the vase.
Continuing she added yellow mixed with medium and paints on top of white paint and this showed the difference from just white mixed with Yellow. Then by putting Yellow on top of the blue for the stalks it turned them green. Burnt Sienna is painted on the center of the flowers. She mentioned that as the painting had a lot of warm colours she now now added some cold colours using Ultramarine. For the next step she added warm shadows before a thick glaze went over the whole painting of raw umber and a little burnt sienna.

Whilst this dried she returned to the lighter canvas and painted raw sienna over some of the flowers, talking about use of complimentary colours used in paintings.
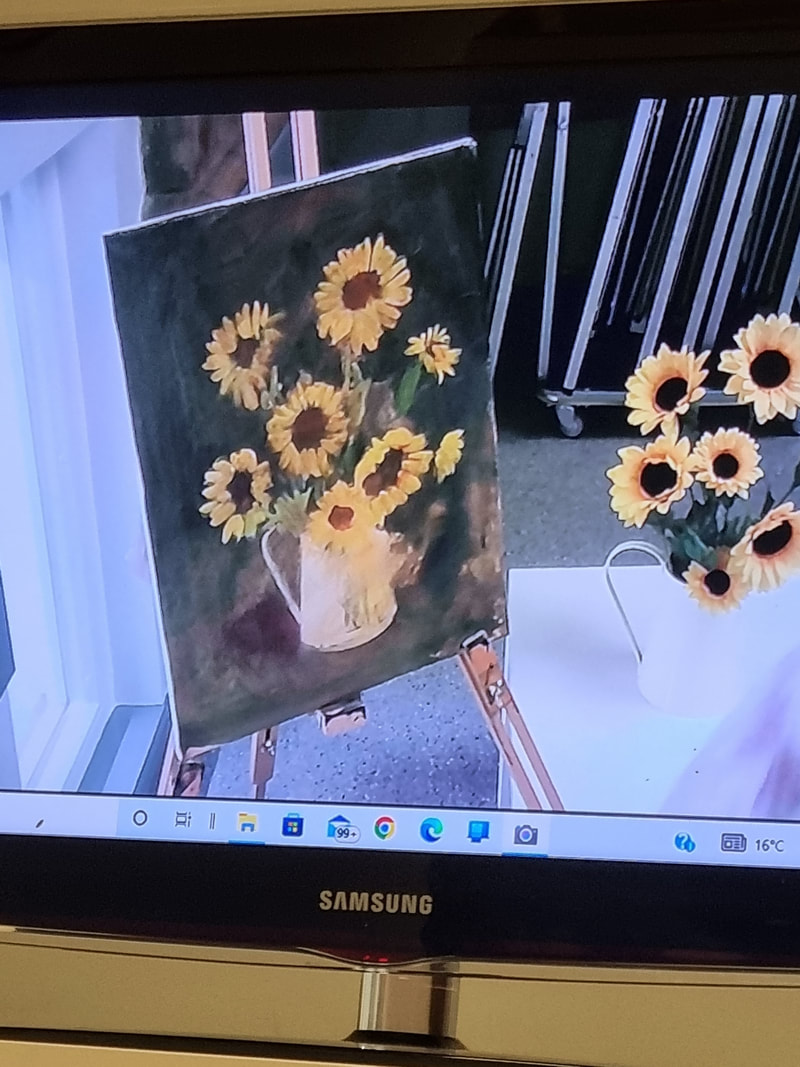
Gill likes to work from life not photographs as that can take away part of the decision making process.
Then she worked on the vase and background, Glazing over some of the flowers that she wanted to stand back, Before adding a layer of clear medium.
Gill likes to work from life not photographs as that can take away part of the decision making process.
Then she worked on the vase and background, Glazing over some of the flowers that she wanted to stand back, Before adding a layer of clear medium.
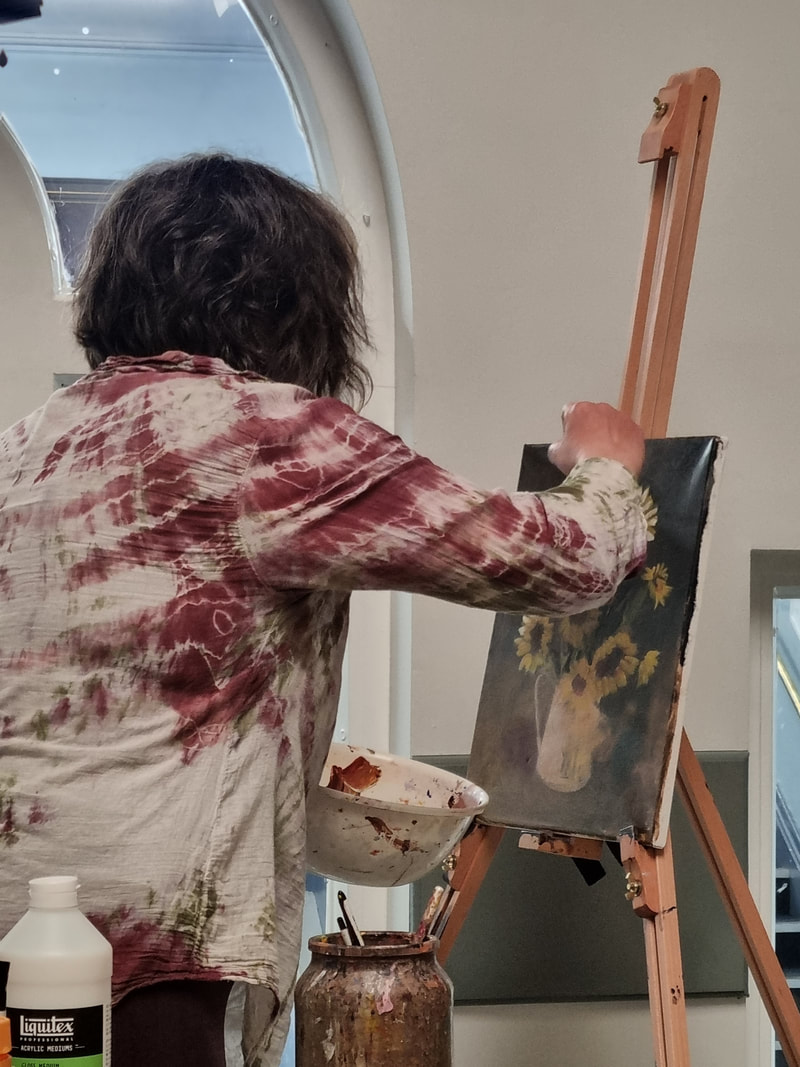
Finally returning to work on the dark canvas adding colours, each time using slightly smaller brushes. When finished a glaze coat is added to get even gloss finish.
Gill doesn’t use black in any of her paintings.
Finally before her session ended more details were added on painting putting some darks in the background.
Gill doesn’t use black in any of her paintings.
Finally before her session ended more details were added on painting putting some darks in the background.

An informative and enjoyable afternoon and it would be interesting to do a workshop using these techniques.
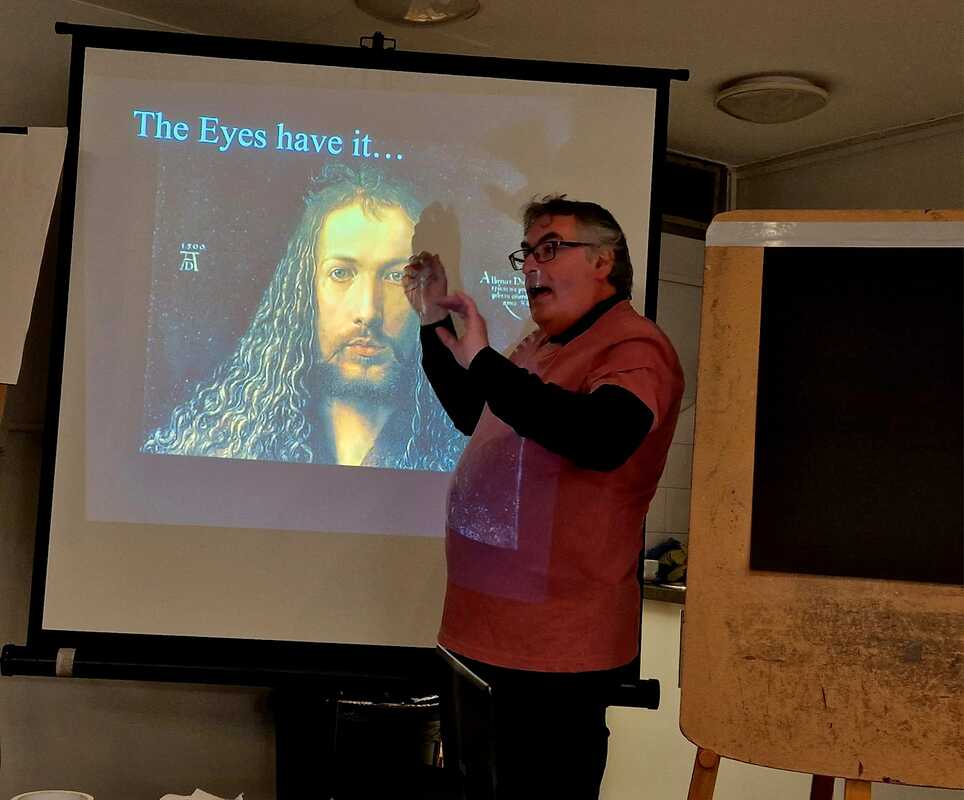
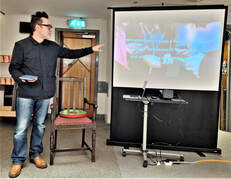
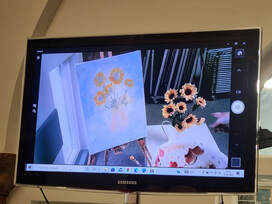
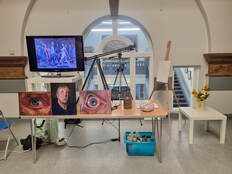
On a side note the set, using two cameras and a television screen, is something the club must look into for the future.
On a side note the set, using two cameras and a television screen, is something the club must look into for the future.
AuthorA record of Saturday afternoon activities. |
 RSS Feed