|
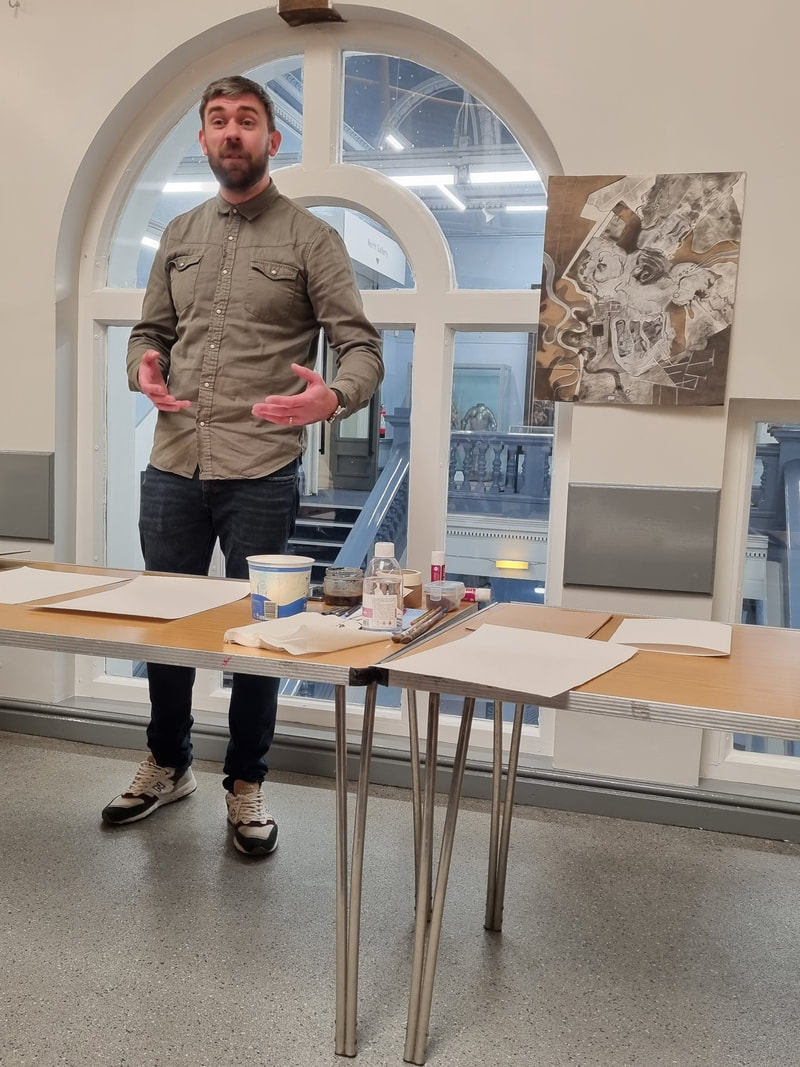
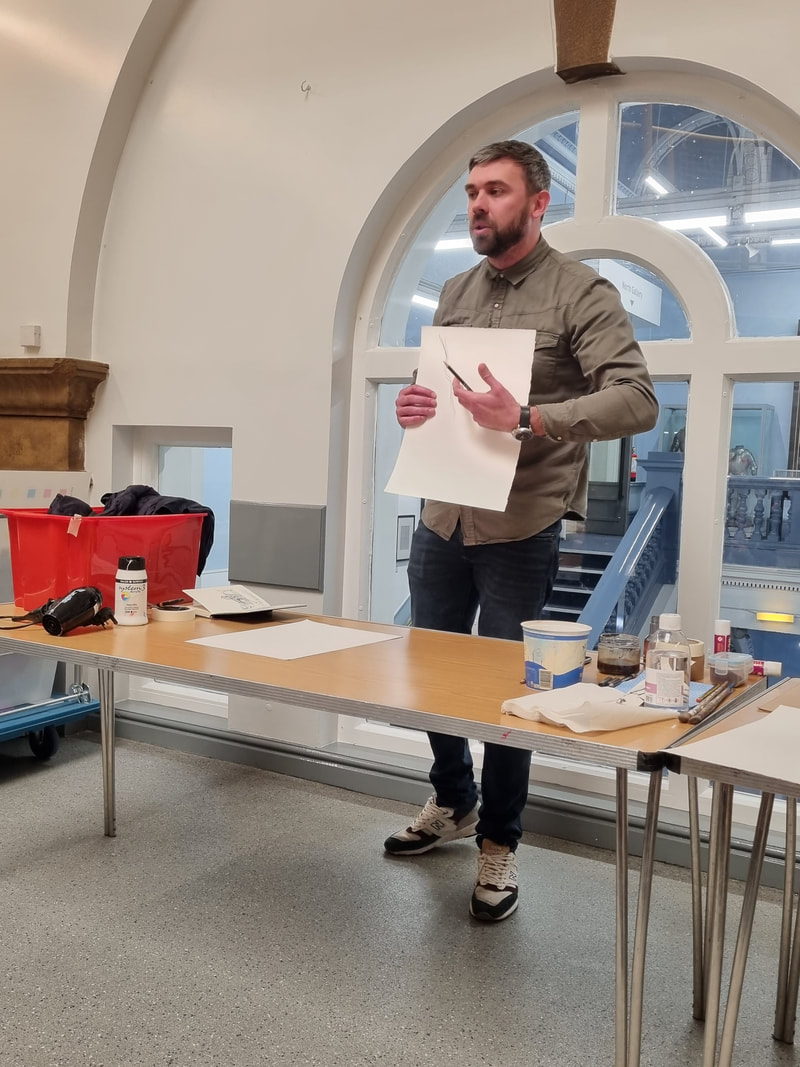
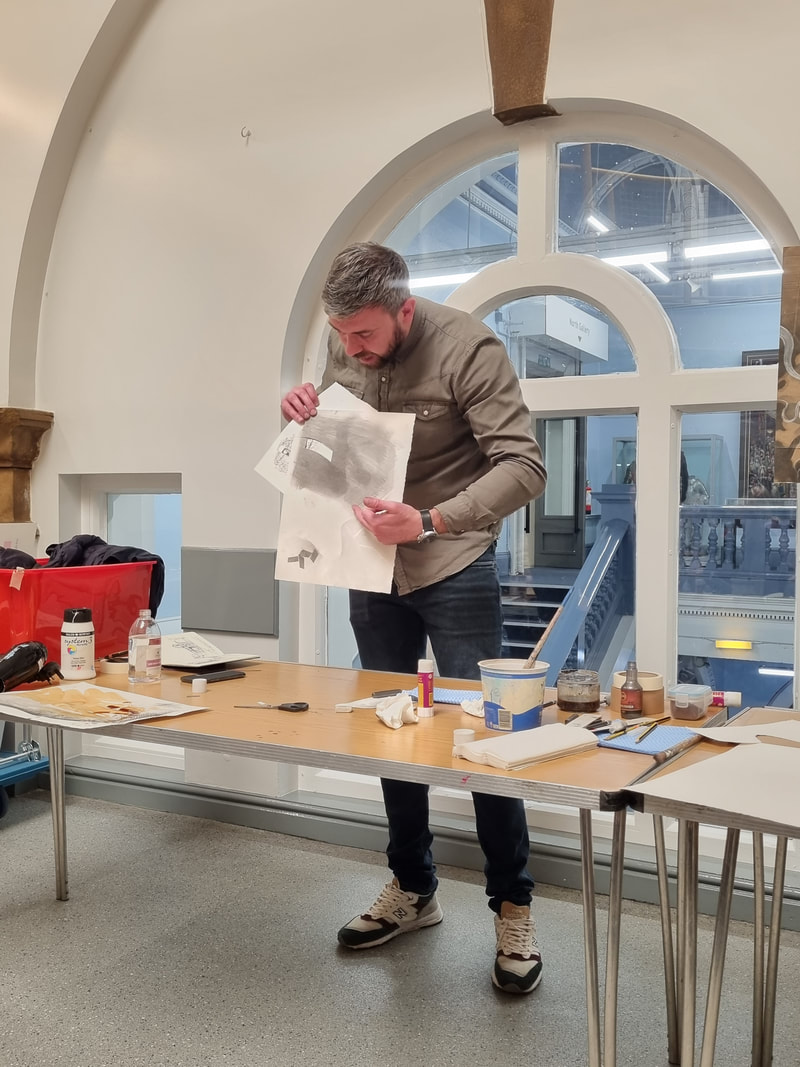
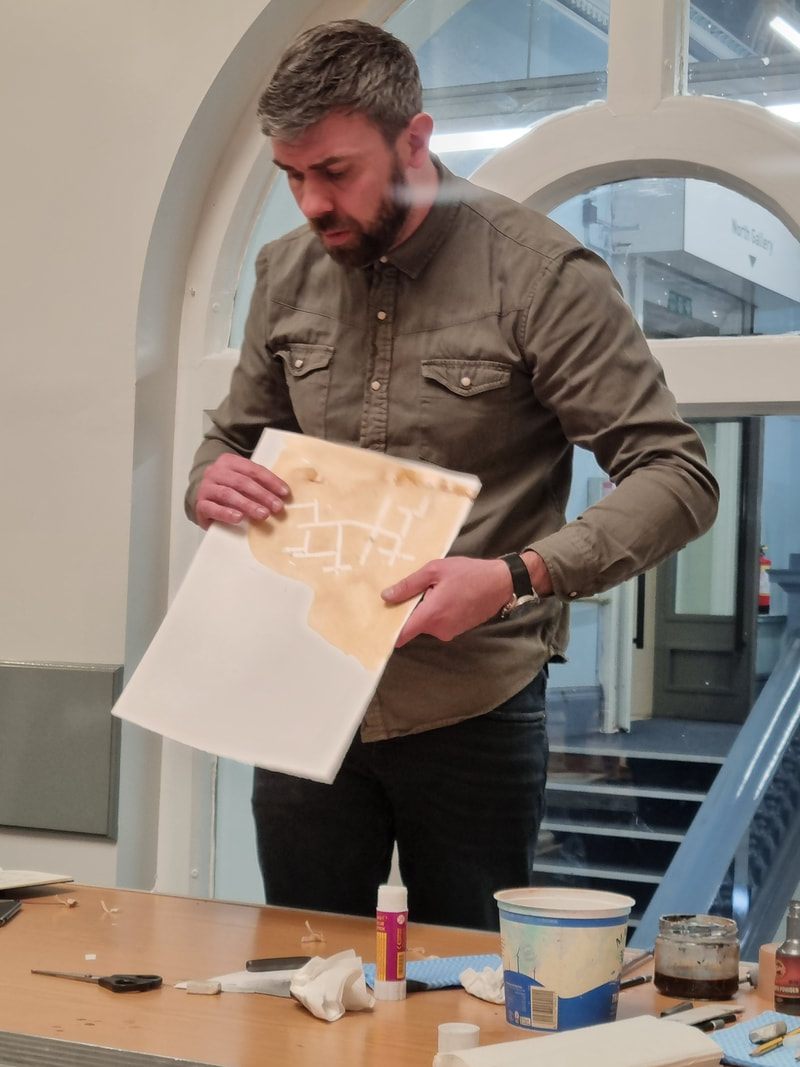
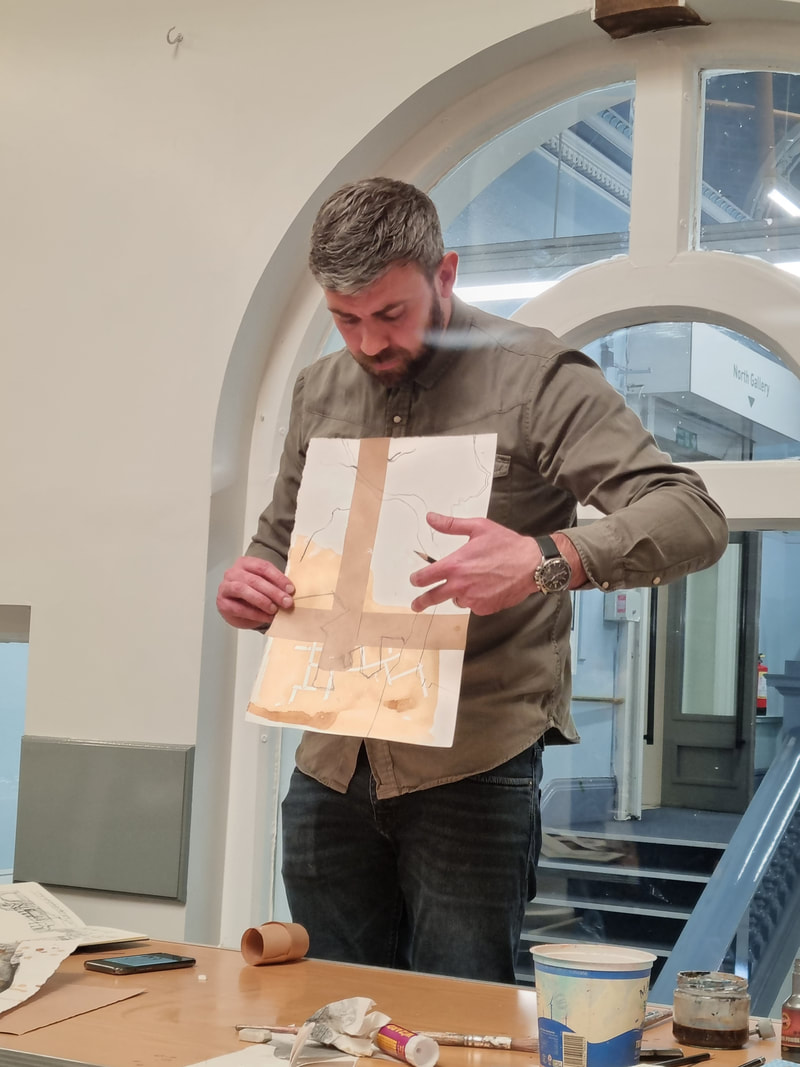
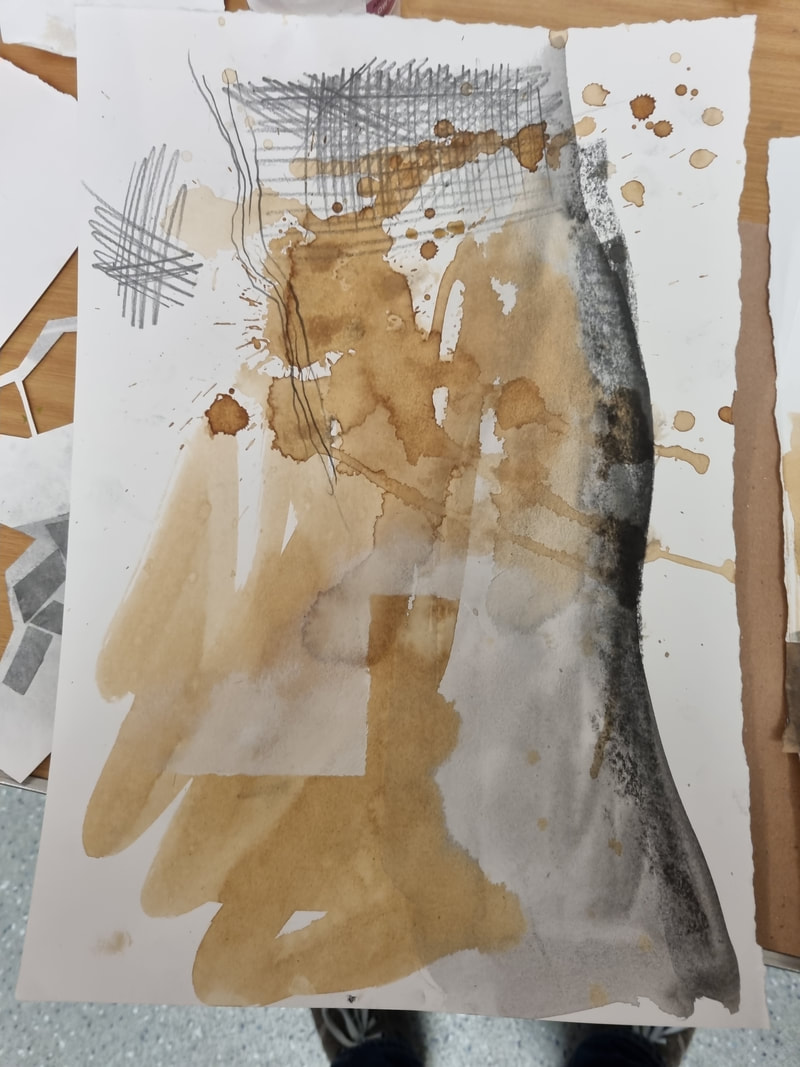
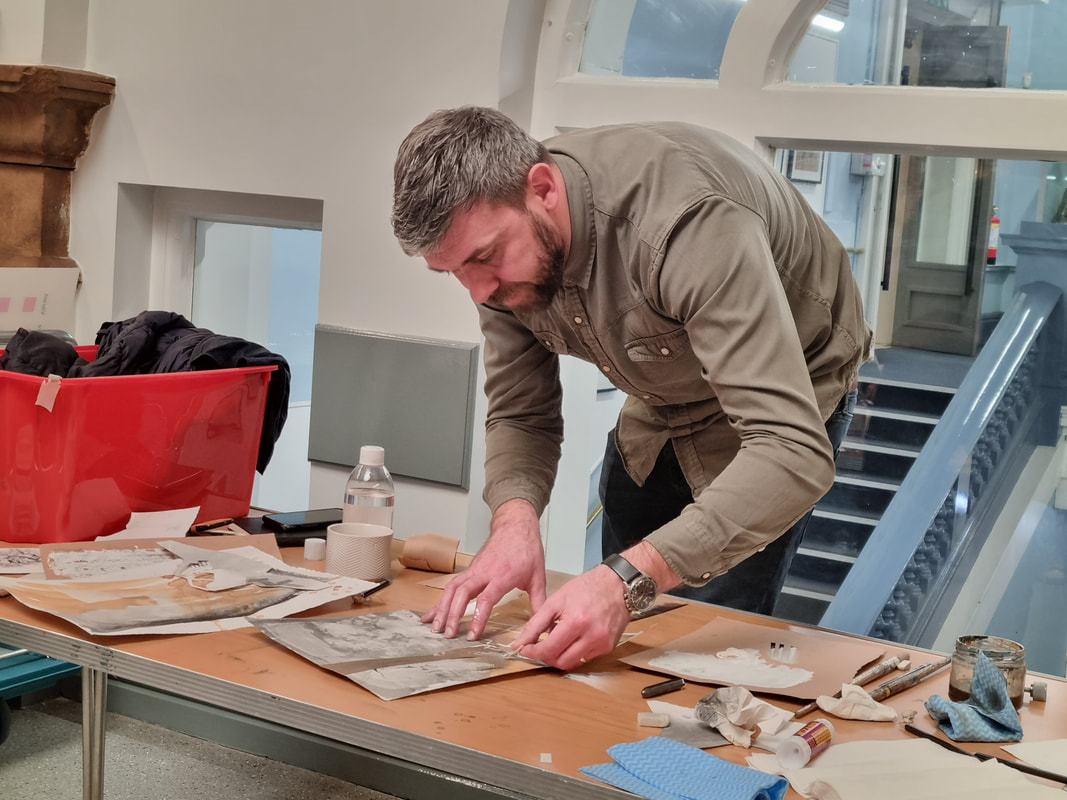
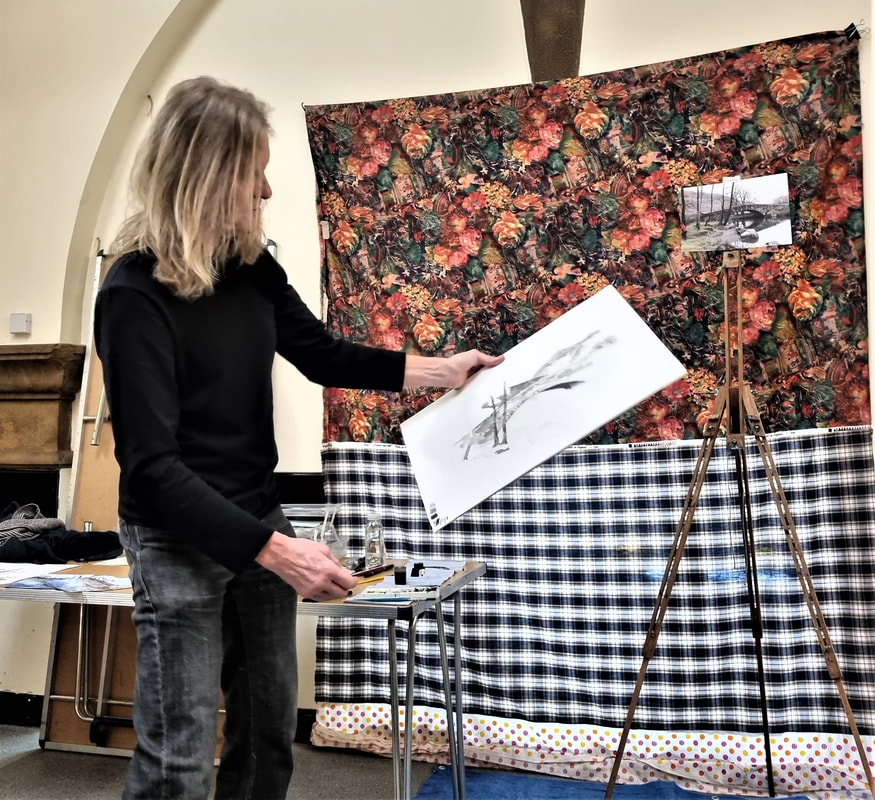
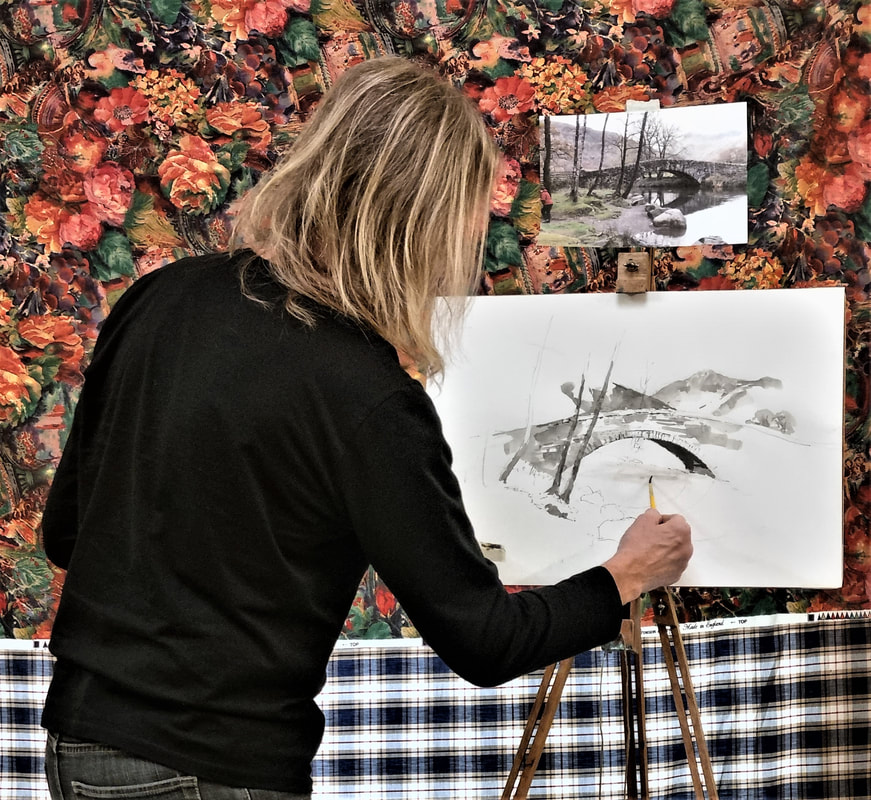
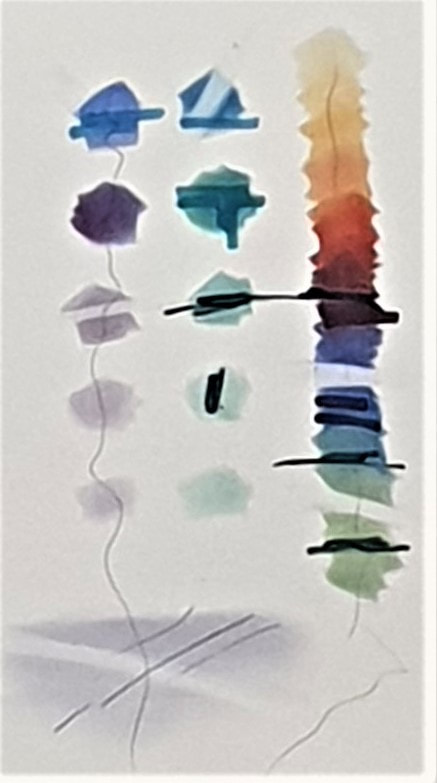
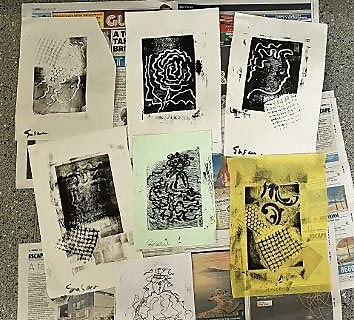
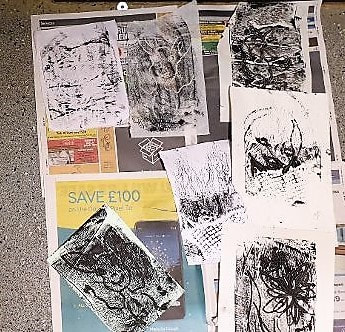
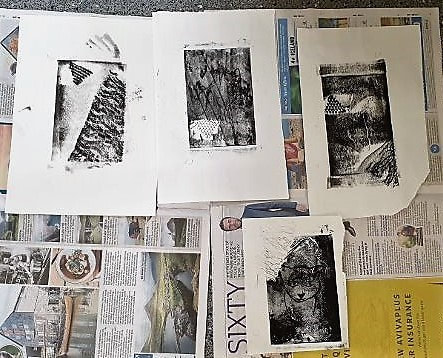
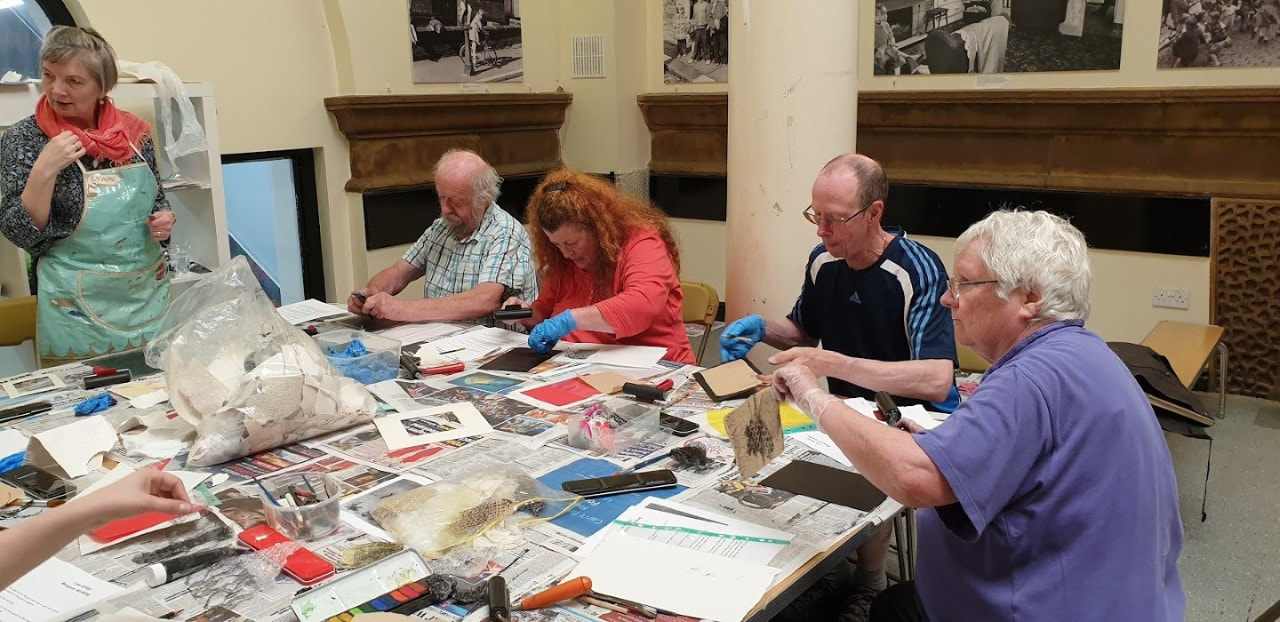
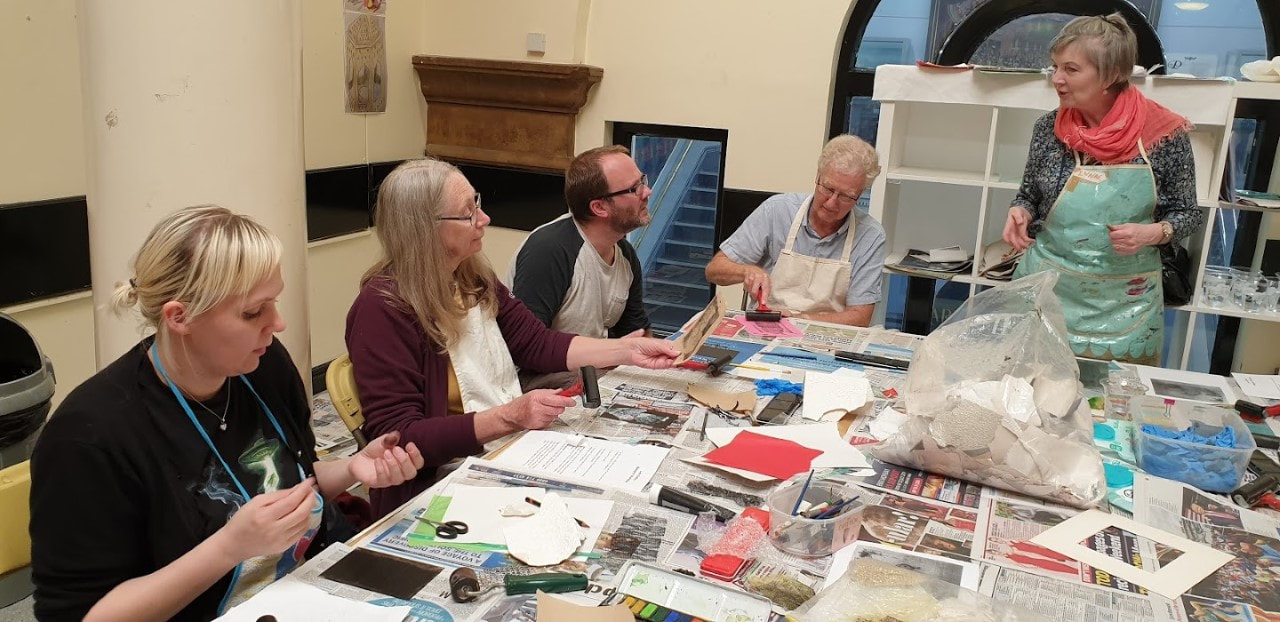
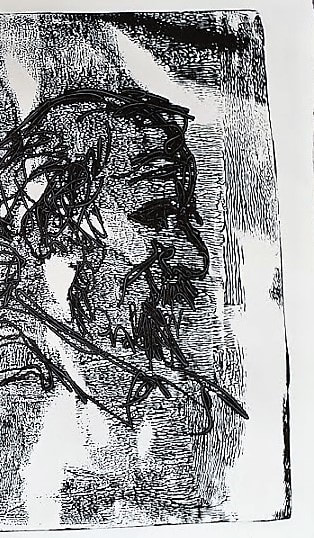
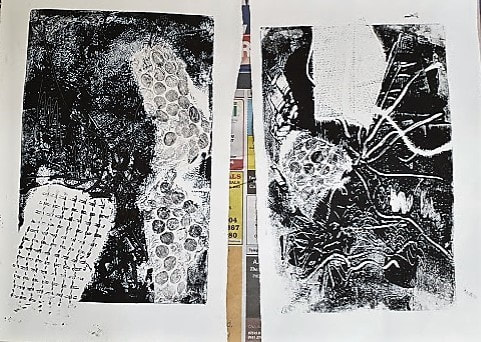
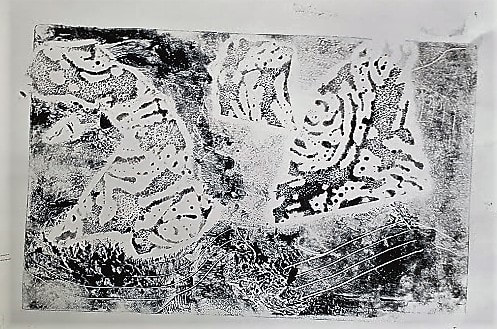
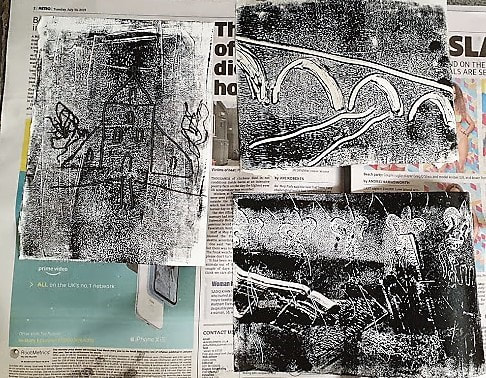
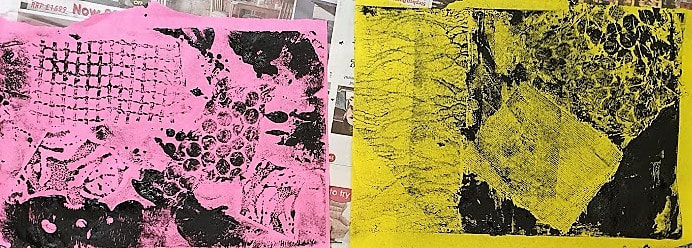
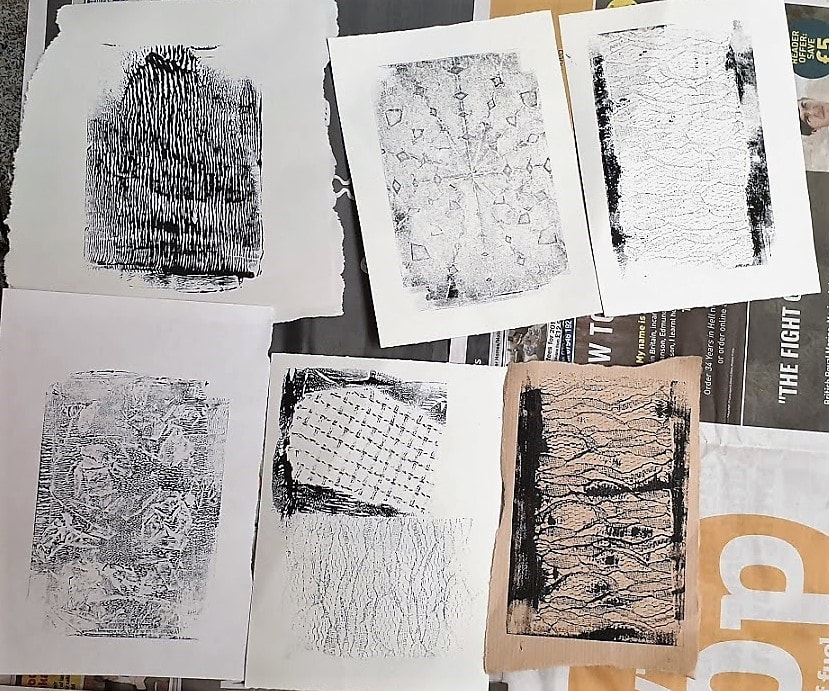
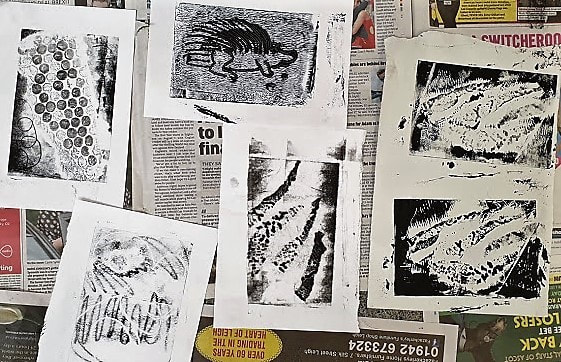
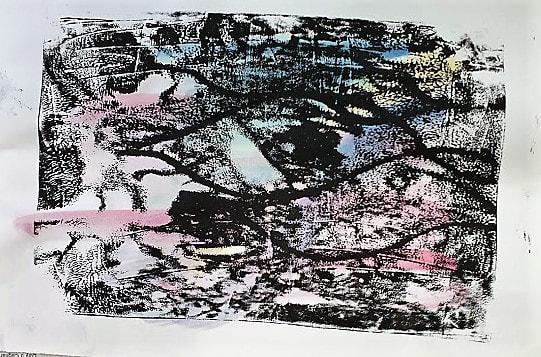
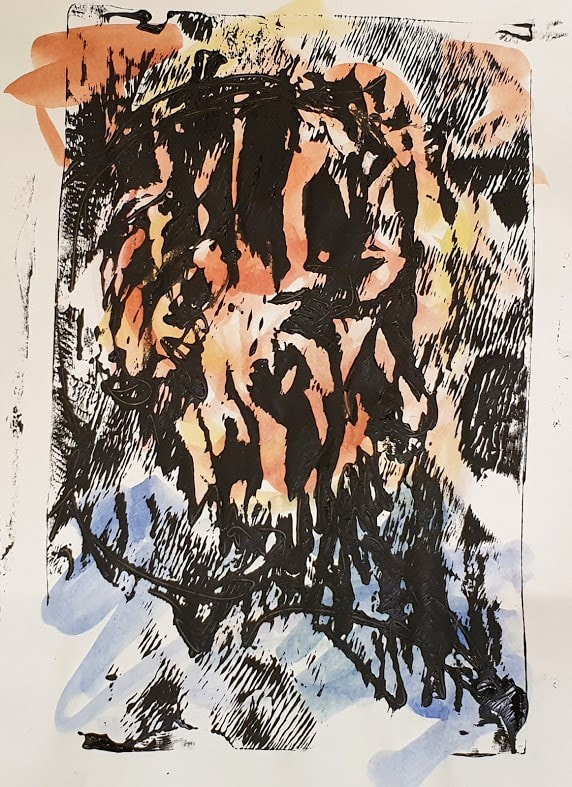
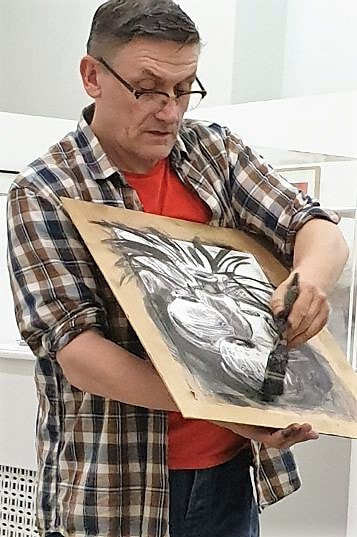
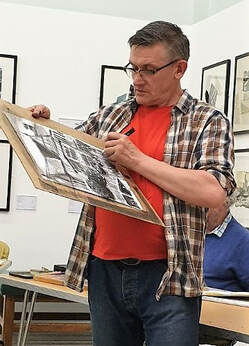
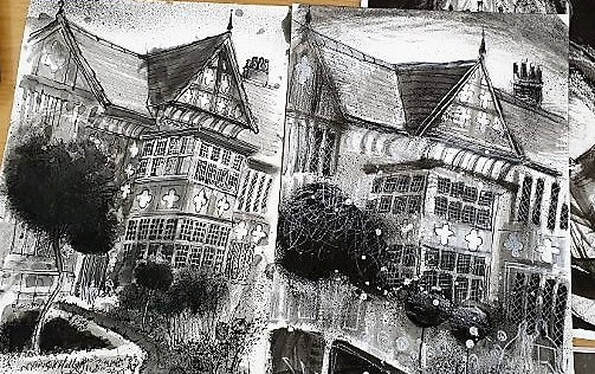
#TomQuigley #SalfordArtClub #salfordartgalleryandmuseum #localartist Having introduced himself and discussed his working methods, Tom explained that he was going to show us several methods to experiment with a range of different materials. He liked both organic and geometric shapes and started by crosshatching graphite pencil, which was water soluble then added water. He also used coffee or gravy browning, both of which are good for quick sketchbook techniques. Next, he rubbed over some graphite marks with turpentine to show the effects that can be achieved. He also used this technique combining graphite powder with a stencil to mask out areas. Another technique which he demonstrated, was using a rubber with a sharp edge to produce lines on a prepared surface, before adding graphite pencil on top to darken an area. Having put masking strips on a board and cut into them with a Stanley knife, he used the cut out thin strips to stick onto a piece of already prepared paper and then added watered down coffee on top. Once this was done, he then removed the thin strips to reveal the white lines underneath. Moving on, he used white acrylic paint and a scraper, made by folding paper, to add to different surfaces and scratched through some of this with a graphite stick. From one of the experimental sheets, he cut out a shape and added it to the working design to show how things can be be layered to create an interesting composition. Continuing, he added gummed paper to the base paper and the work started to look like the intended map design. Using more stencils and then darkening some areas with graphite, as well as using card to apply white paint, he started to refine the work. Drawing on the paper with the pencil, he added detail to create a the 'city-like' scene. Lastly, he used a paint brush to paint over the masking tape and then added white paint. These layers started to build up, before tight pencil marks were added. He then used the edge of a rubber to remove small areas of graphite, which resulted in a stage where he was happy to finish this session. 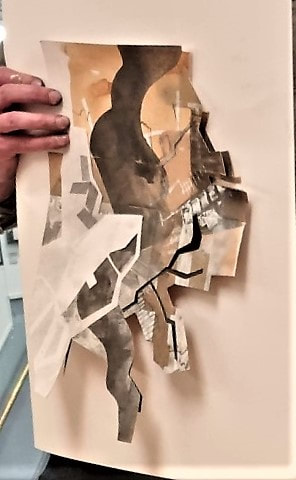 His final act was to cut the rectangular work into the more interesting shape shown here.
With experimental works such as this, it’s always possible to keep adapting the composition before being happy with the final result. A fascinating insight into how these materials can be used. I'm sure everyone present enjoyed the presentation and learnt new ways to use the materials demonstrated.
0 Comments
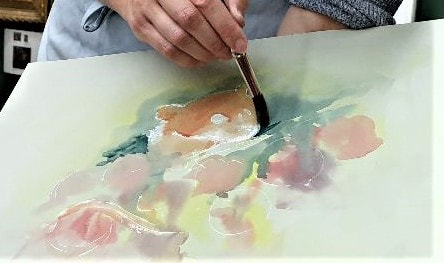
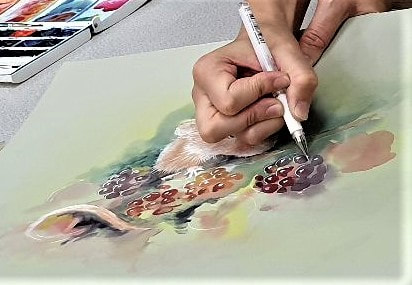
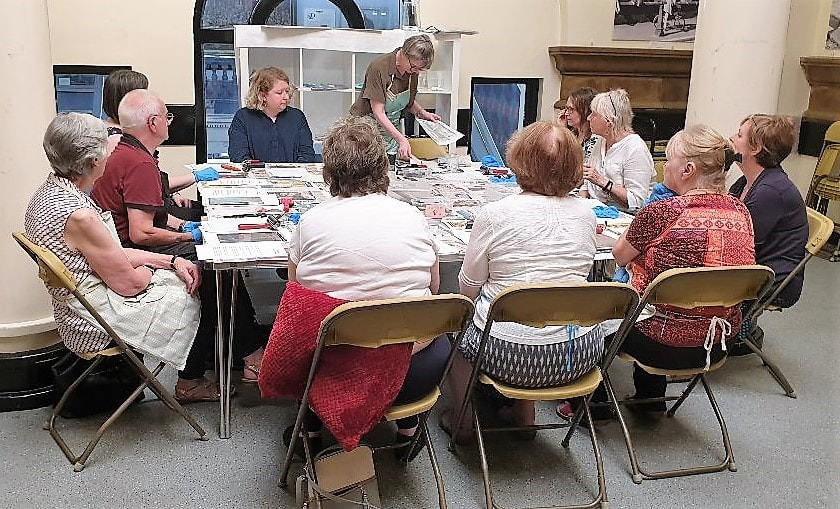
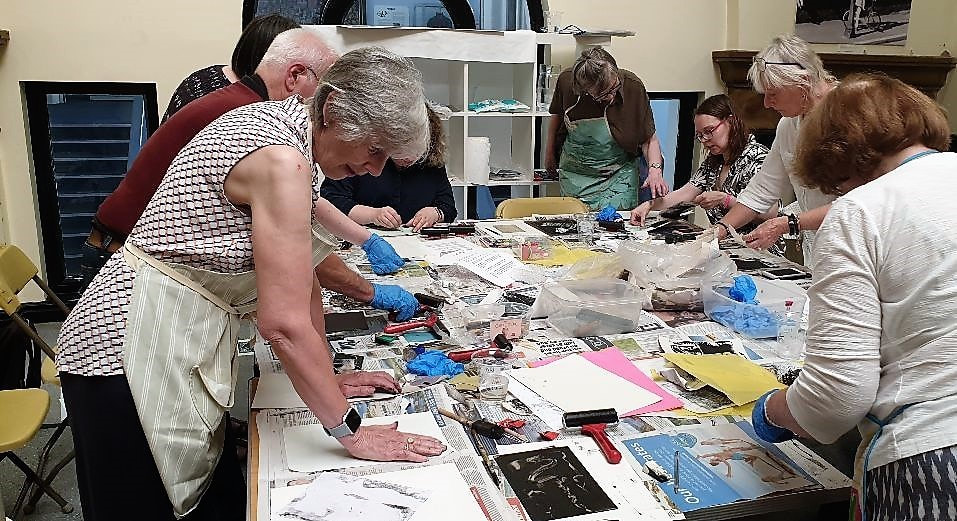
An super workshop in a relaxed atmosphere. Lots of materials provided and well led by Hannah. |
Categories |


 RSS Feed