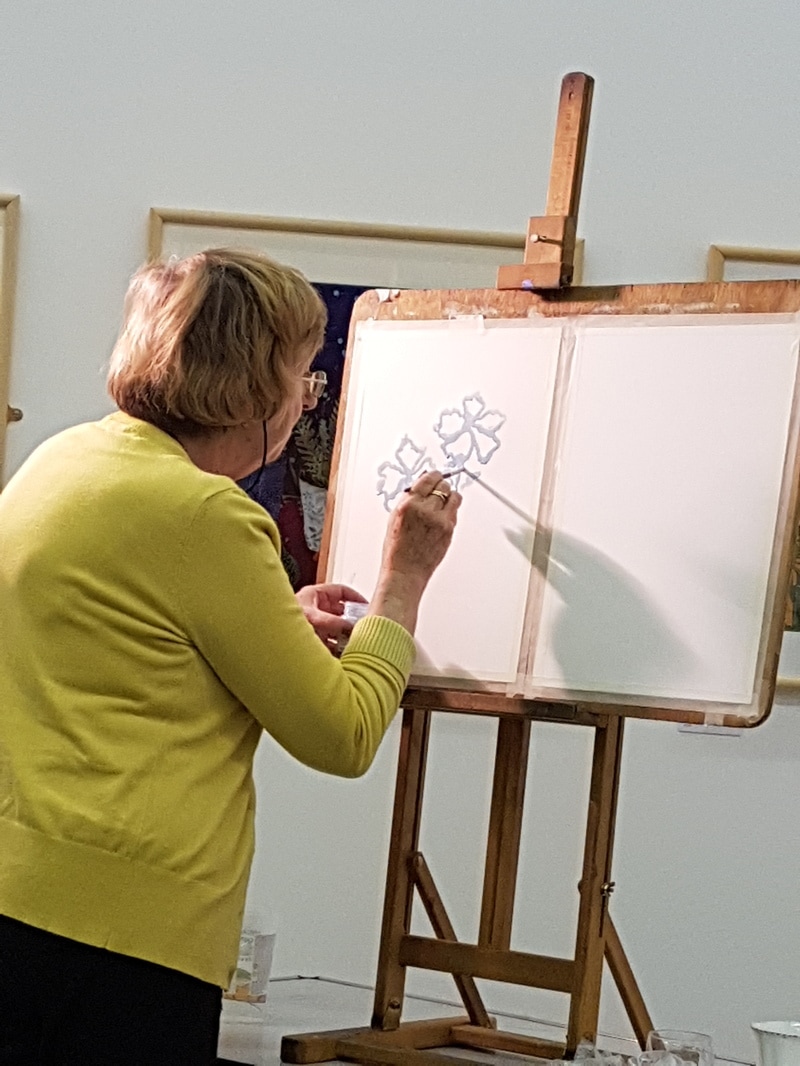
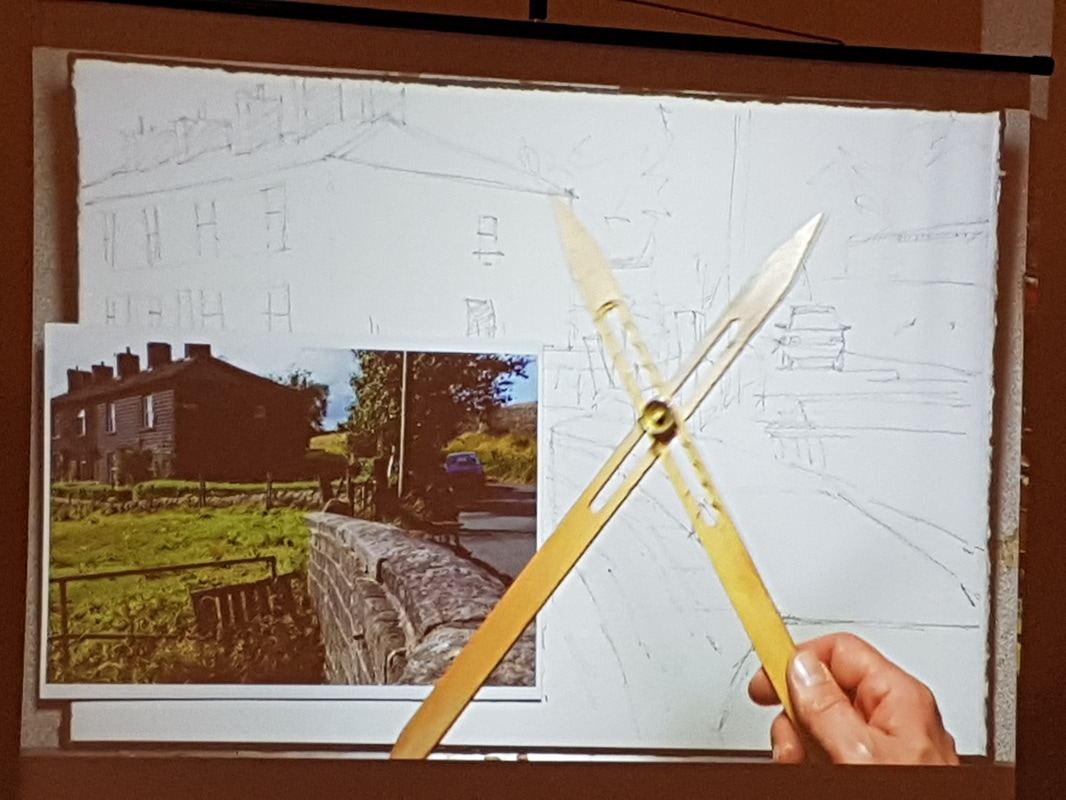
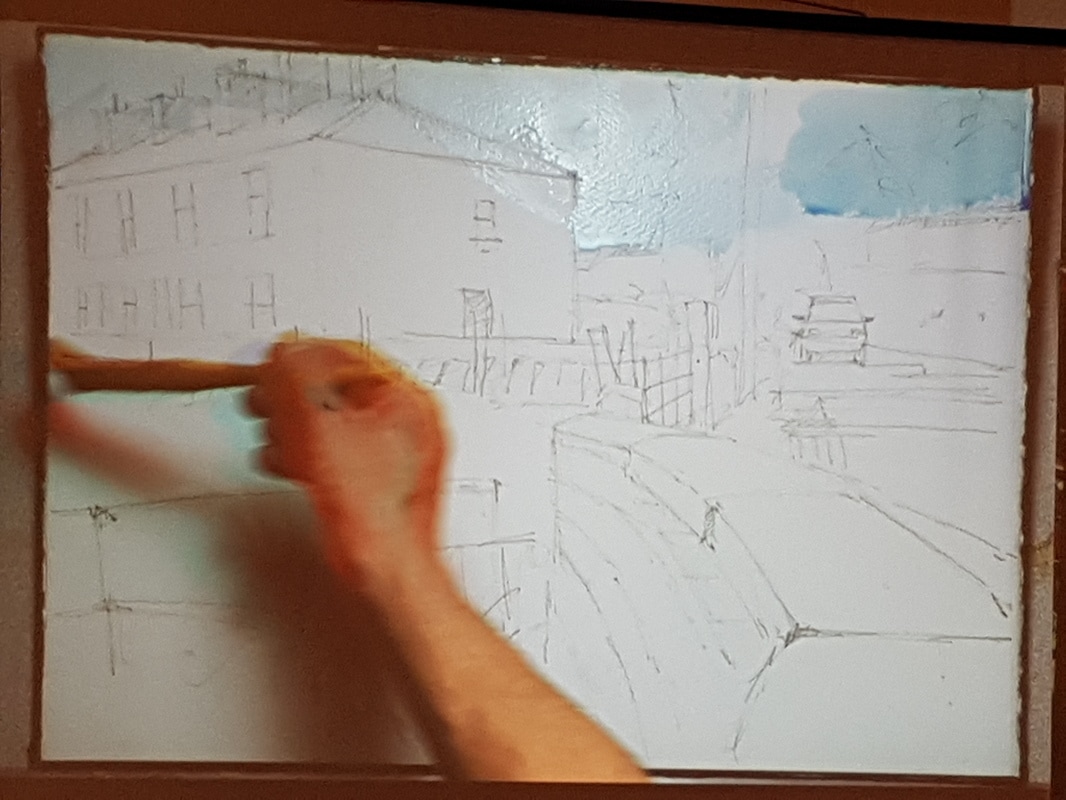
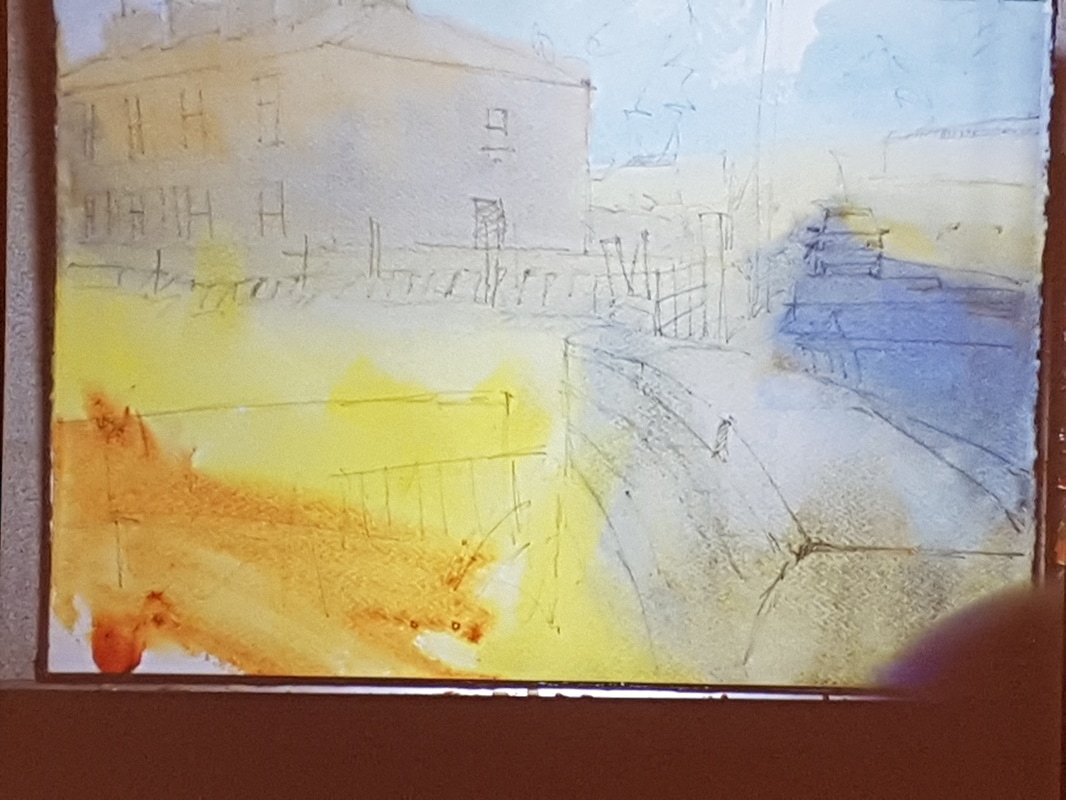
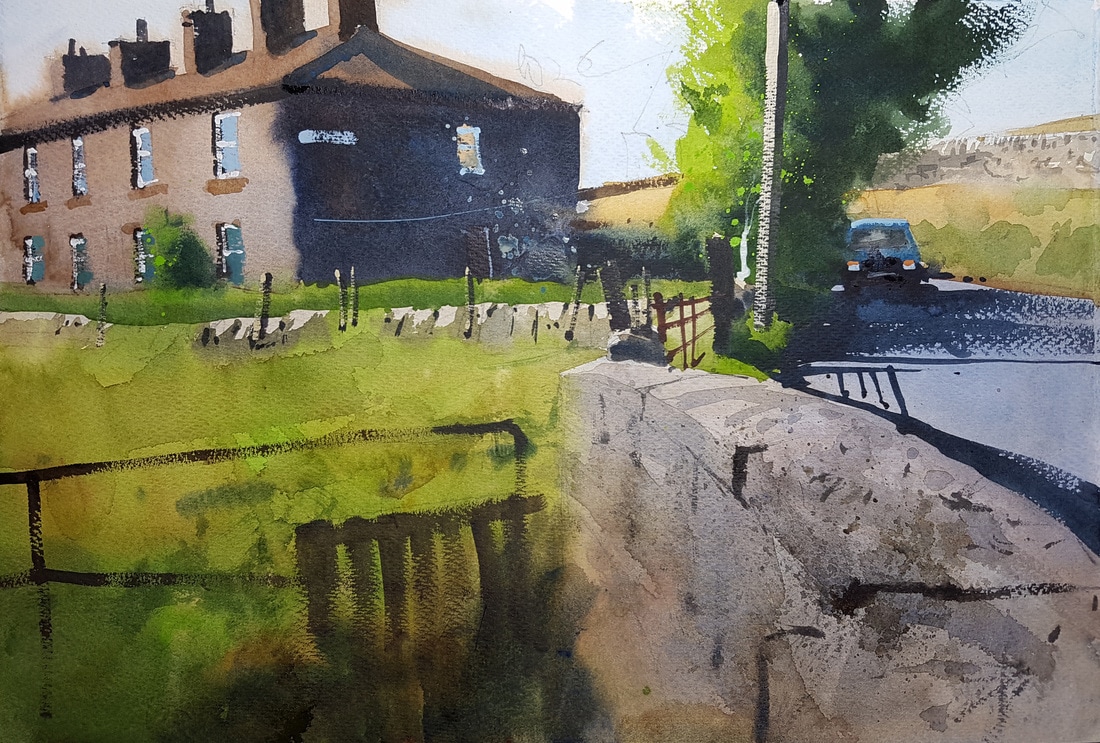
Demonstration by Harry Caunce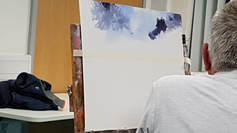 Harry started by explaining that he uses Alkyd oil paints because they dry quicker that oil paints, these are painted on a canvas board he has primed with Johnsons acrylic primer. This gives a better surface to the board and stops the paint soaking in too quickly. Next he put a piece of masking tape across the board to give an horizon line, before staring to work on the sky using cobalt blue and white. After covering most of the sky he used a dry decorators brush to blend it together. adding French ultramarine and a little Cadmium Red Light for the darker areas. The next stage in this section is to add the distant headlands remembering to add blue to show the distance. TIP: When you purchase a new brush dip it in Vaseline and work this into the ferrule. This will make it easier to clean after use. Also only use white spirit or Turpentine to clean it and after cleaning dip it in the Vaseline again and squeeze into shape. 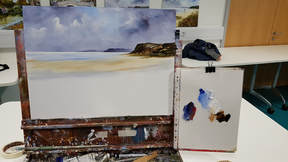 He says that he normally does a careful drawing, sometimes taking three days on site to complete a painting. The picture he is doing tonight is just a demonstration so is not done in quite the same way. After removing the tape he worked on the sea and larger headland on the right, using Raw Sienna, Olive Green and French Ultramarine, being careful to get the tonal perspective correct. Finally in this section he adds the waves using French Ultramarine for the shadows and adding the white at the top of the wave with a palette knife. TIP: Note the paint palette at the side. This is just a piece of card covered with an A4 plastic wallet. This can be thrown afterwards and is a cheap easy way to help clean up. 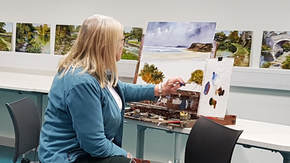 After the break he started work on the grassed area to the front, using Olive Green, Indian Yellow, Burnt Sienna and French Ultramarine. He used a course brush adding the colours to the brush and letting them mix as he applies them. To demonstrate the ease of this method he asked a couple of members to have ago. He then used an old brush to create effects and next stabs at it with the handle of a brush to pick out dead flower heads. Finally on this painting he uses tissue paper to remove some of the paint in the centre to show a pathway. 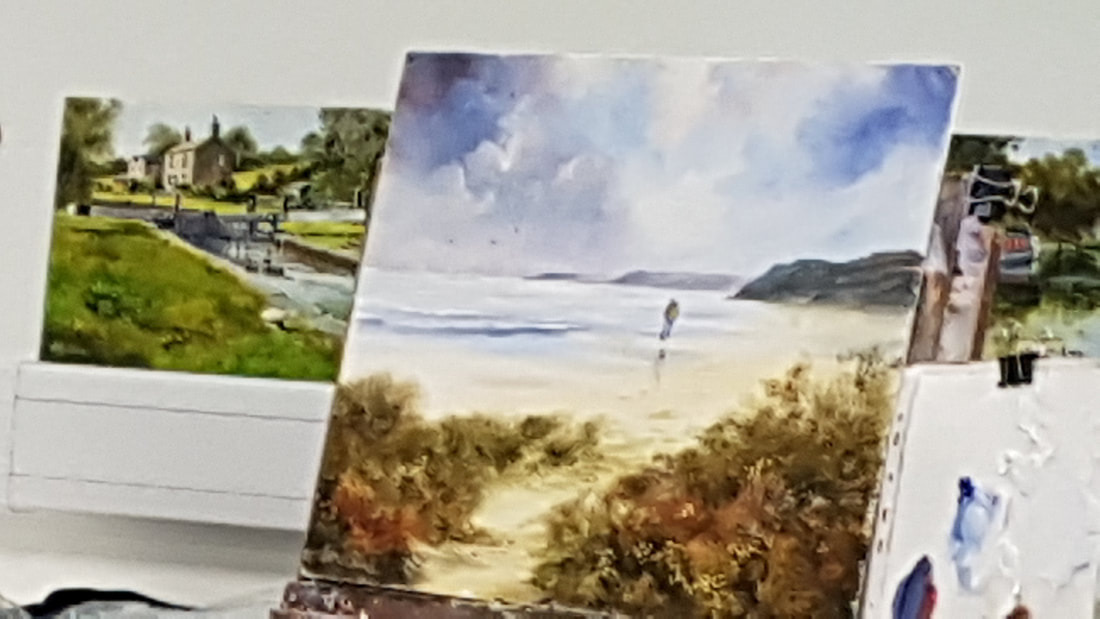 Using a painting he prepared earlier, which was dry, he showed how to make the headland on the right to appear further away. To do this he mixed the sky colour with turpentine until runny to create a glaze and painted over the headland, before removing some of it with tissue paper. Before running out of time he quickly showed how he would add figures to the composition. A superb informative and entertaining evening. I certainly learnt a lot and it was appreciated by members. More of Harry Caunce's work can be seen at https://www.facebook.com/HarryCaunceArtist/
1 Comment
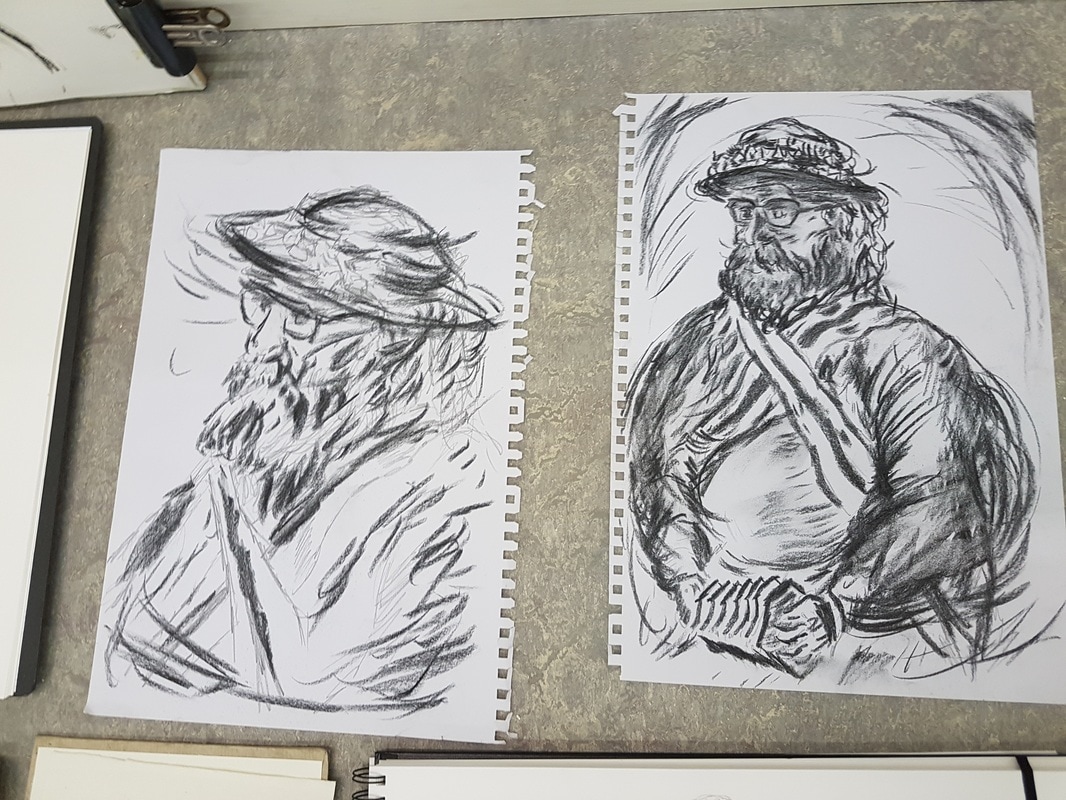
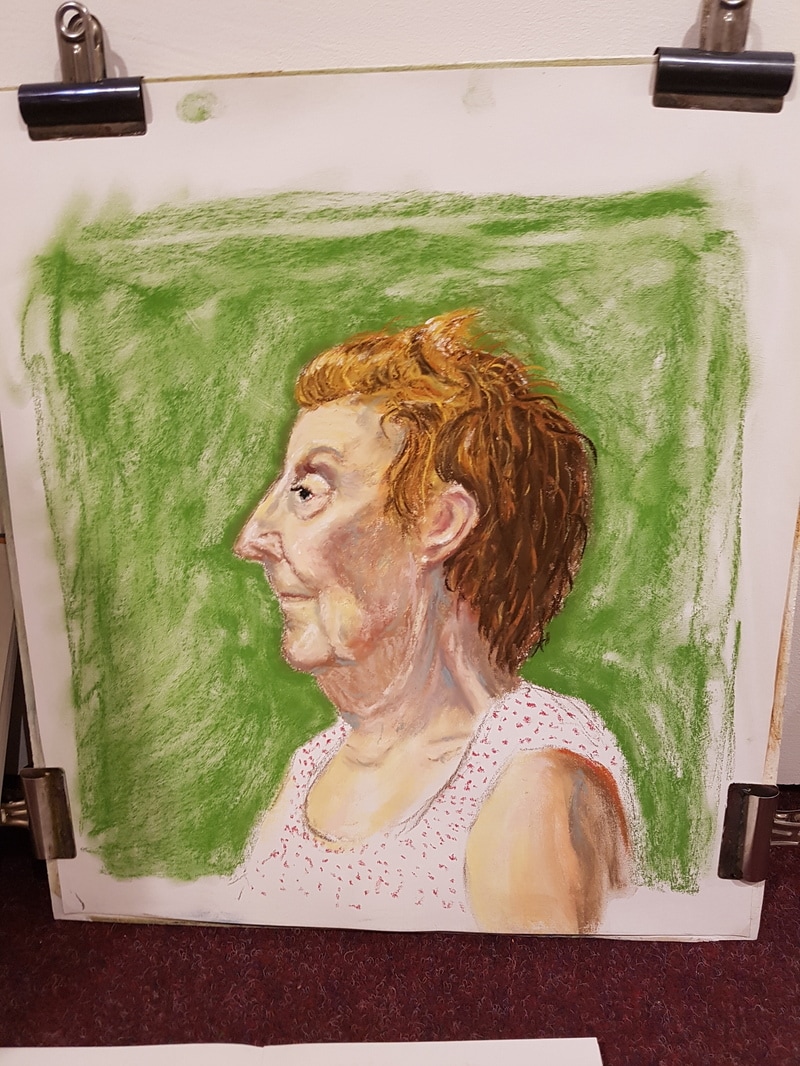
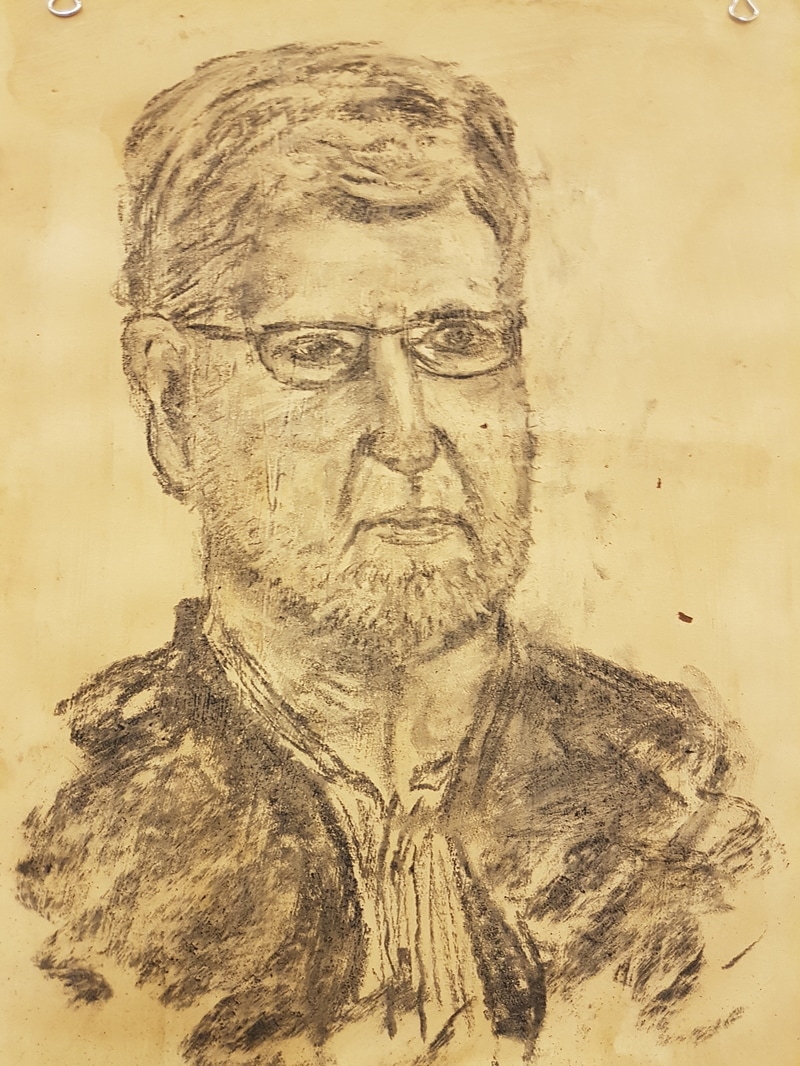
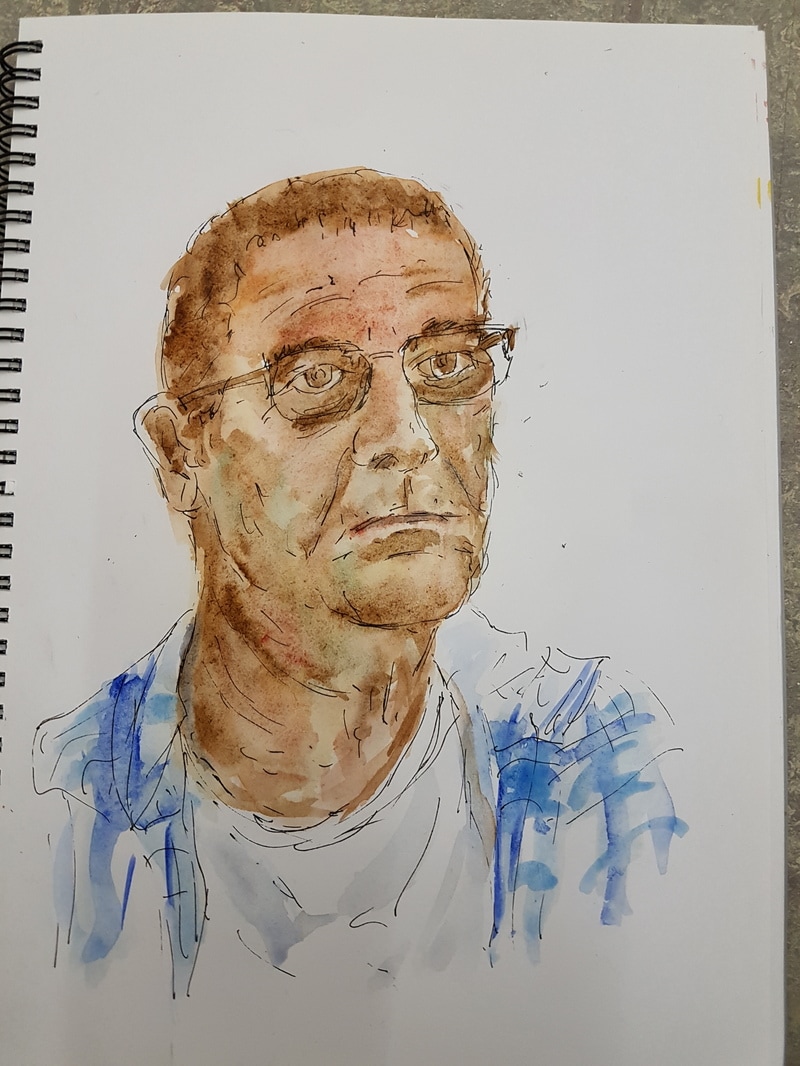
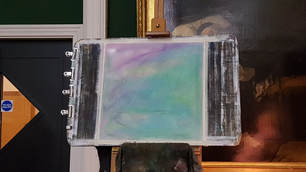 Anthony started off as a pastel painter but has moved on to oils, acrylics and mixed media paintings. He is an extremely talented painter and demonstrator. For tonight's demonstration he was using a lining paper primed with acrylic Gesso. He started by a light underpainting of greens, blues and purples. Rubbing them lightly together and then with hair spray before adding the next colours. 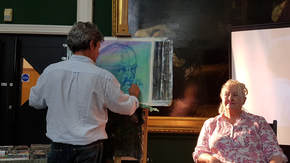 He is looking down at the model, Jan, and this influences how he adds lines to the oval shape he has drawn, showing where the features will be. He has started, with hard pastels, building up the shapes and features 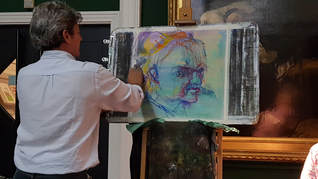 He is now mainly looking at tones blocking in areas on the face, as well as in the background. The lighter side of the face is first, with the addition of tones and shapes, next dark blue is used to add shadows into the eye and other areas. The application is still very loose. At this stage he stands back to survey his work. Highlights are now added and red to the lips and other areas. . 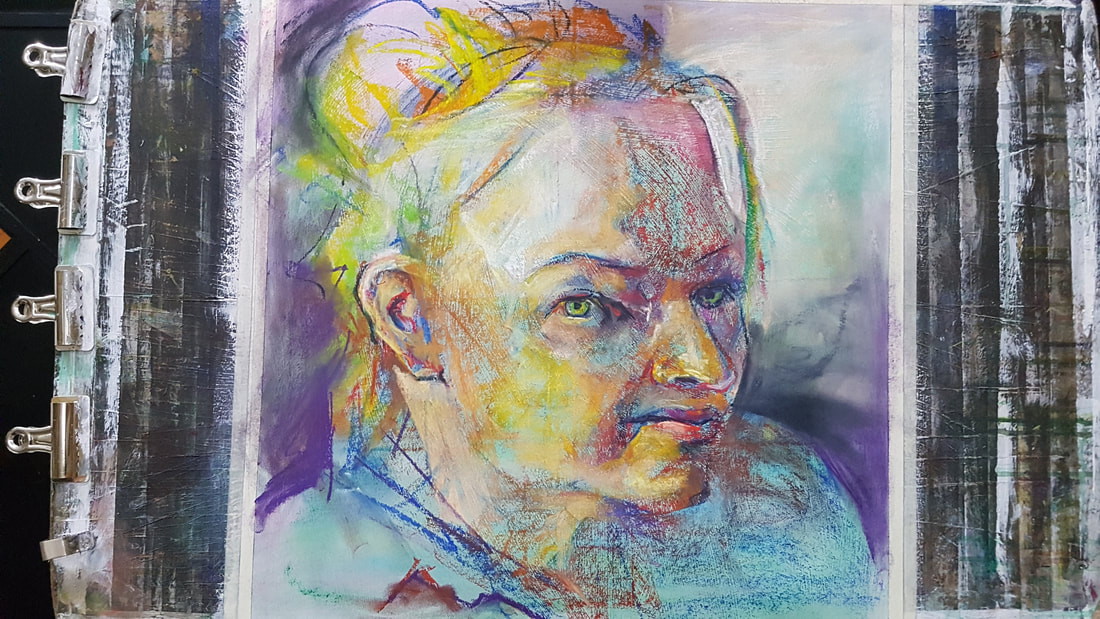 This was then an appropriate time for a break and Anthony sealed the work, with hair spra,y to give it chance to dry for when we returned After the break he started working on top of the colors defining shapes and picking out highlights, adding black to the top of the eyes and just a couple of other places. He was still using hard pastels until towards the end when the dearer soft pastels were used in a couple of areas such as the corner of the eyes and mouth. After continuing to adjust the colours he worked on the blouse and added more colour to the background and hair. Continually stepping back to get a better view of the finished piece. After finishing he sprays the portrait to seal the pastel. 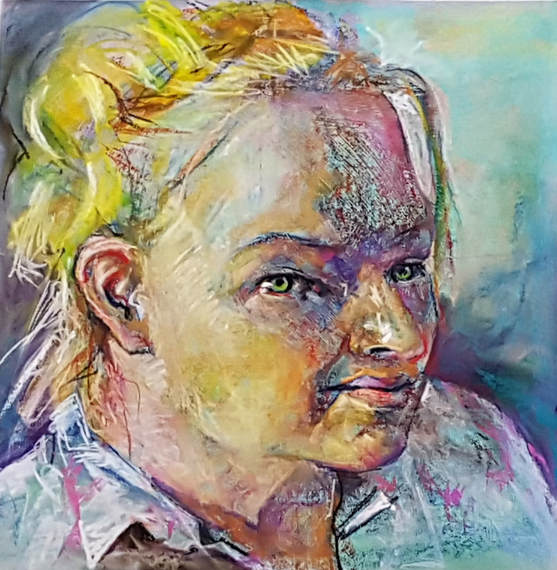 An excellent demonstration by Anthony and members will have learnt a lot. His ease with the audience and colour use were excellent. Next week there will be a chance to put these skills into practice with a female portrait session.
More of Anthony work can be found at www.anthonybarrow.co.uk As the summer break comes to an end it’s time to sharpen your pencils, clean your pastels and make sure your brushes are in fine fettle ready to start our 2017-18 session on 6th September.
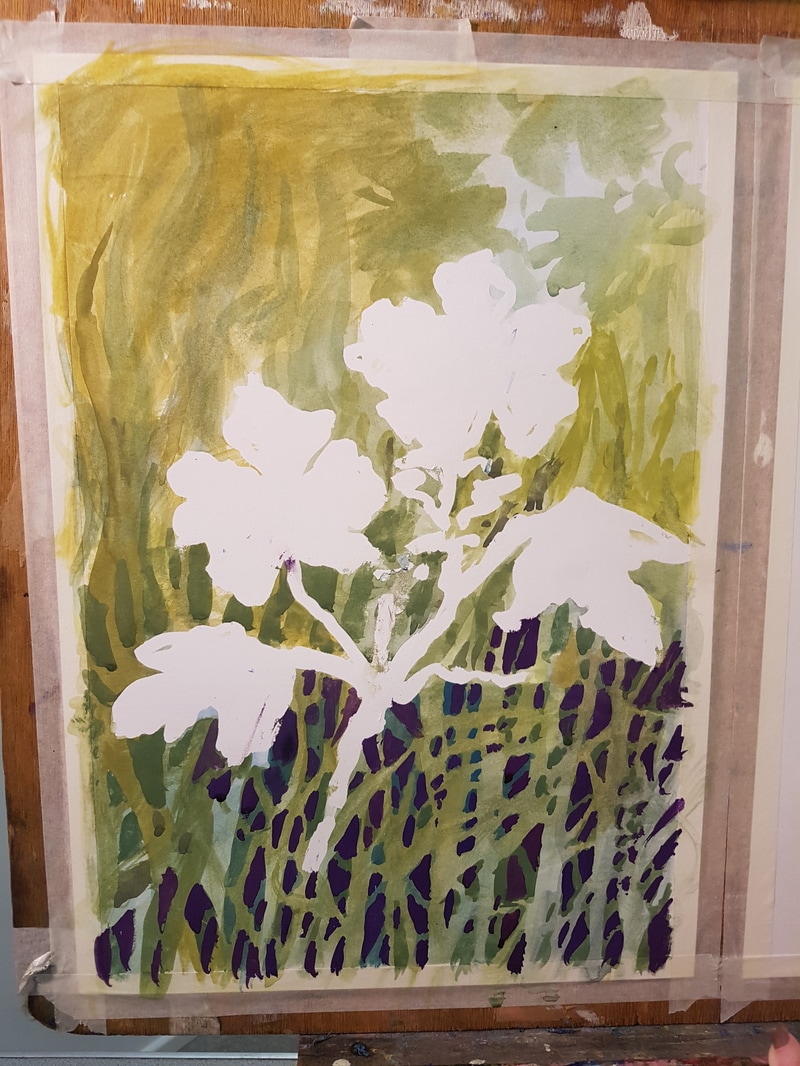
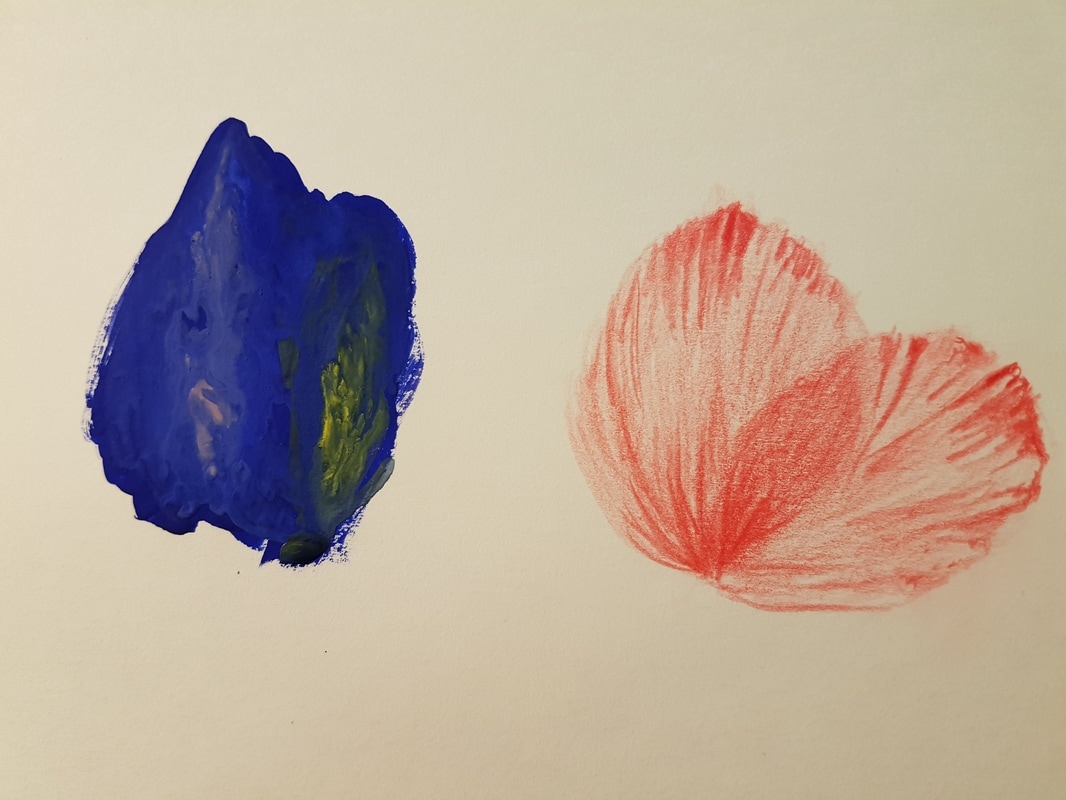
Our programme for the coming months can be viewed on the club website www.salfordartclub.com/programme We kick off with a Life session on Wednesday 6th September between 5.45 – 7.45 pm at Salford Museum and Art Gallery, The Crescent, Salford, M5 4WU. New members are welcome to come along and participate for a couple of evenings before making a commitment to join. Membership details can be found on the website. Salford Art Club is made up of a group of people who enjoy art, some are artists, most are enthusiastic amateurs. Come and have a go, we don’t teach, but you will learn a lot and enjoy the company of people with a similar outlook. Mavis started by applying blue Masking Fluid to pick out the shapes of the flowers. Whilst this dried She discussed why she liked gouache, saying that is an underused medium but is really quite sophisticated and has a wide range of colours. She finds Windsor and Newton paints the best. Gouache can be applied like watercolour and has the added advantage of lights being able to be added over darks. She started by laying in the background, keeping it very watery and loose. She doesn't like using ready mixed greens, preferring to mix from a wide range of yellows and blues. At this stage she is not paying attention to the brush stokes and is achieving a varied background. Next she starts to add a loose impression of leaves etc. to the background, strengthening the colours as she comes down the composition. With a small brush she then starts to put in some of the negative shapes these are random but do tend to be geometric. She is a great believer in using negative space to create an illusion of something that isn't there. These are built up in layers adding violet to the colour to darken it. Again using a more concentrated colour near the bottom. A little yellow can be added to lighten the colour if needed. The darker tones add interest to the picture. The masking fluid was the removed so that she could start painting the flowers using a watery colour wash just adding a simple base colour. She added that the type of flower influenced the way that it was painted, some in solid colour others in a lot of light washes.(see picture of the two samples) Having decided where the light was coming from she started to give the petals shape with layers of colour, adding shadows where needed. She then added more shadows to the background to enhance the flowers before mixing Yellow Ochre and White to add highlights. At the top this was to show the sun coming through the leaves. All this starts to give a feeling of depth to the painting. The bottom leaves were then wet and the dark colour was manipulated to give an impression of shadows. She finished the painting by adding lights to the flowers. Mavis added that a painting like this would normally take a full day and she was merely showing us her working method. A painting like this would be built up in several layers not just about three she had used today. An excellent evening led by an informative demonstrator that was greatly appreciated by the members.  A superb response by members of the art club to the challenge. A wide range of styles and interpretations of the subject matter. Hopefully we will get more opportunities to participate in these events if members are interested.
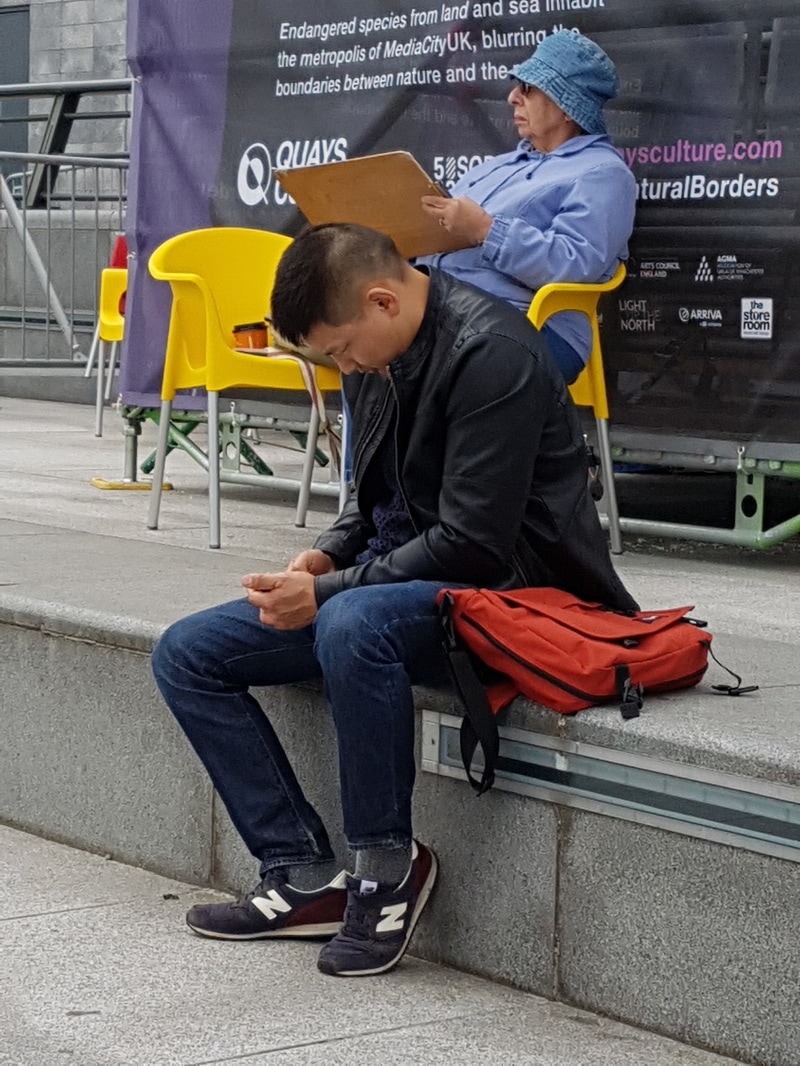
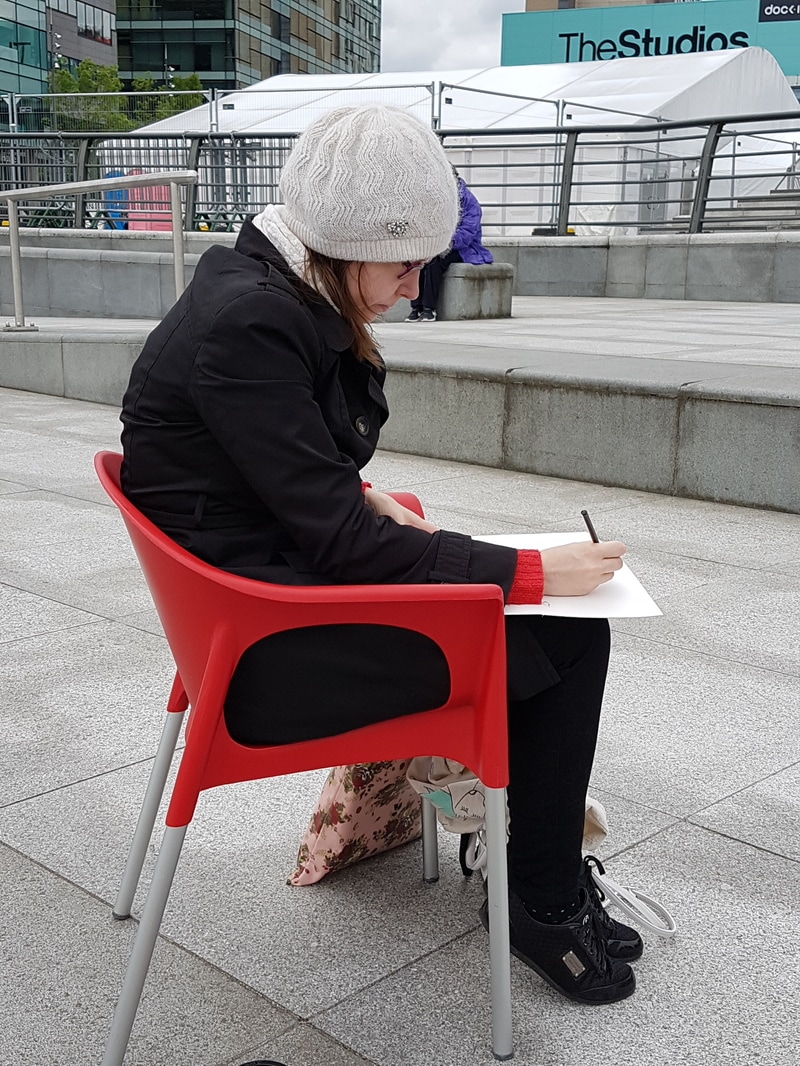
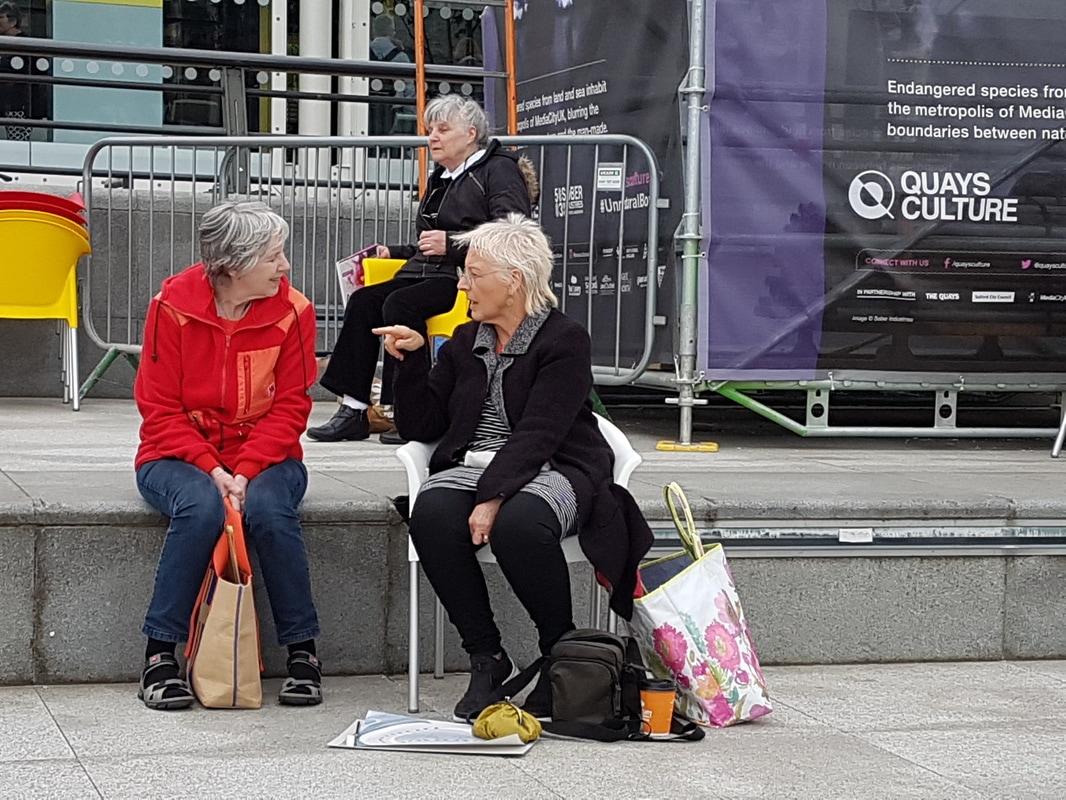
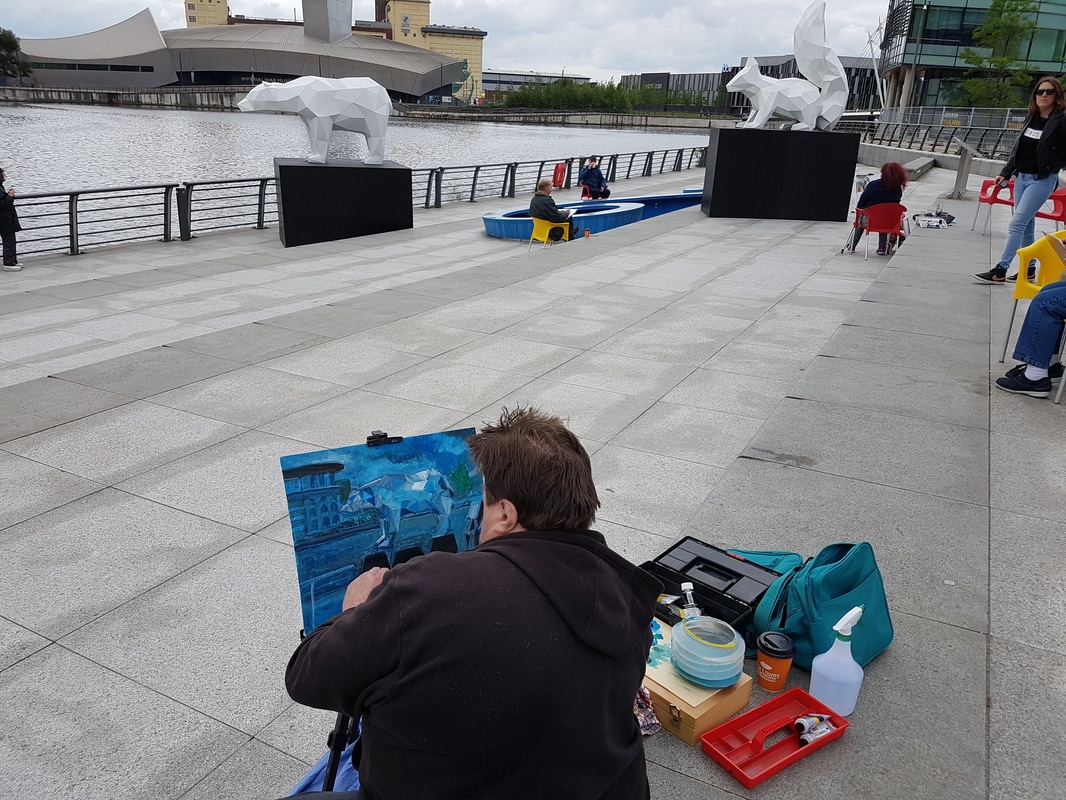
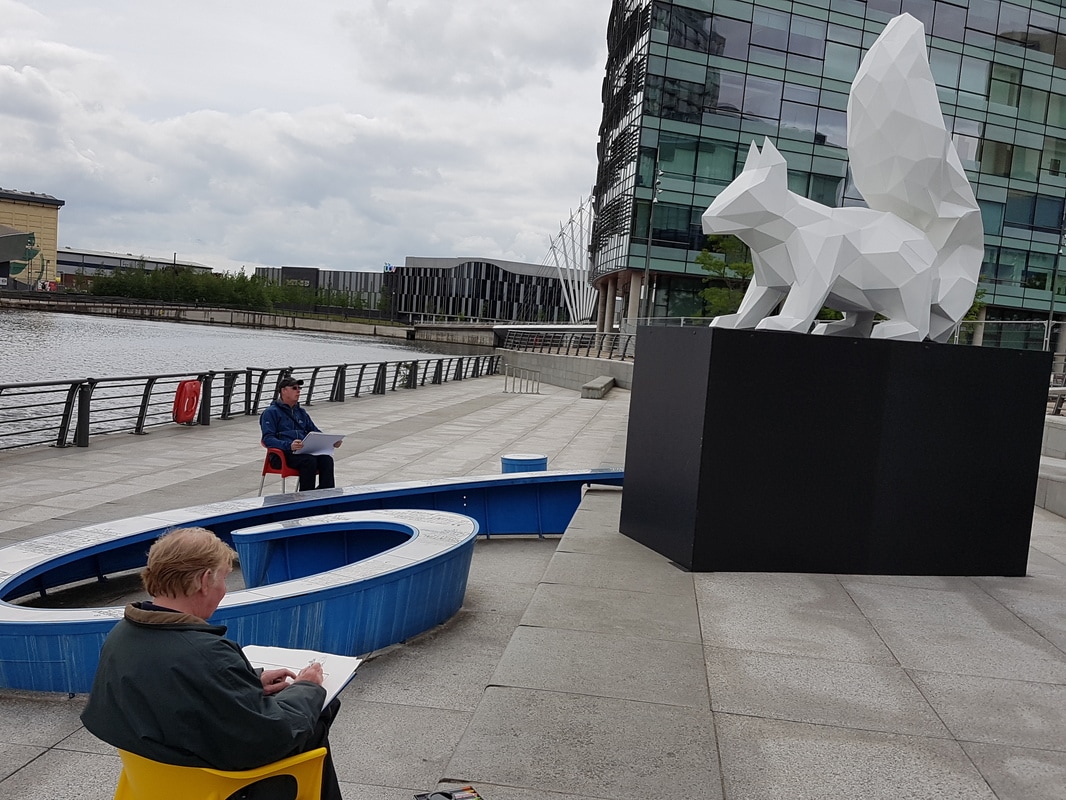
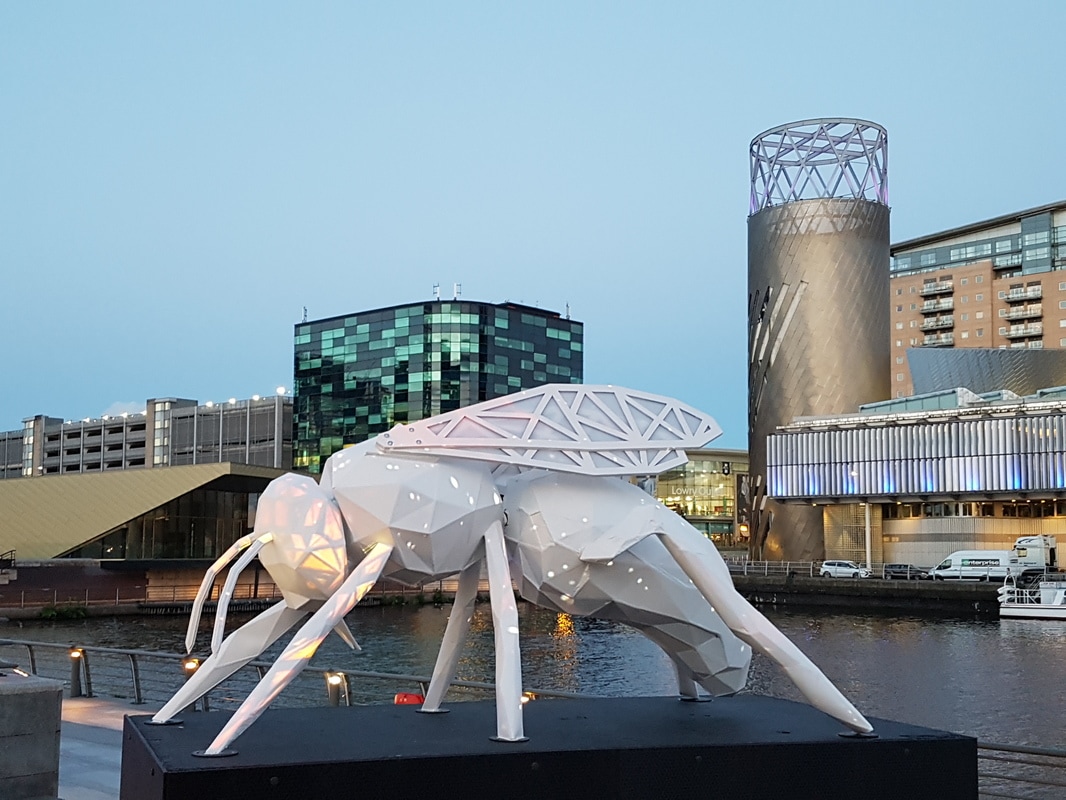
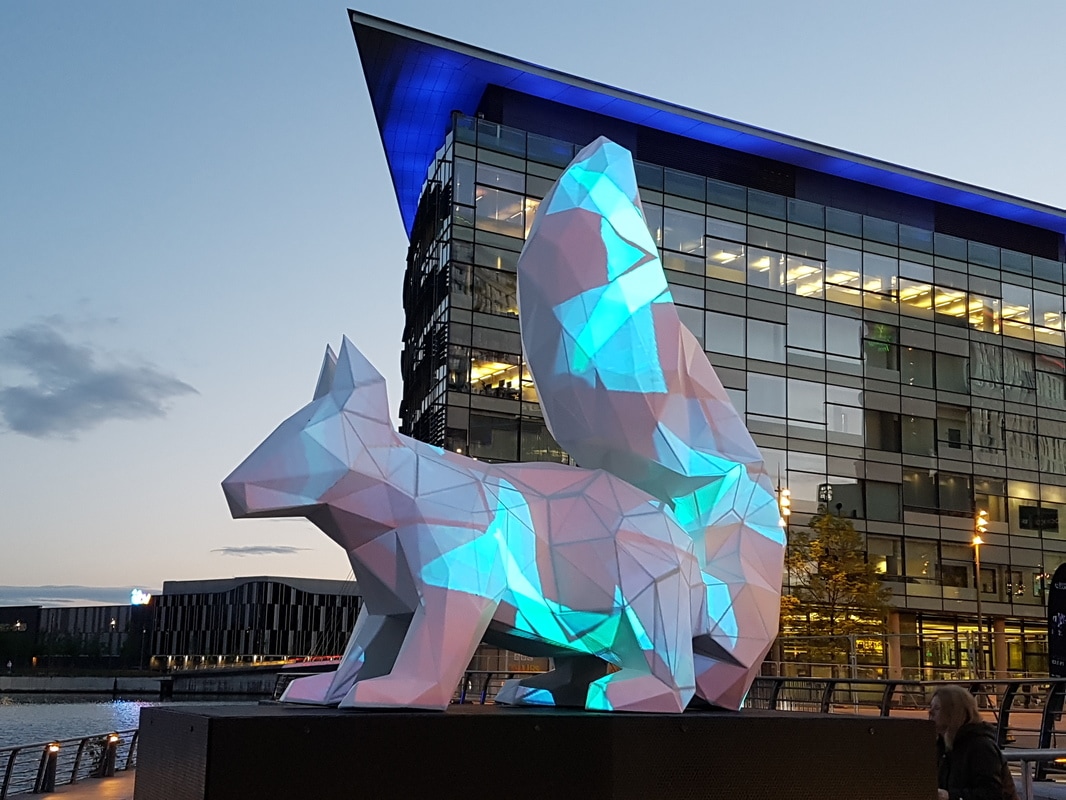
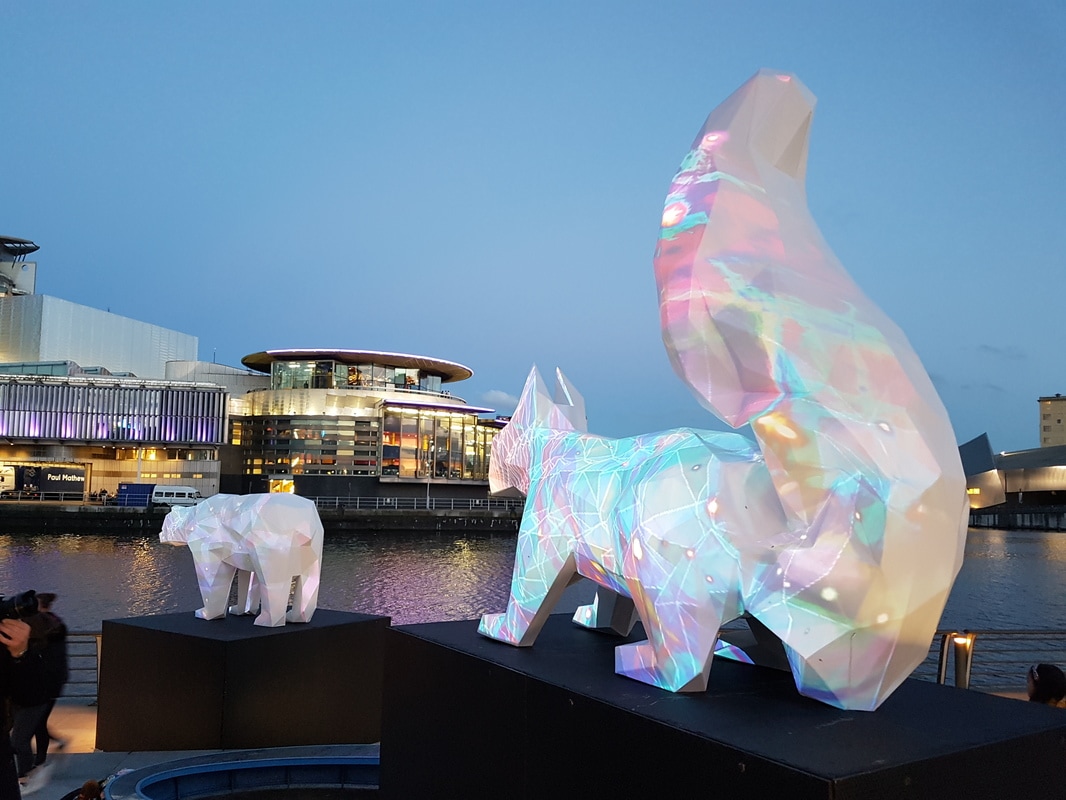
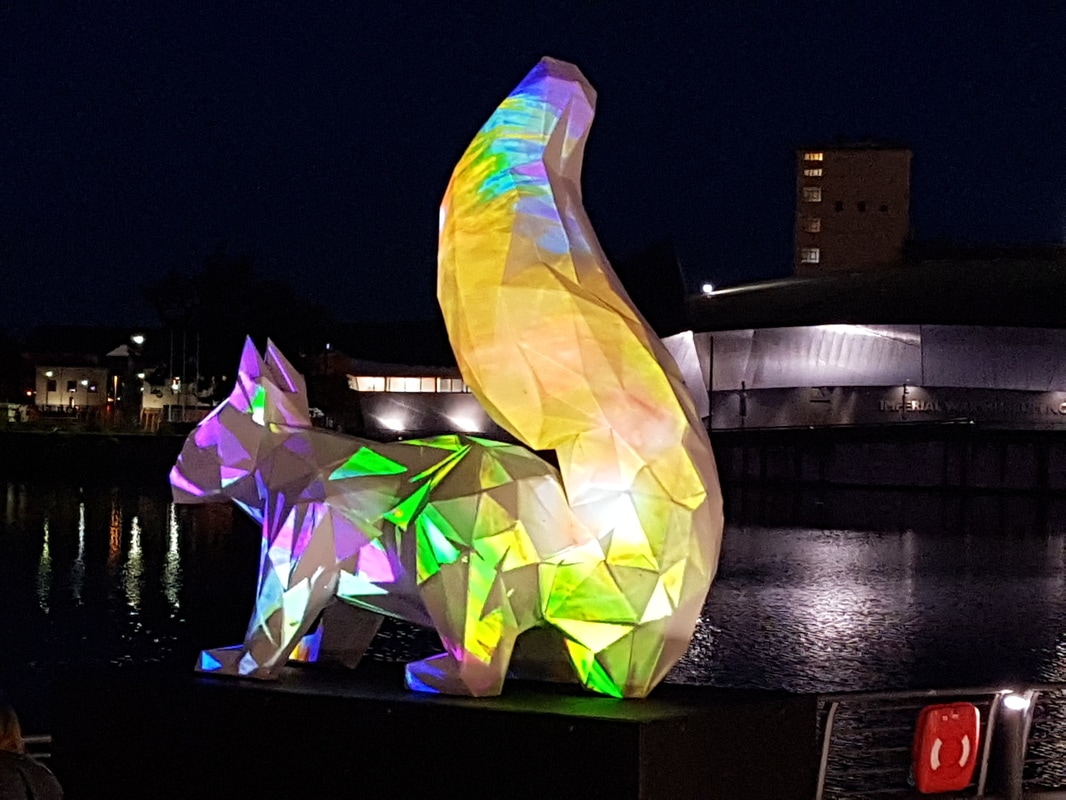
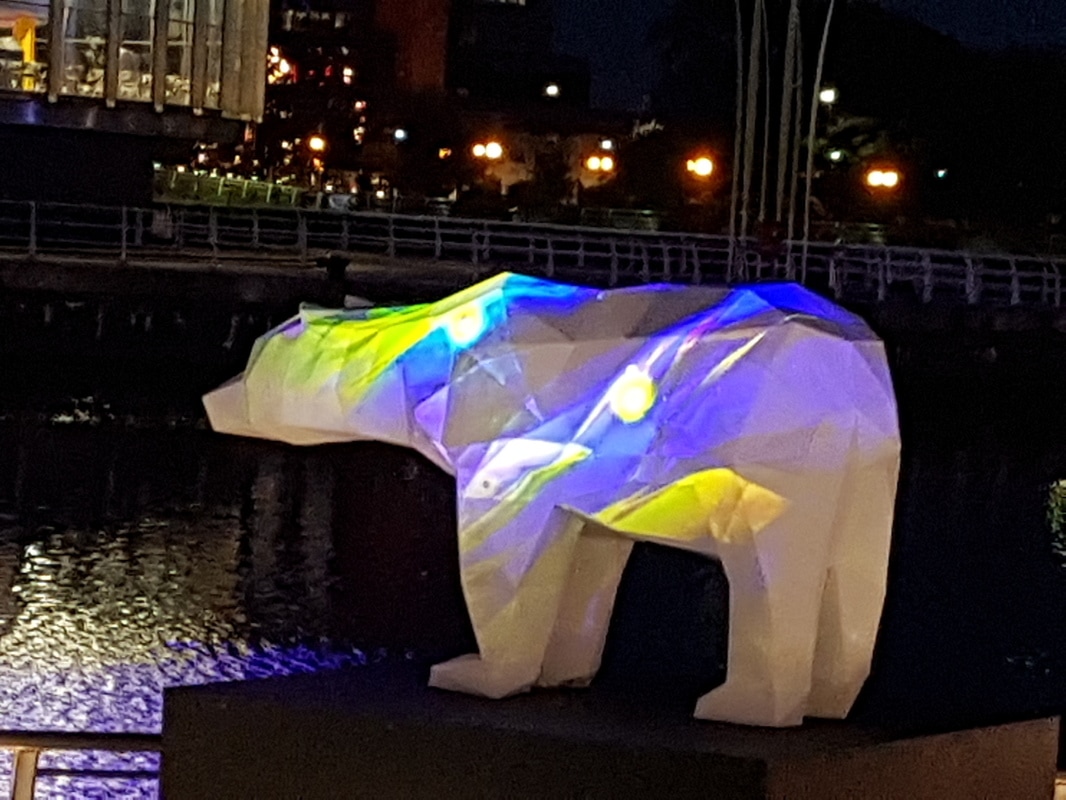
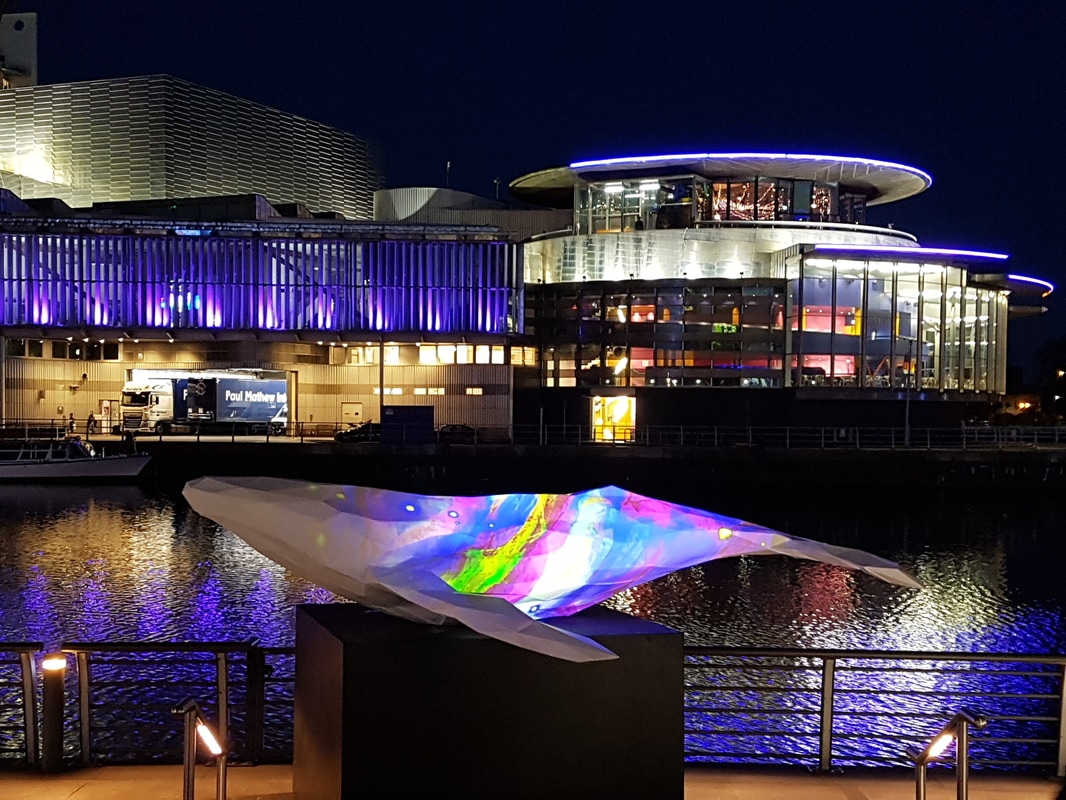
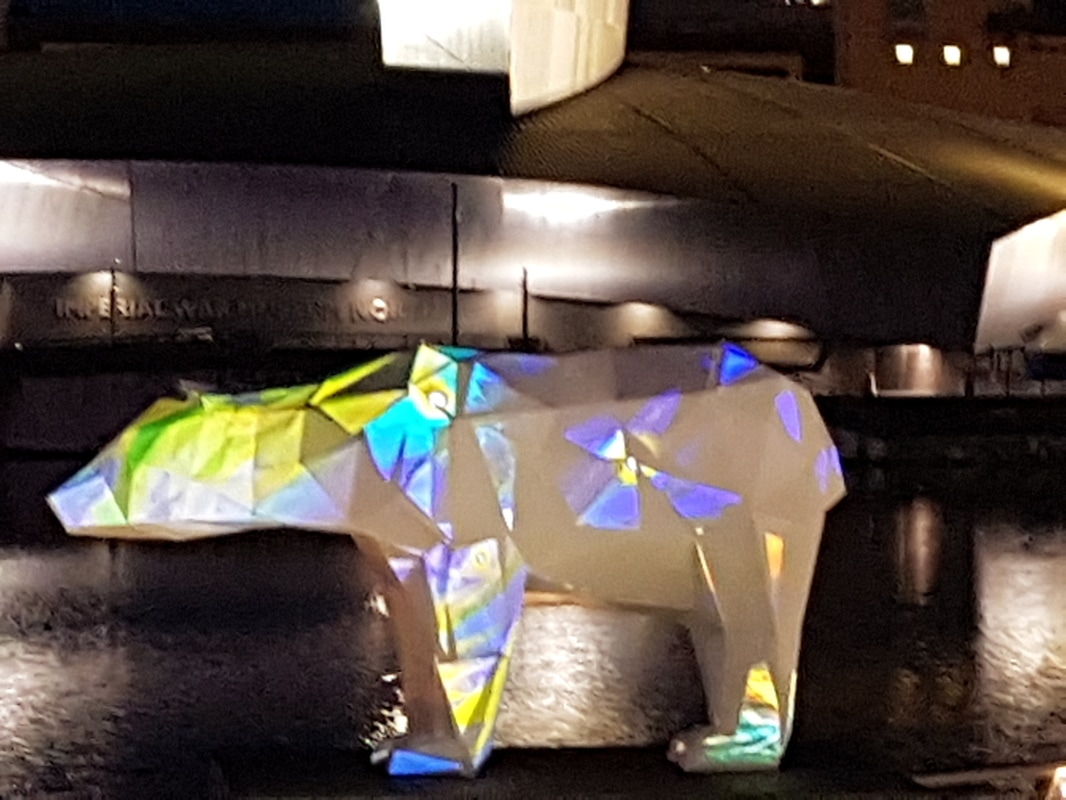
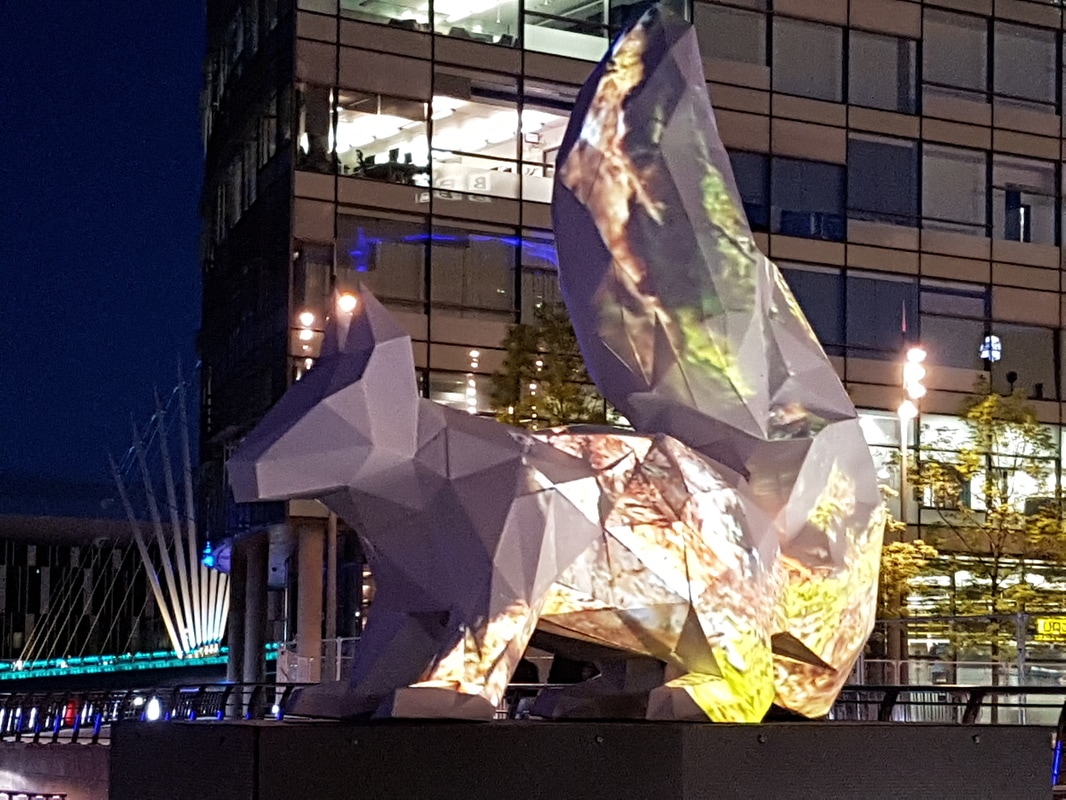
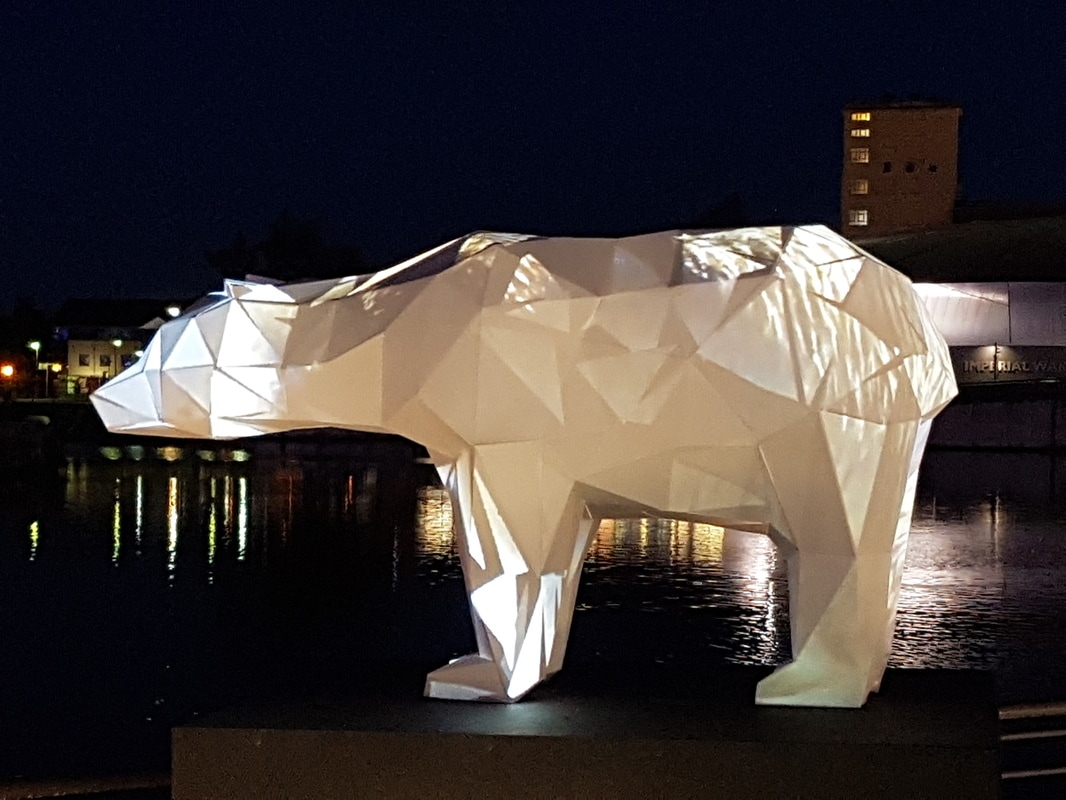
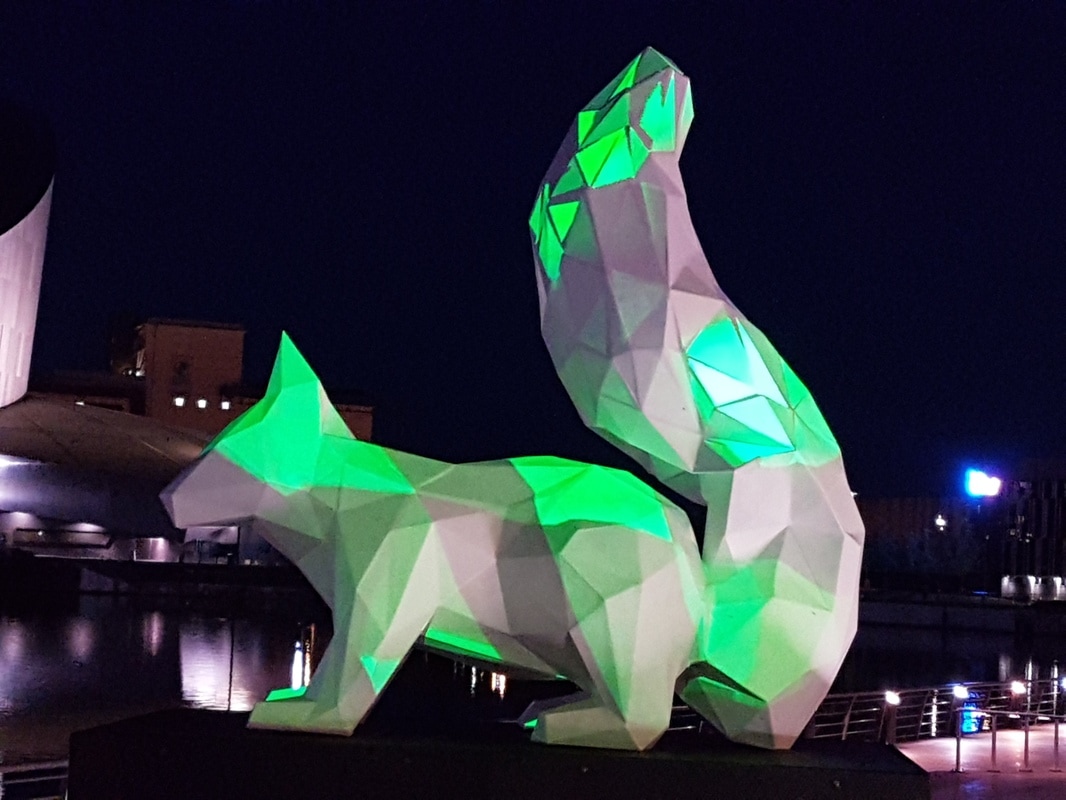
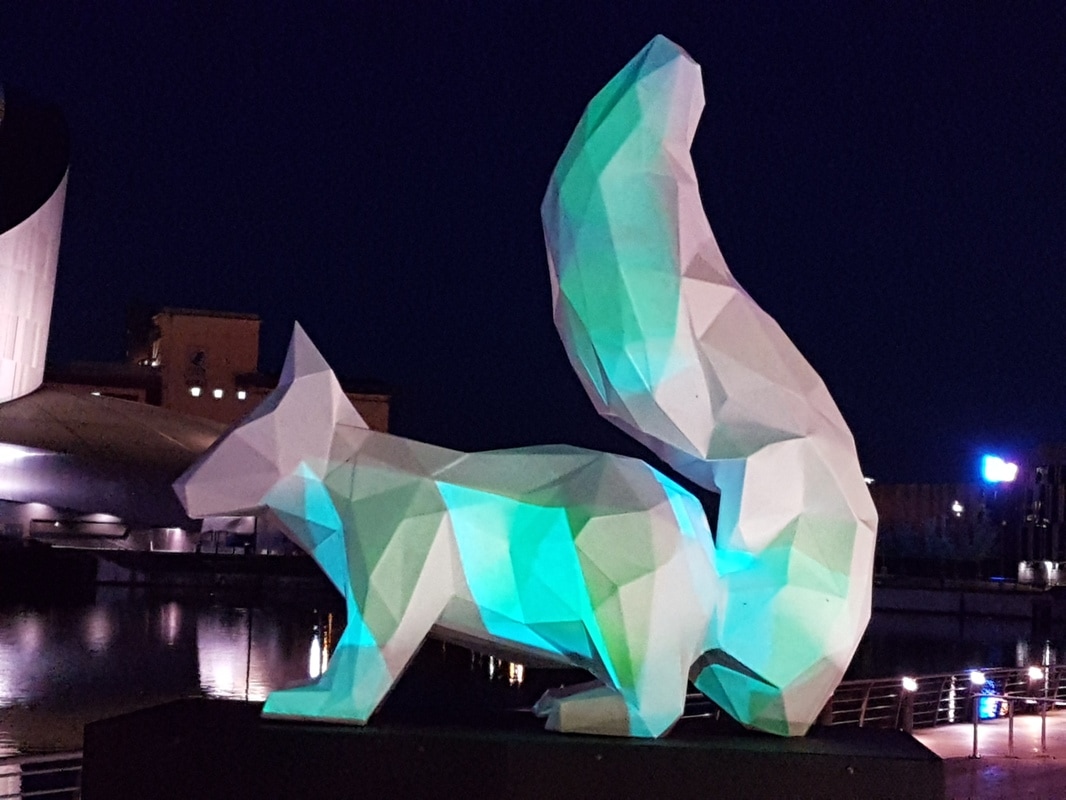
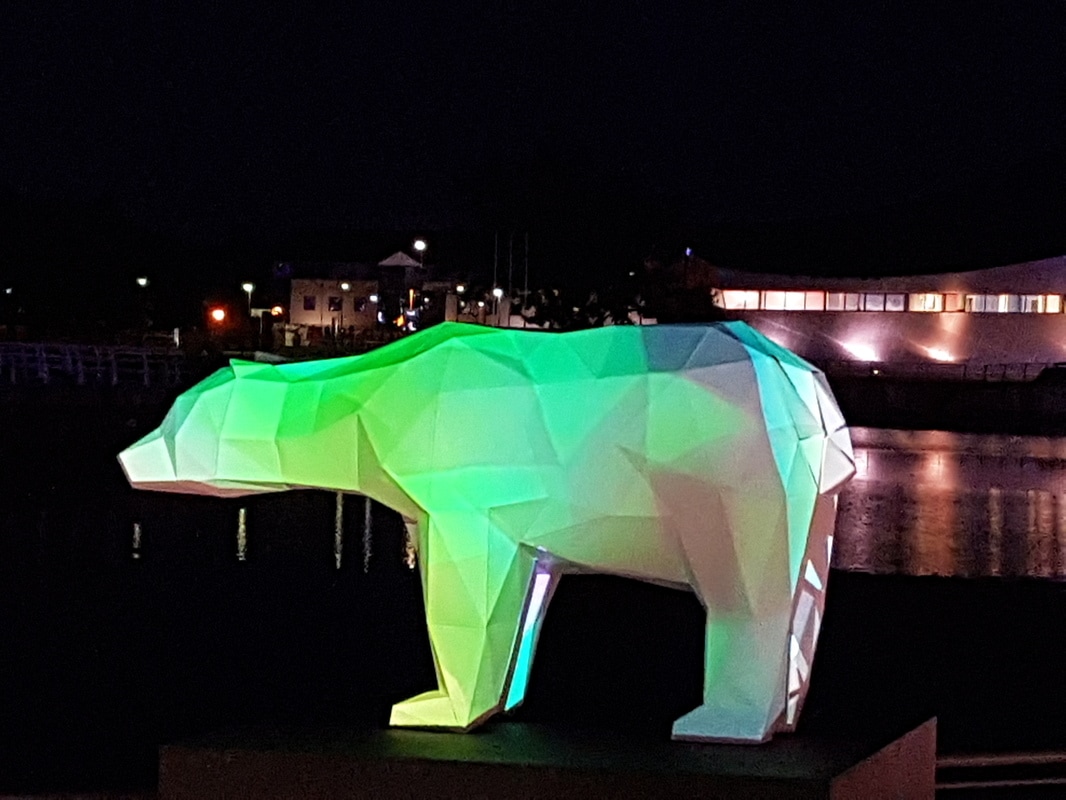
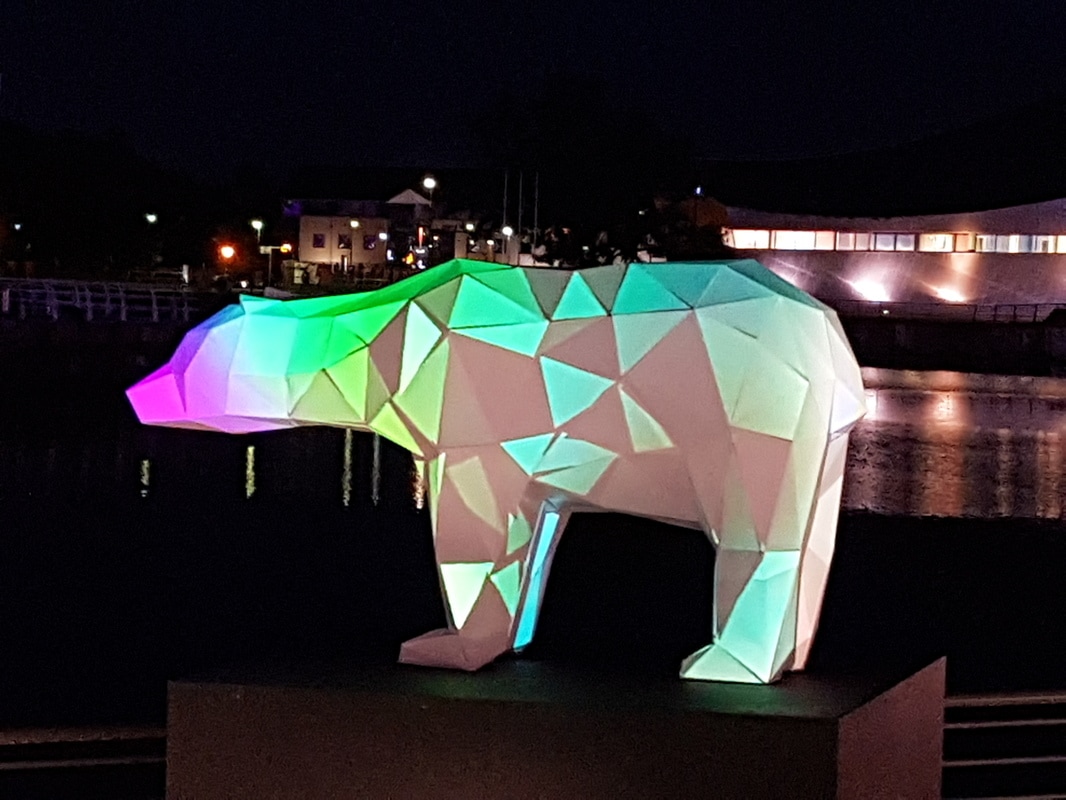
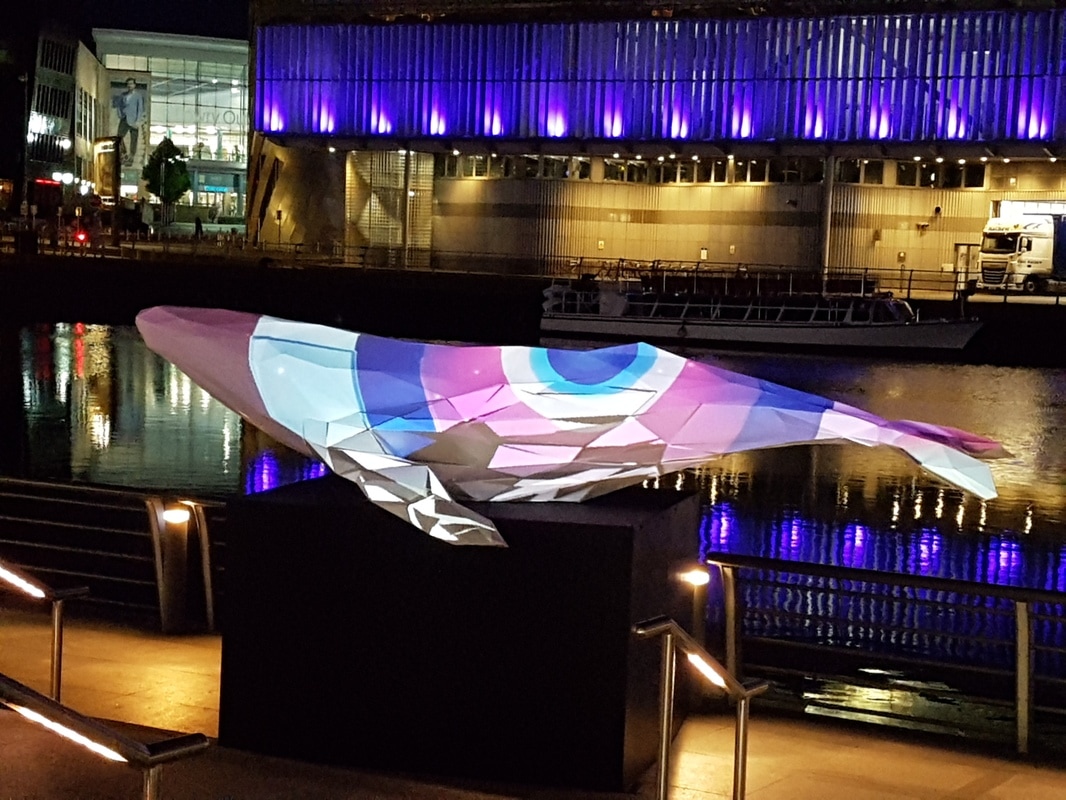
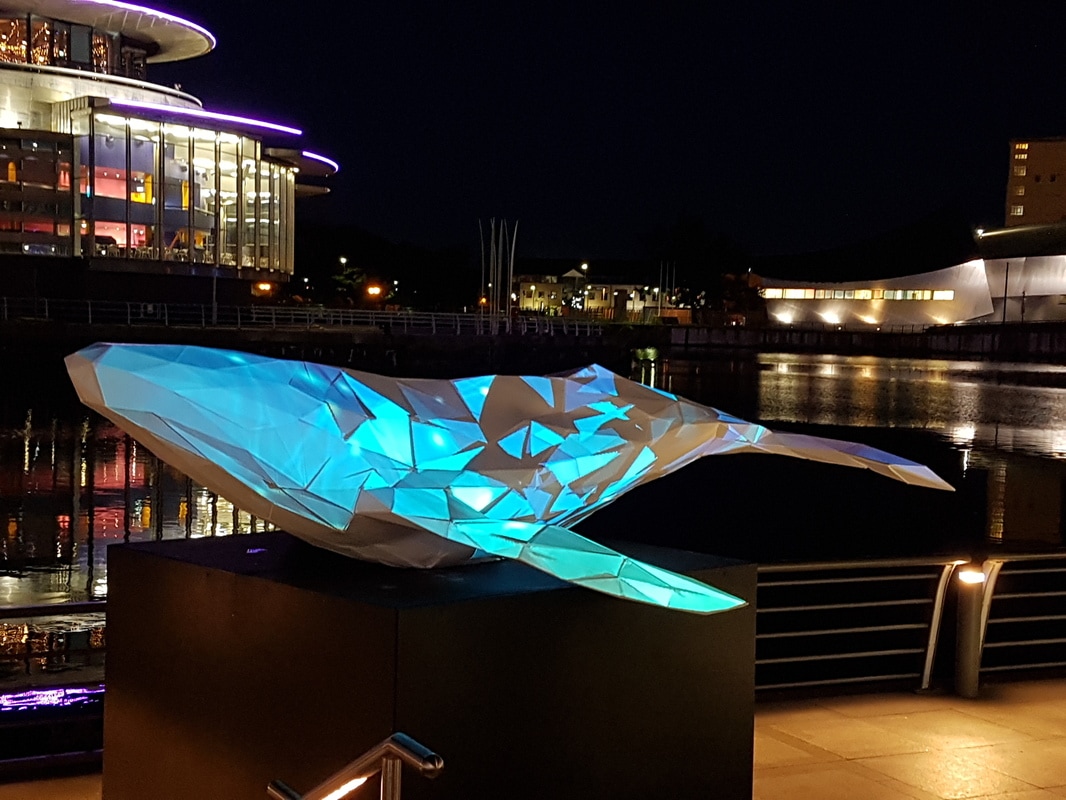
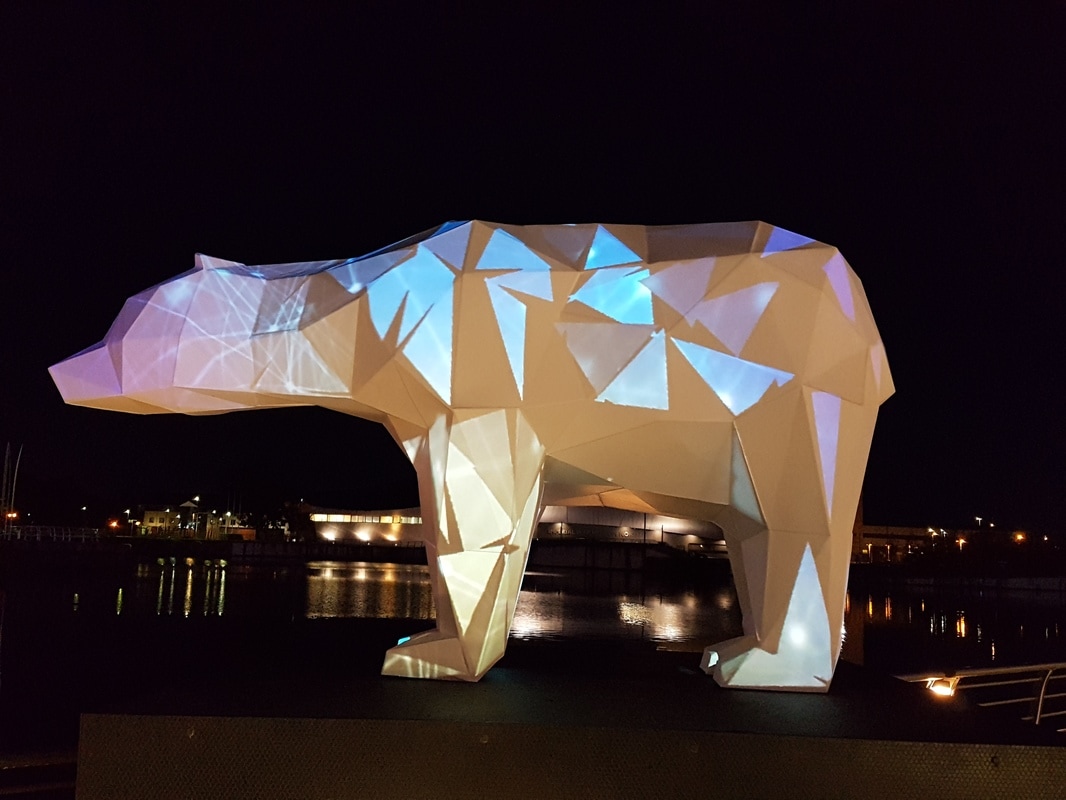
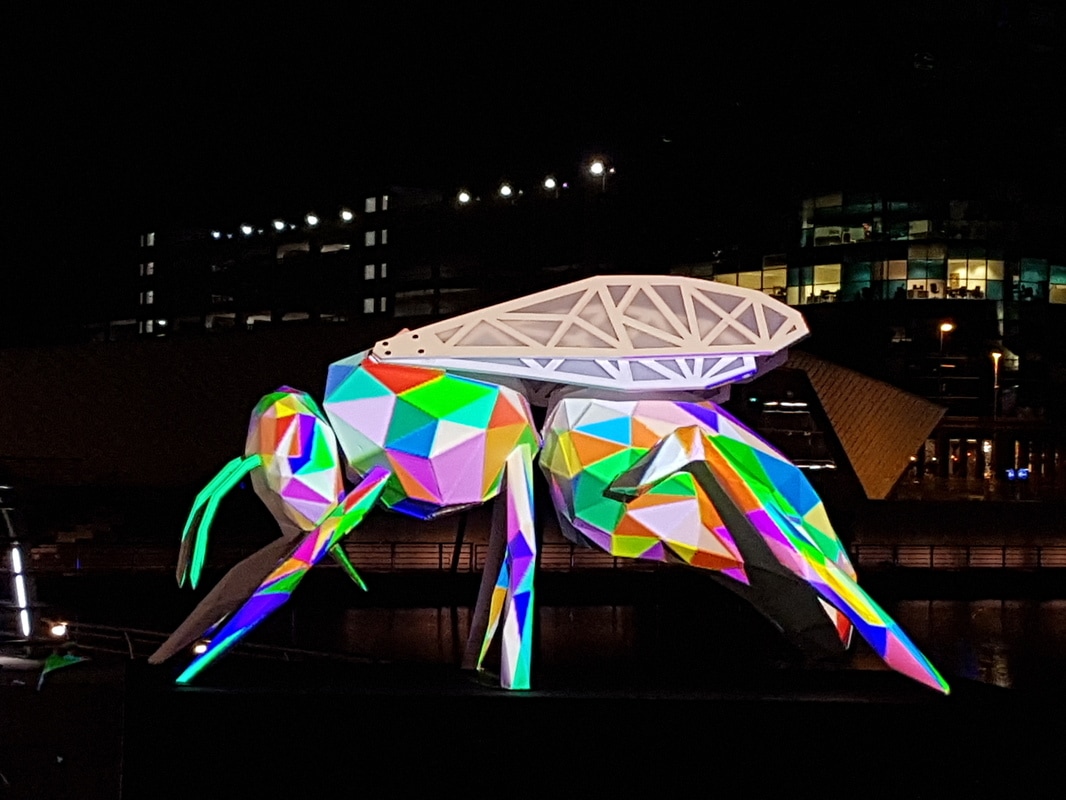
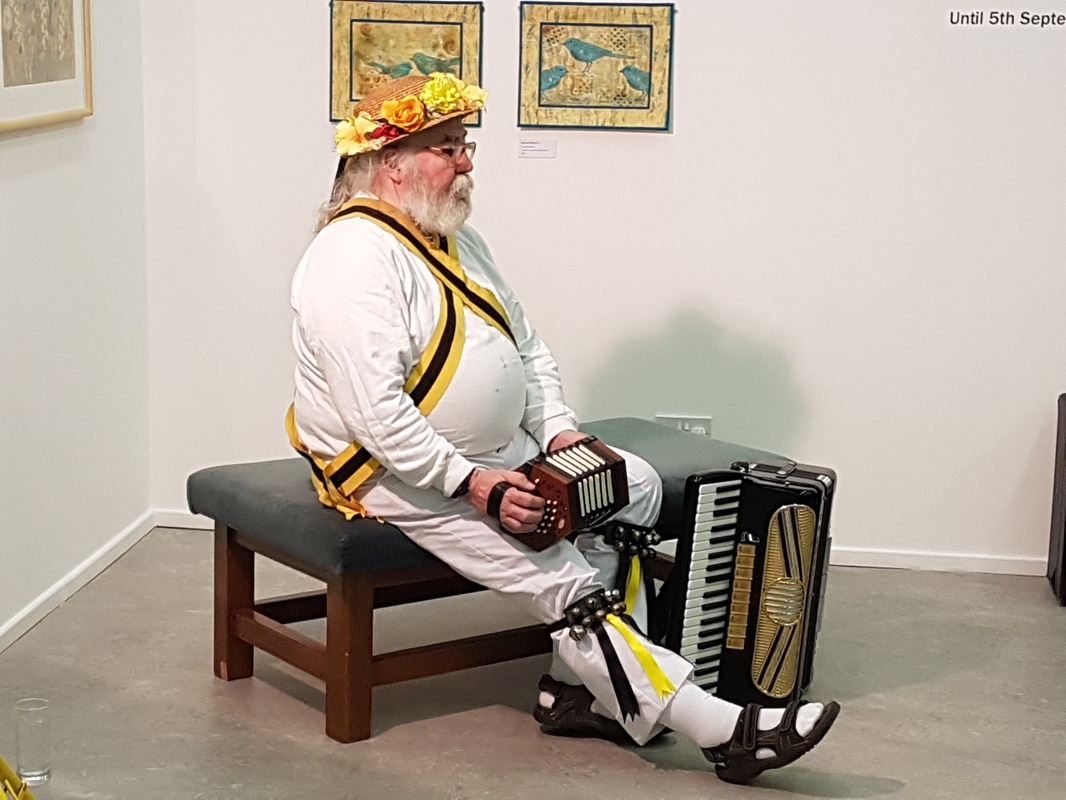
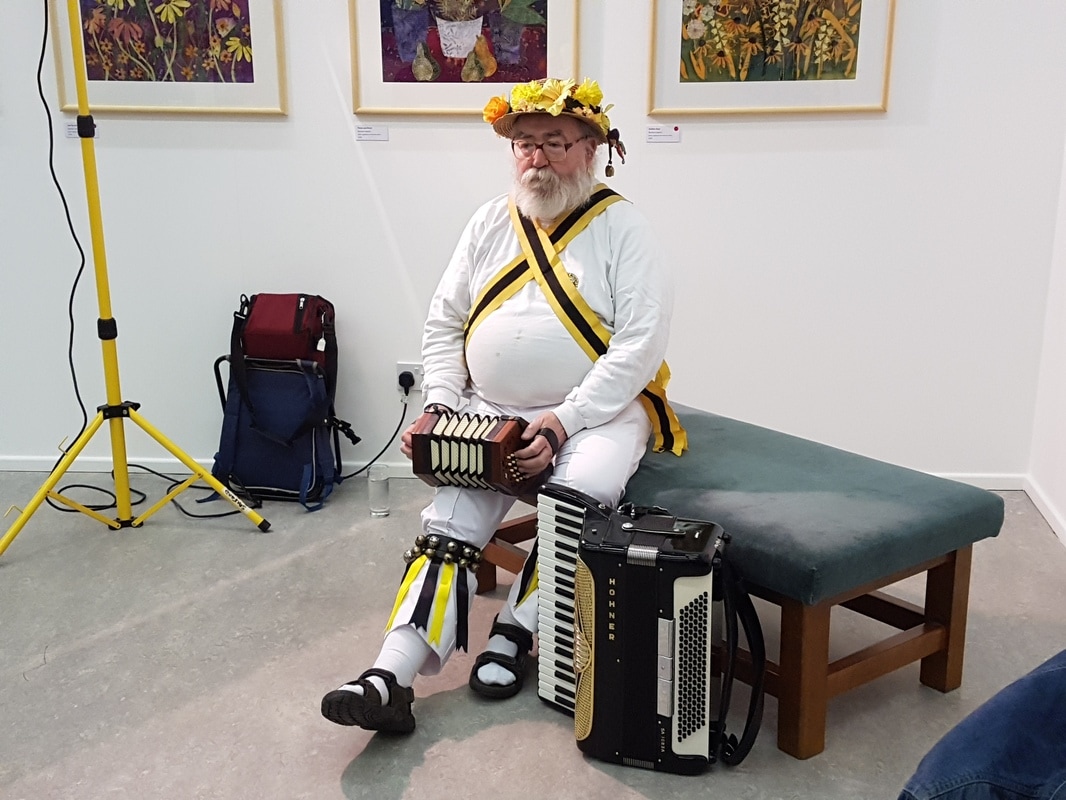
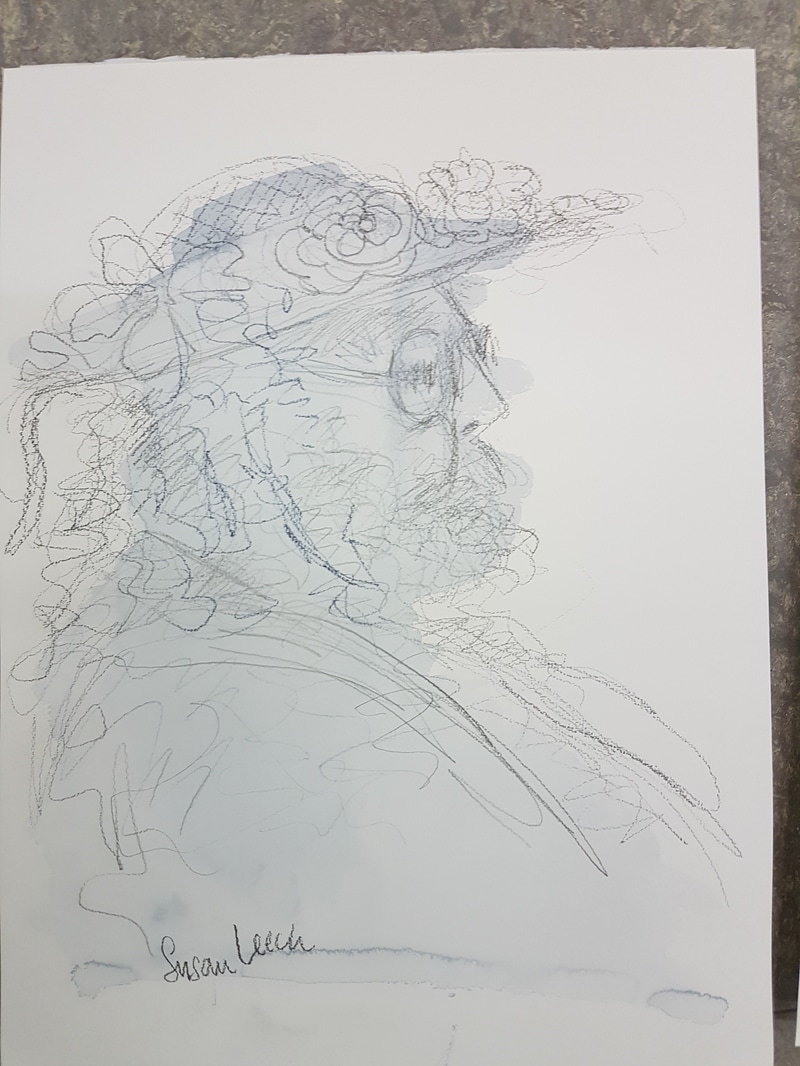
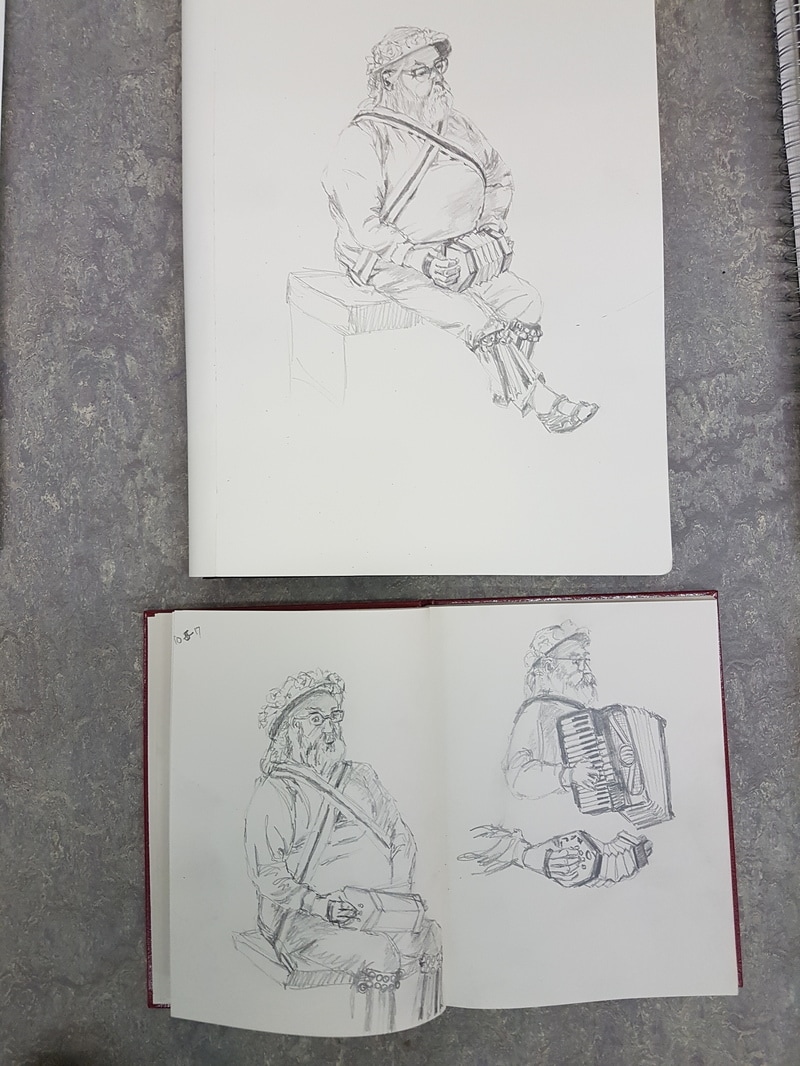
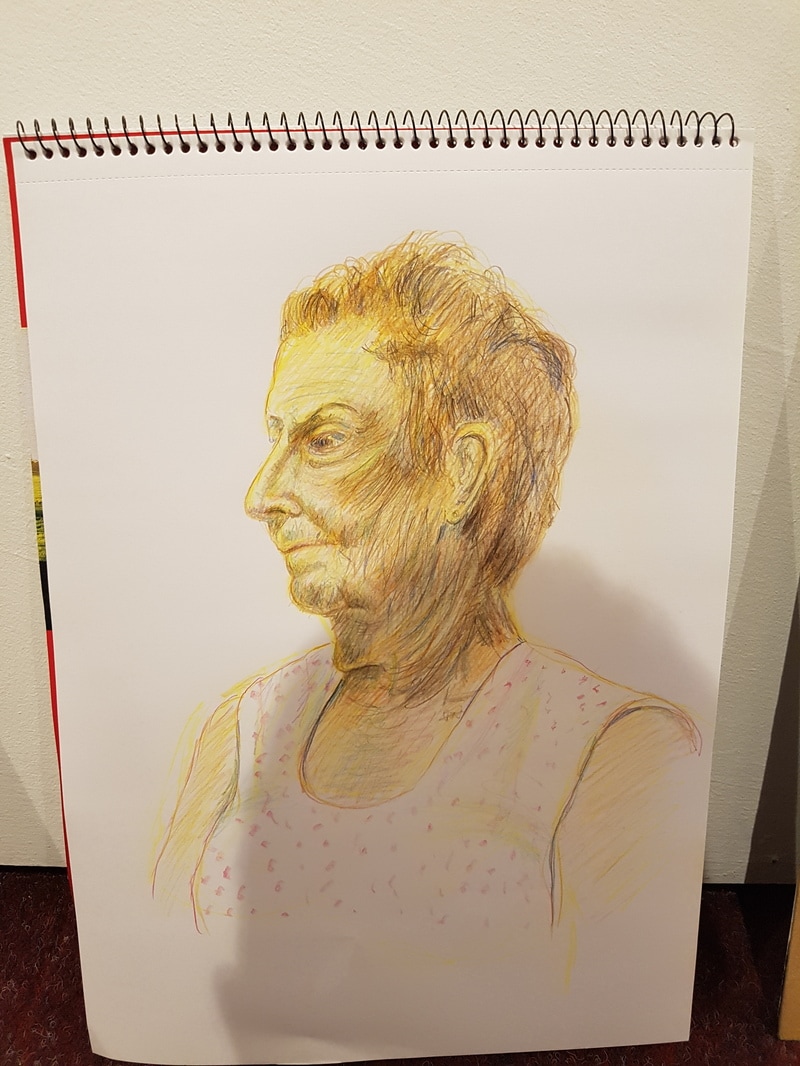
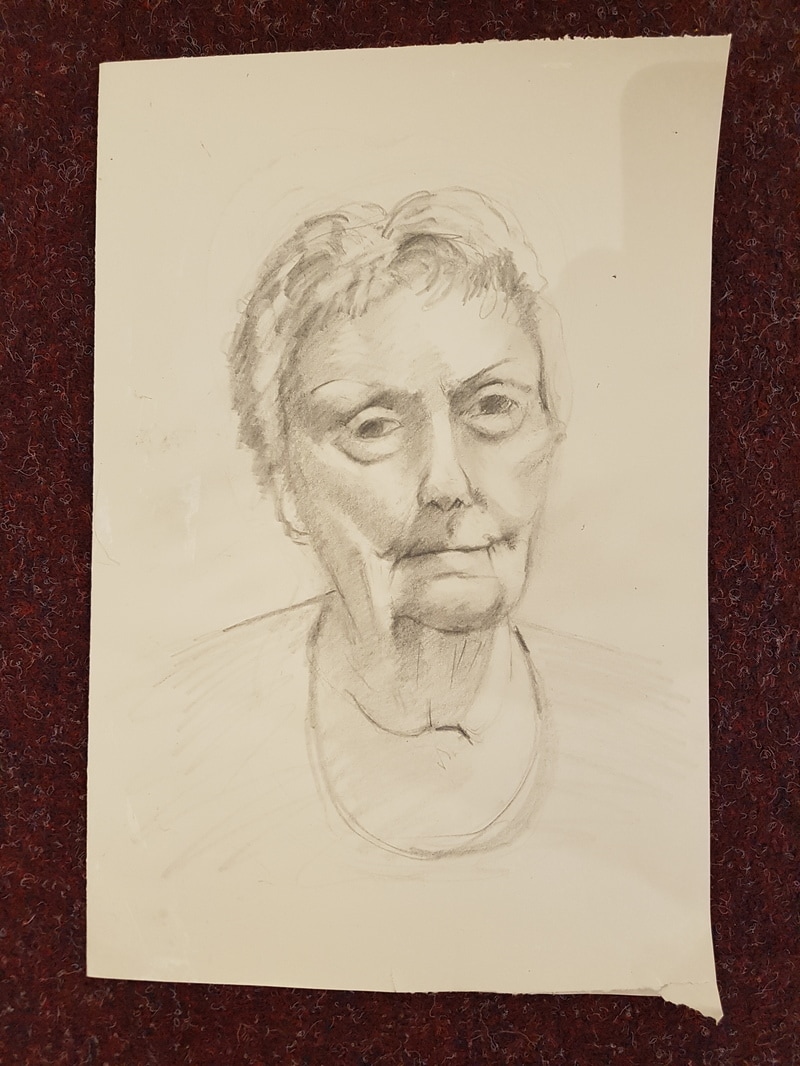
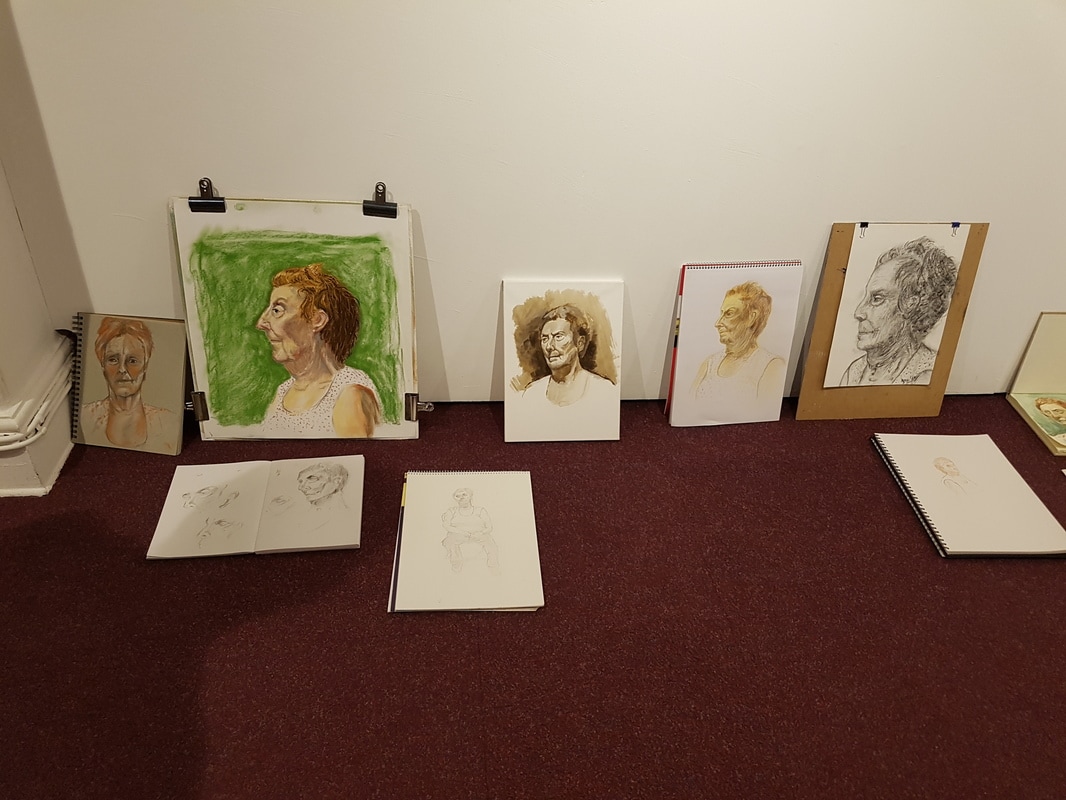
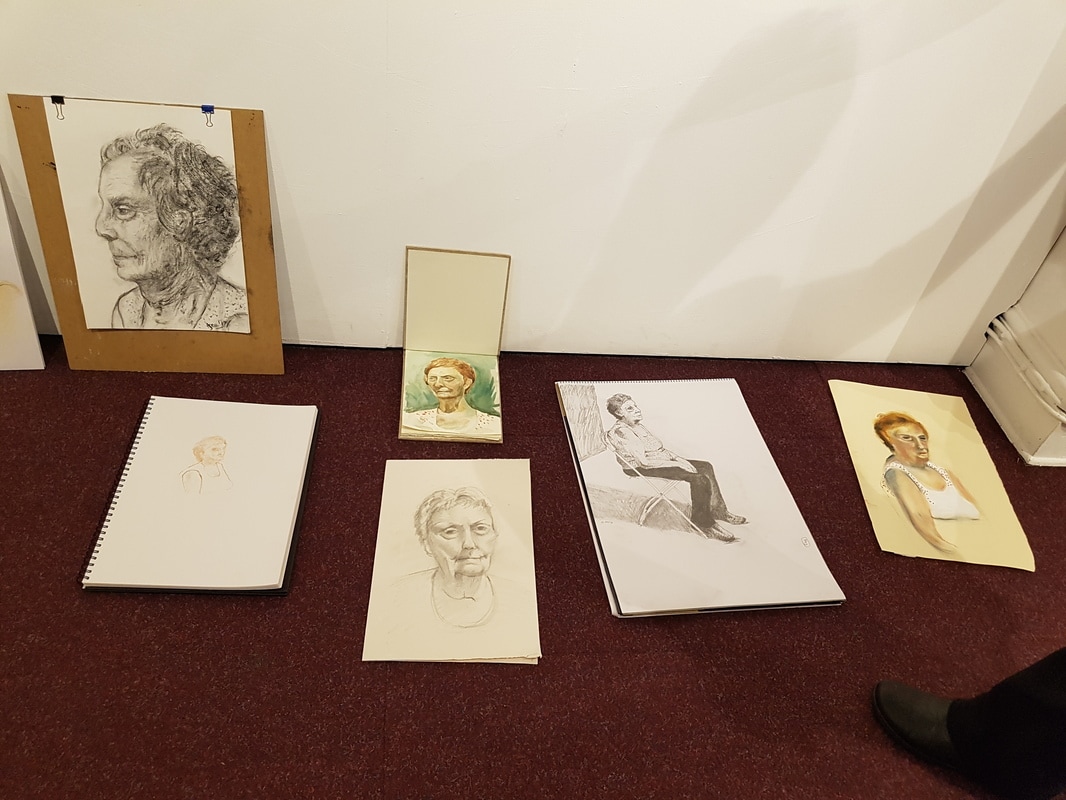
Members enjoyed a great afternoon painting and drawing at the Quays. Some excellent work and several studies that will be worked on for finished pictures. Considering the rain yesterday, the weather was kind to us and it wasn't too windy. Many thanks to the organizers for the seating and refreshments. Handing in for finished work is at the club night on Wednesday 31st May where the finished pieces will be filmed for showing at the Quays. I have put a series of photographs below that members can use if they can't make it to the Quays. |
Categories |


 RSS Feed