|
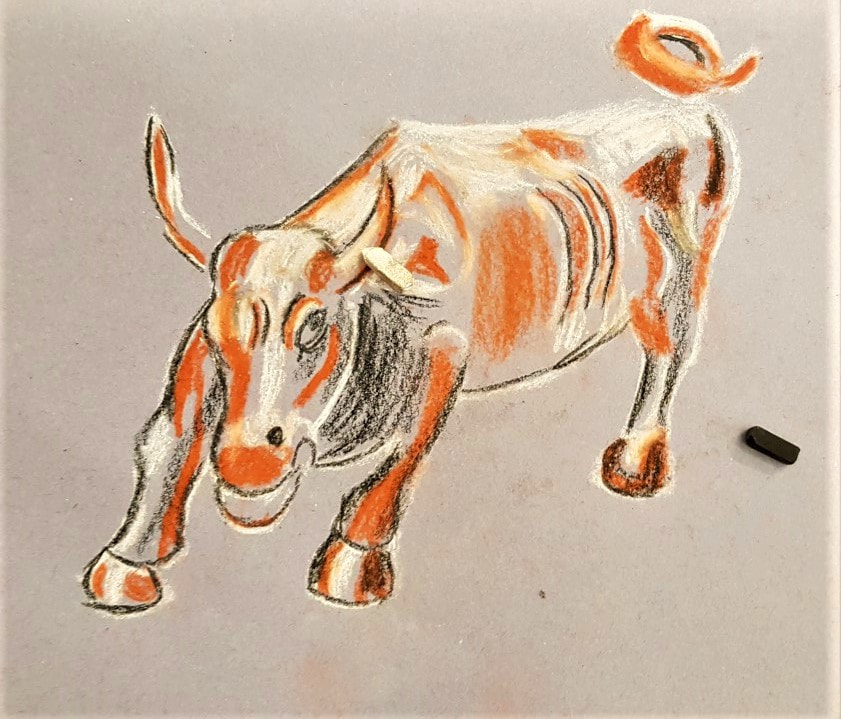
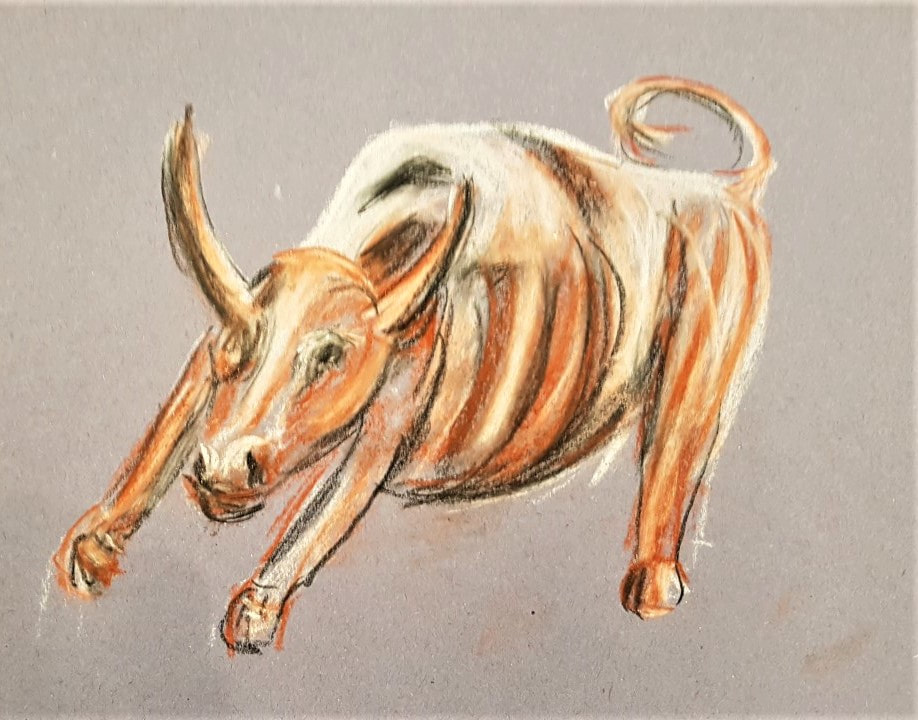
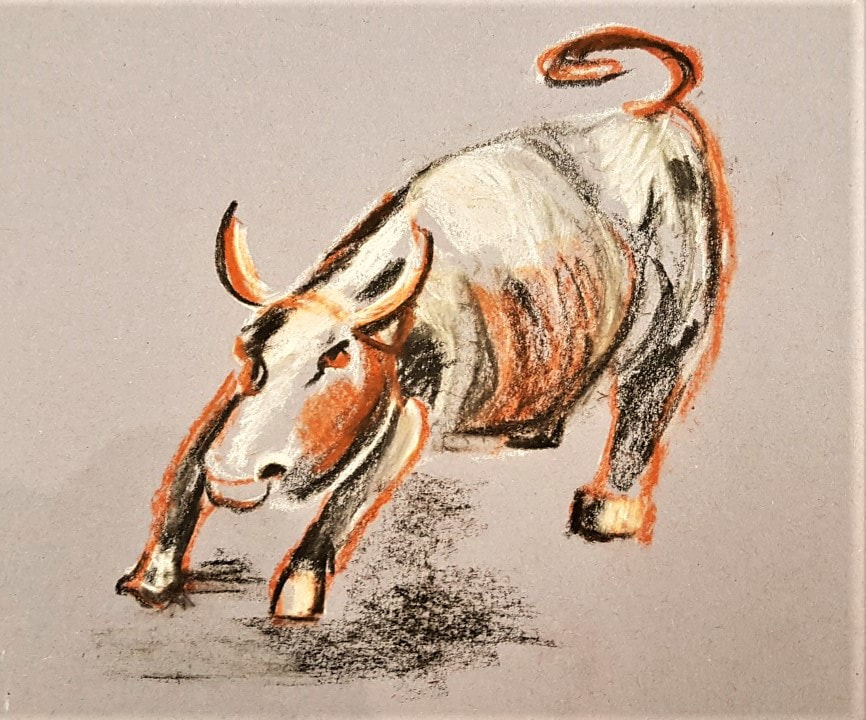
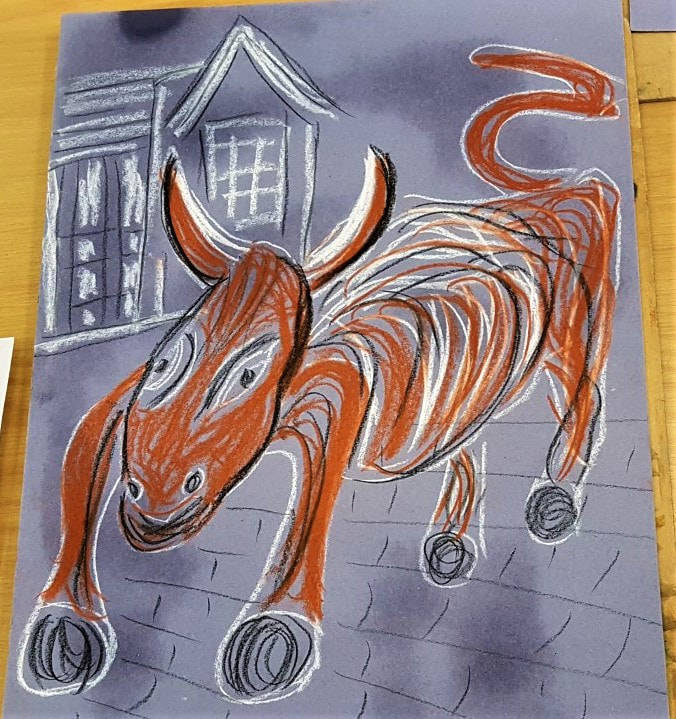
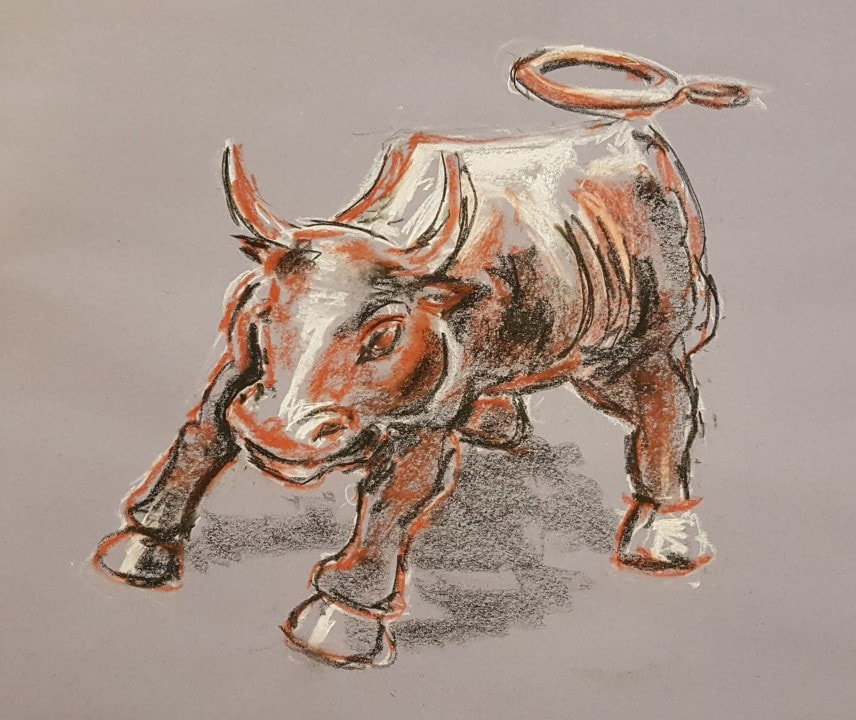
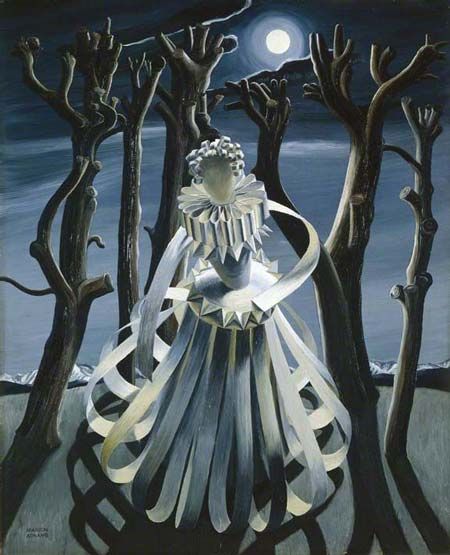
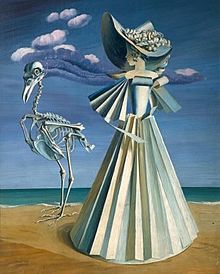
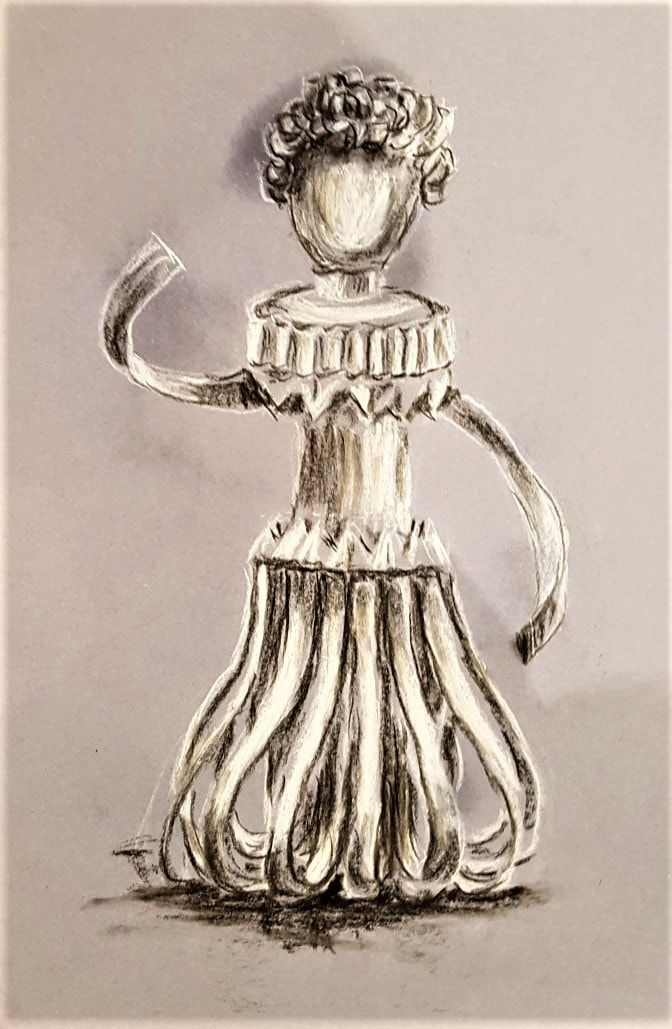
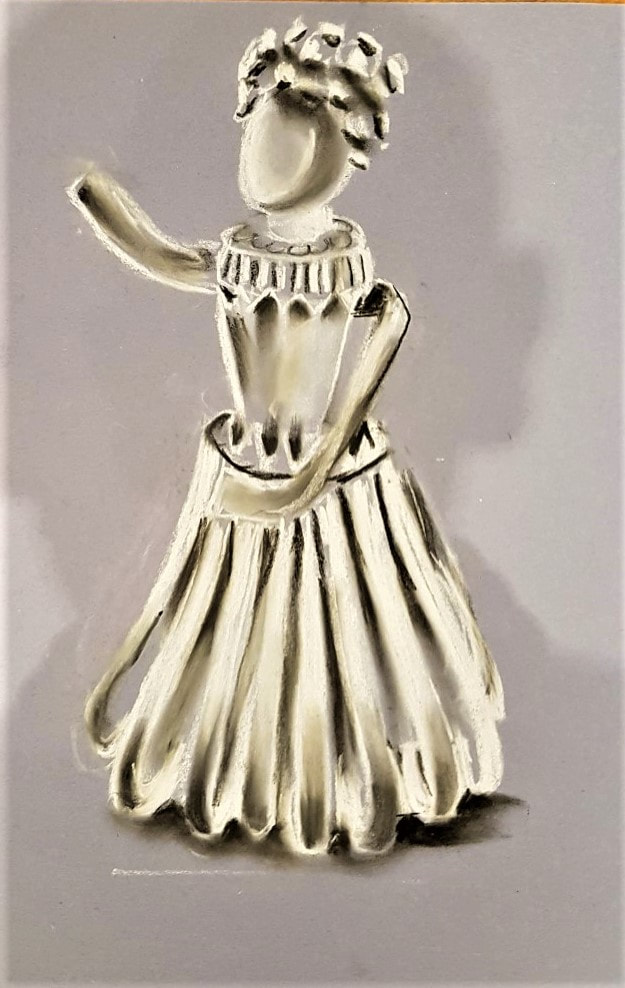
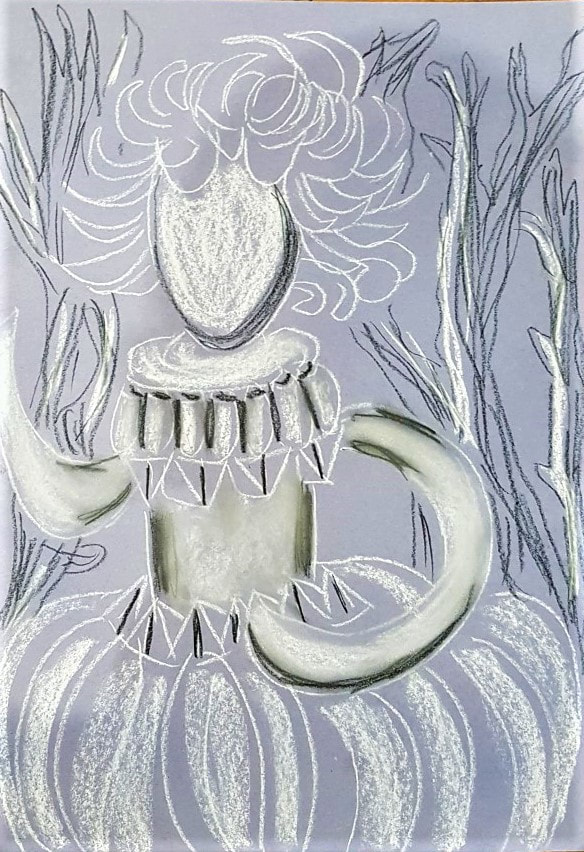
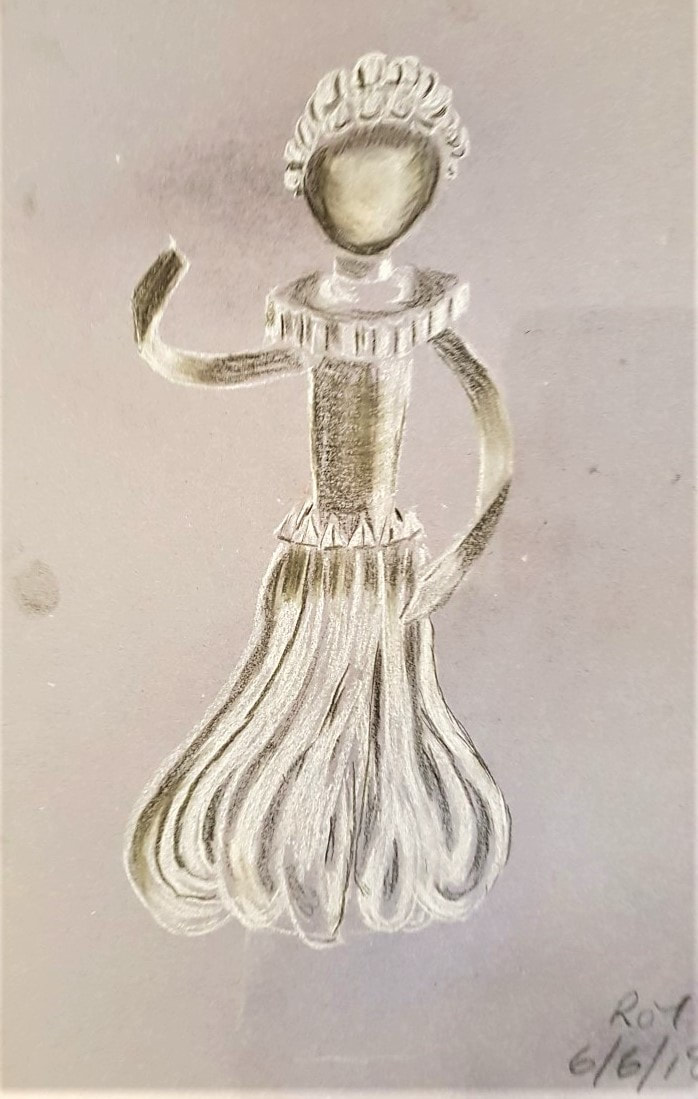
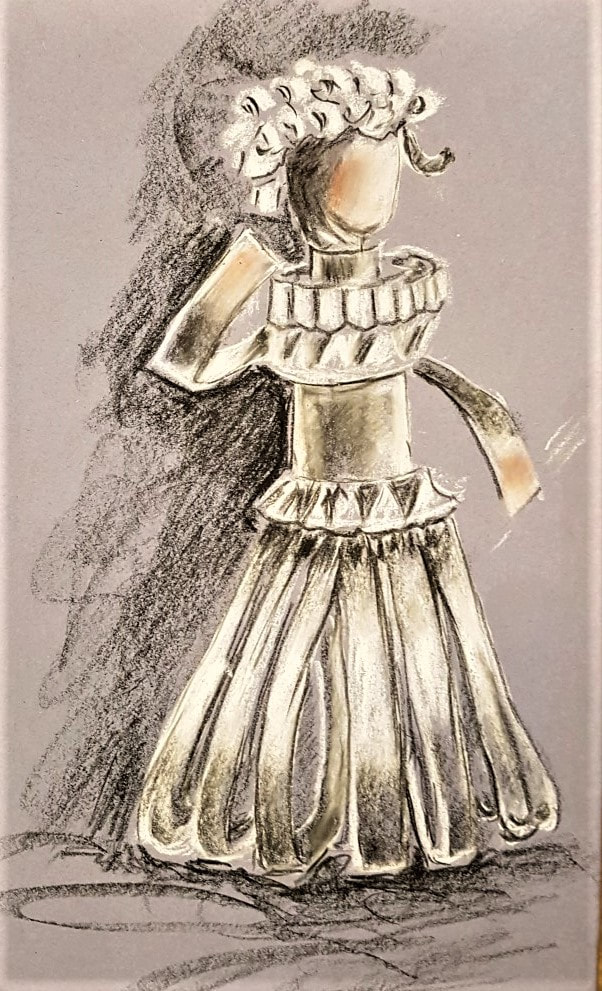
Danny started the evening with a brief history of Conte Crayons. 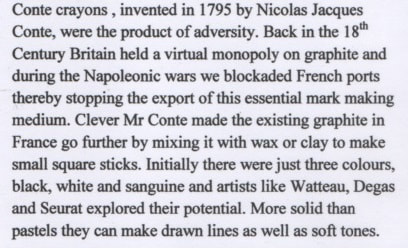 He added that Conte is best used on courser paper. These type of crayon are also suitable for adding water to. Although, there were originally only three colours, by the time Degas was using them, there were many more colours. Nowadays, there are about 72 colours. Conte Crayons were an ideal medium for Degas, as being harder than pastels, he could get outlines where he needed them. At times, they also look like paintings. At this point, we were set our first task, which was to draw Arturo Di Medici's statue of a bull that stands outside the New York Stock Exchange. We had ten minutes to do this, just using white, black and sanguine crayons to try and get a 3-dimensional shape. This proved to be an interesting first attempt and for some reason when I photographed them the background paper looks brown instead of blue. After the break, Danny showed us examples of several other artists' and their use of Conte Crayon including some studies by Seurat for one of his paintings. Here he explained how subtle variations in shade can be achieved. 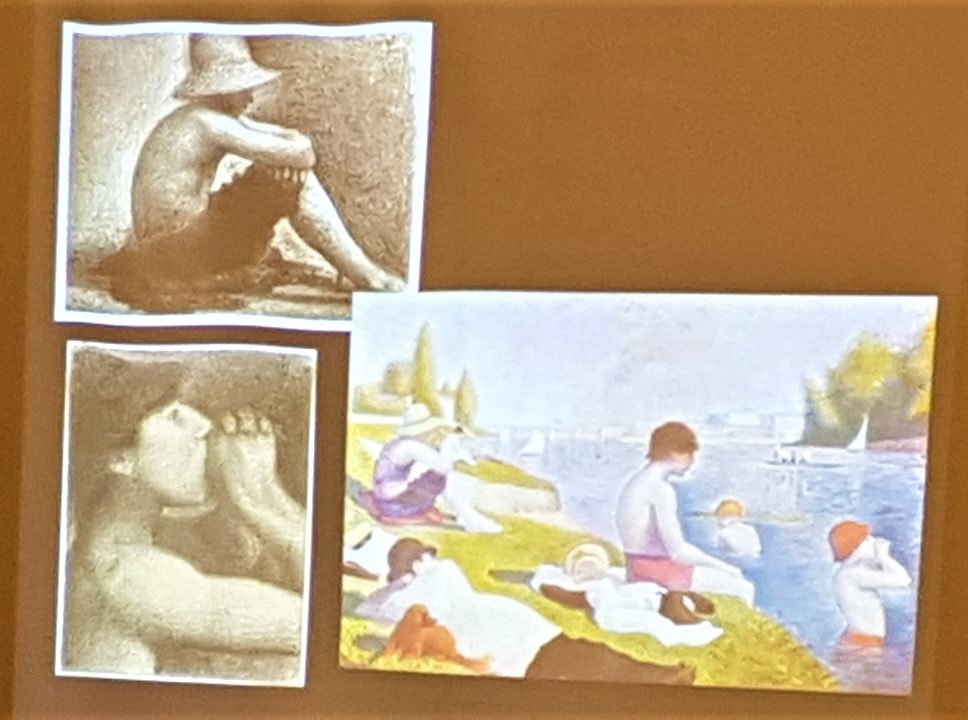 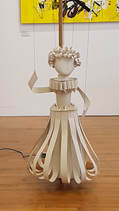 We then looked at a Surrealist artist, Marion Adams. We were told that she spent a year drawing all of her pupils and became very proficient with pencil, but when she tried painting the figures, this skill did not come as easily. Instead, she started using Conte crayons when drawing paper models before using these images in her finished paintings. This was our next task; to draw one of these paper figures that Danny had brought with him. This proved to be an interesting task and, after our earlier practice, a quite successful one. I'm not sure how many of us will start using Conte Crayons but it was fascinating to see what could be achieved with them.
Another excellent evening at the club led by a knowledgeable and helpful artist.
0 Comments
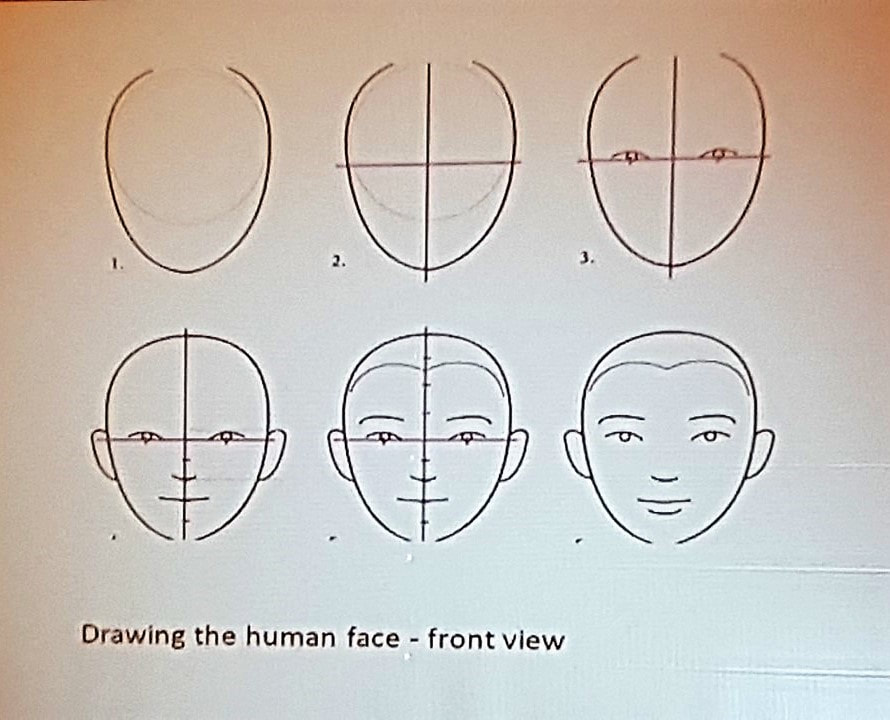
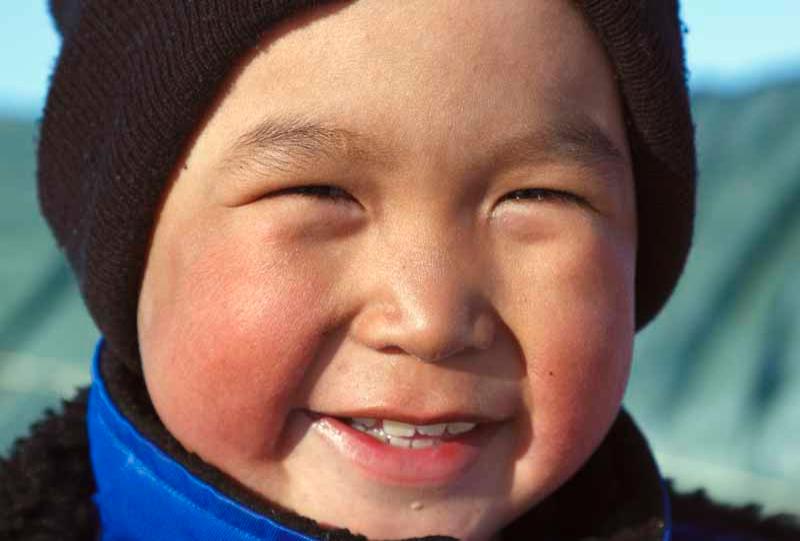
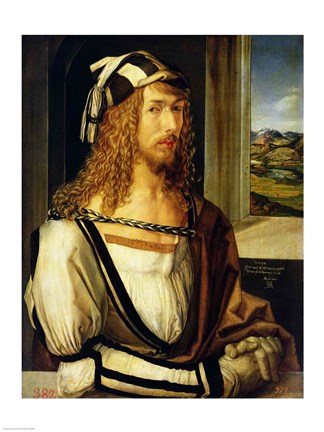
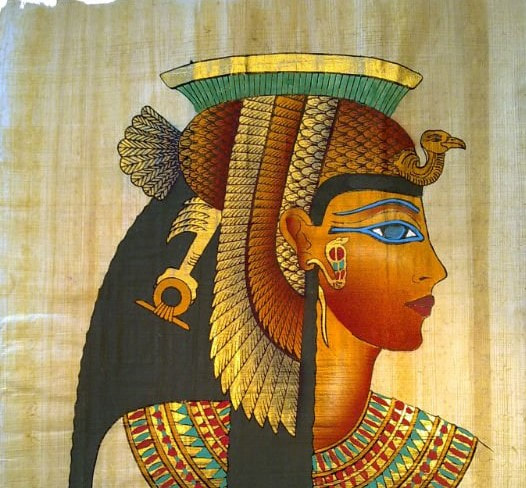
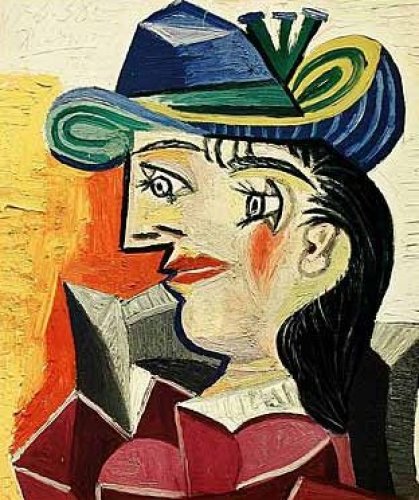
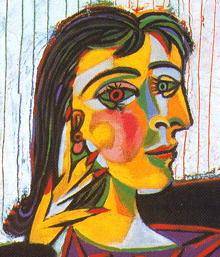
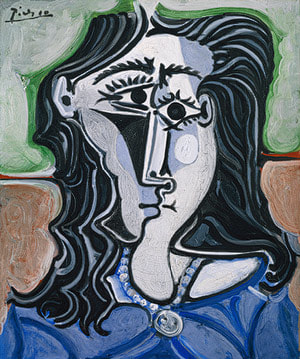
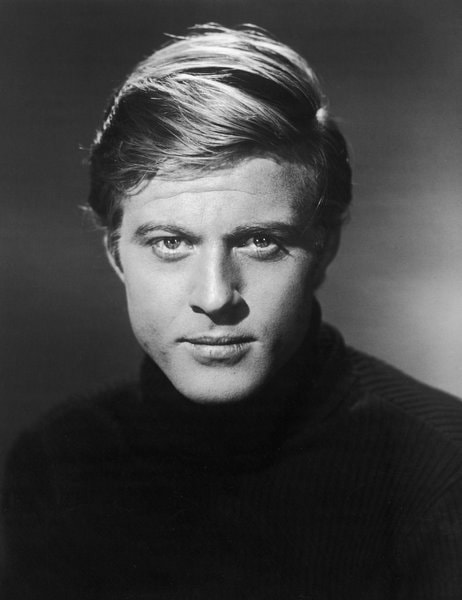
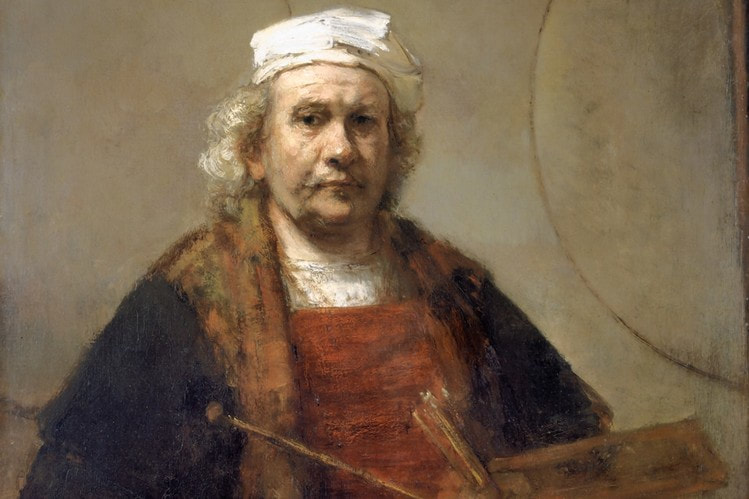
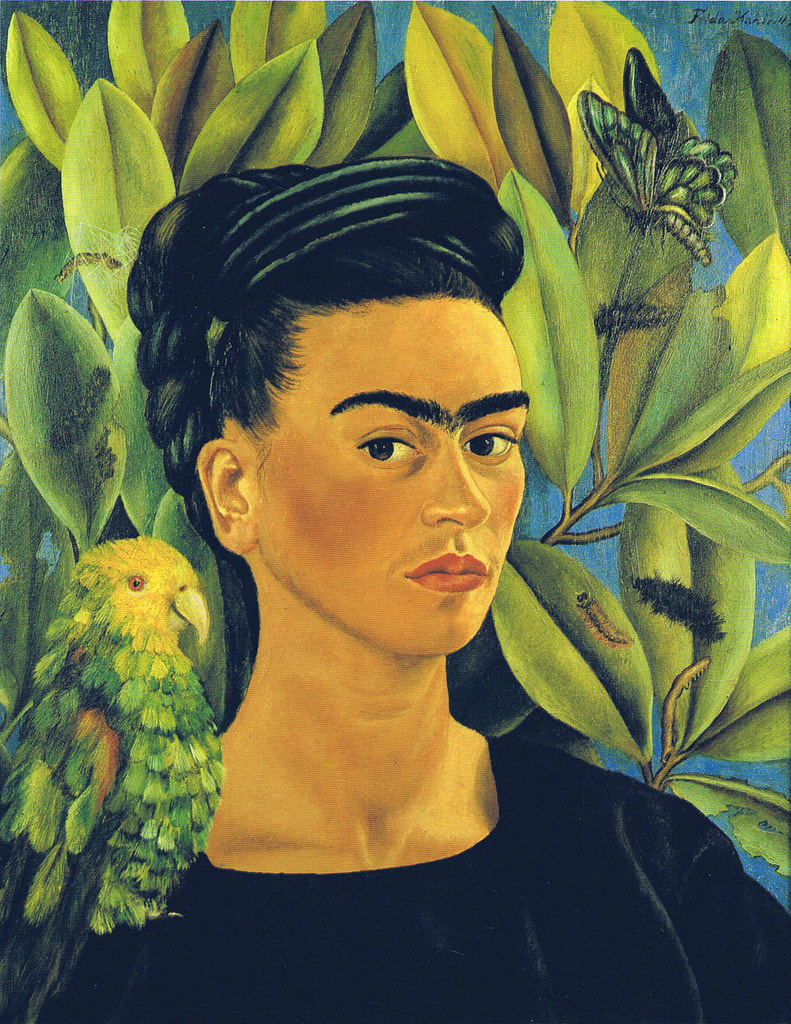
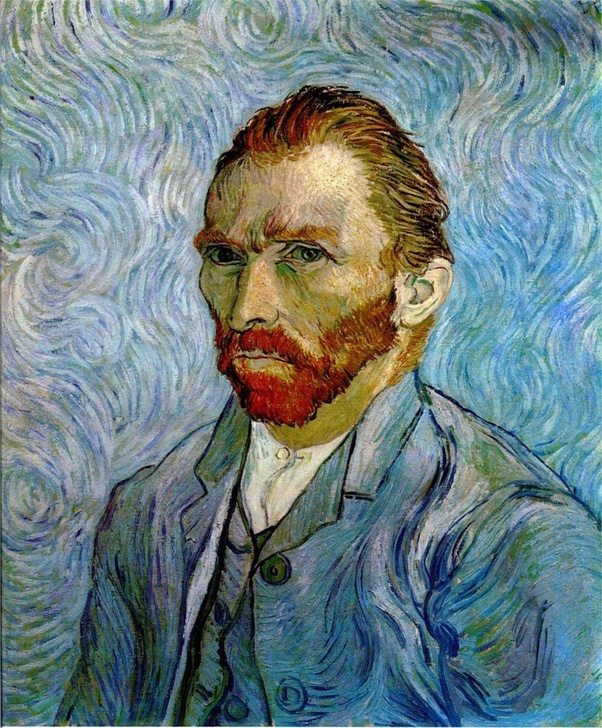
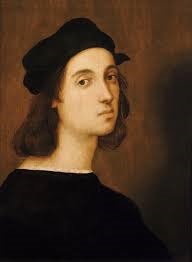
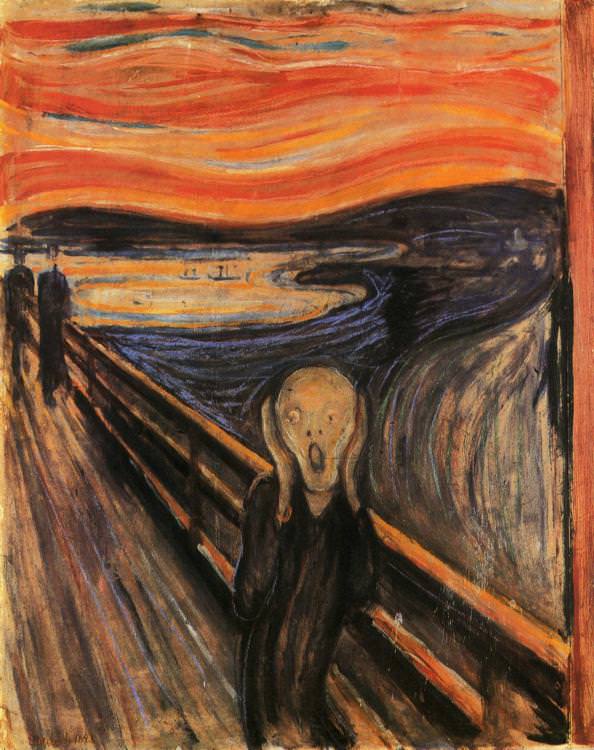
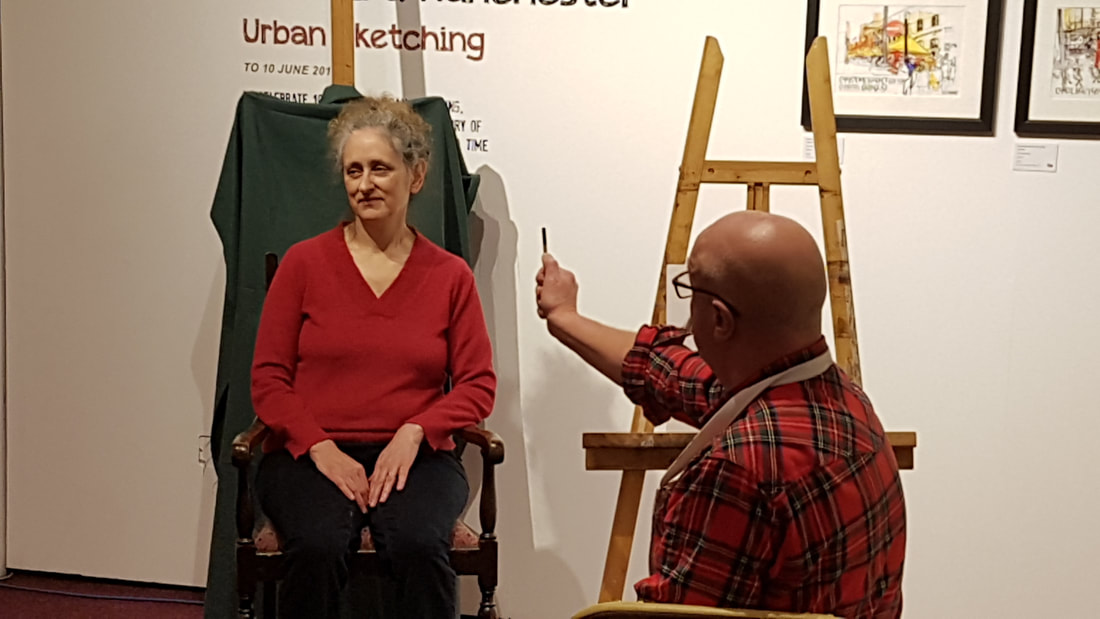
 Mavis started by showing us a picture of the Mona Lisa, probably the most famous and visited portrait in the world. Looking closely at the picture she pointed out that the two sides of the face had slightly different expressions. This is one of the things that adds interest to the picture. Art books can show simple templates for drawing faces but Mavis explained that the problem with these are that nobody has a standard face and these would not help you get a good likeness. Also, faces around the world can vary quite a lot. Her example of an Inuit child's face, shows how living conditions can influence the features, such as having a small nose to stop frostbite. Whereas a painting by Albrecht Durer shows a typical European face Next, Mavis showed an example of an Egyptian face, where the profile was from the side but the eye was from the front. This is also used by Disney and other cartoonists to allow them to show the most recognisable features of the face. Mavis explained that the problem when doing faces is that you are trying to show curves on a flat surface. Next, we were shown examples of where artists, such as Picasso, had done a lot of work showing features at different angles, which is another interesting concept. After discussing the idea of individual elements of the face, we were shown how different skin tones effected the painting of faces. Mediterranean painters tended to use a green underpainting, whereas 18th Century European artists used a blue underpainting. She suggested a dark red or violet underpainting for African portraits. 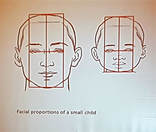 As she moved on, we were shown how cuteness could be portrayed in paintings. One way of doing this is by shortening the lower part of the face. and having slightly bigger eyes, as in the portrait of a child. 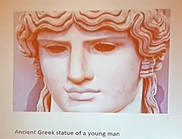 We then looked at idealised faces. Early Greek statues had a sameness about them, with a grin on their faces, before more realistic images became the norm. This lead on to looking at what people perceived as positive beauty in faces; often these are symmetrical, which in reality is a rarity. Examples of these were: Robert Redford and Elizabeth Taylor. This lead back to the start of the talk, where, by using templates, you are more likely to finish up with symmetrical faces, which is not often true. We were then shown examples of self portraits and how artists saw themselves; which often proved to be very honest and not very flattering. Examples of these are Rembrandt, Frida Kahlo and Van Gogh. As a contrast to this, Raphael's self portrait, gives him an angelic look. Finally, we were shown different ways expressions can be shown in faces . Examples of this were: The Laughing Cavalier, The Scream and Marilyn Monroe. 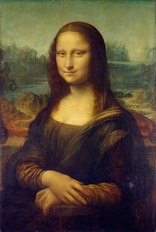 To end the talk, Mavis returned to the first picture of The Mona Lisa, which fascinates so many people, often not knowing why. They can't quite work out what she is thinking. Is she happy or sad?
This, she believes, sums up our fascination with faces and ended a fascinating talk by an entertaining and knowledgeable artist. I think we all learnt something new and it has opened our eyes to look more closely at any future portraits that we paint. 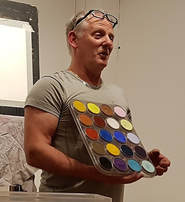 Les explained how he trained as a technical and Scientific Illustrator, and having freed himself of the technical preciseness of a photo realistic painting, he now paints expressively and creatively; producing paintings that are based on feeling, light, energy and movement. This all started after he was bought a set of pastels, as a Christmas present, and realised the potential of these. He likes to grade his pastels by the level of hardness, in a similar way to pencils and would like companies to do the same. For the demonstration he would be using Pan Pastels, as these are very pure and can be mixed like paint with special micro sponges. These also rub out easily with a rubber,
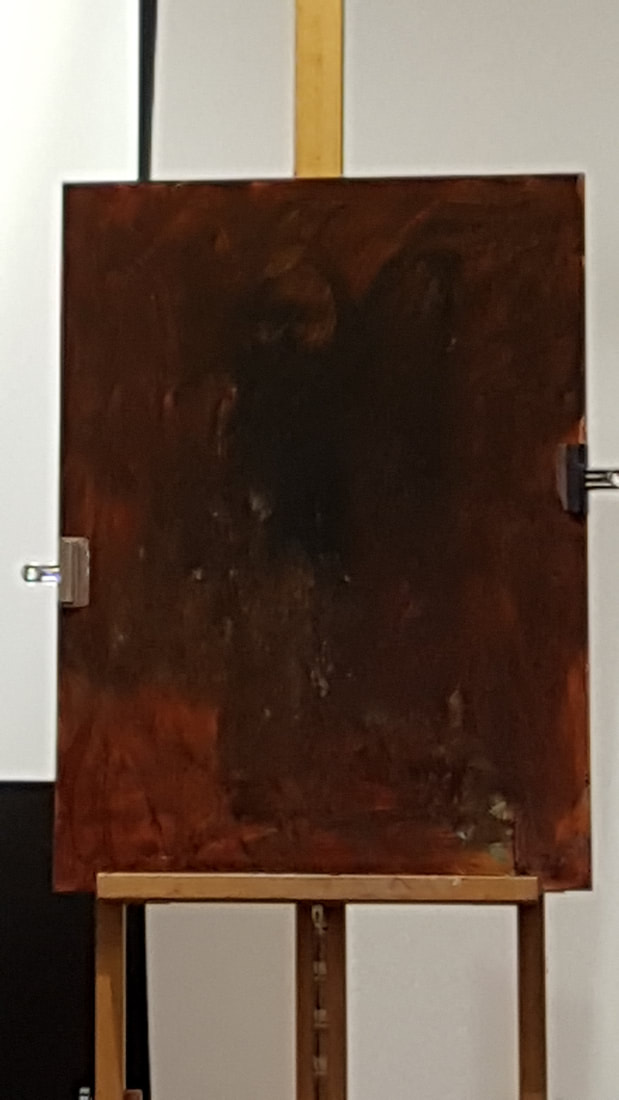
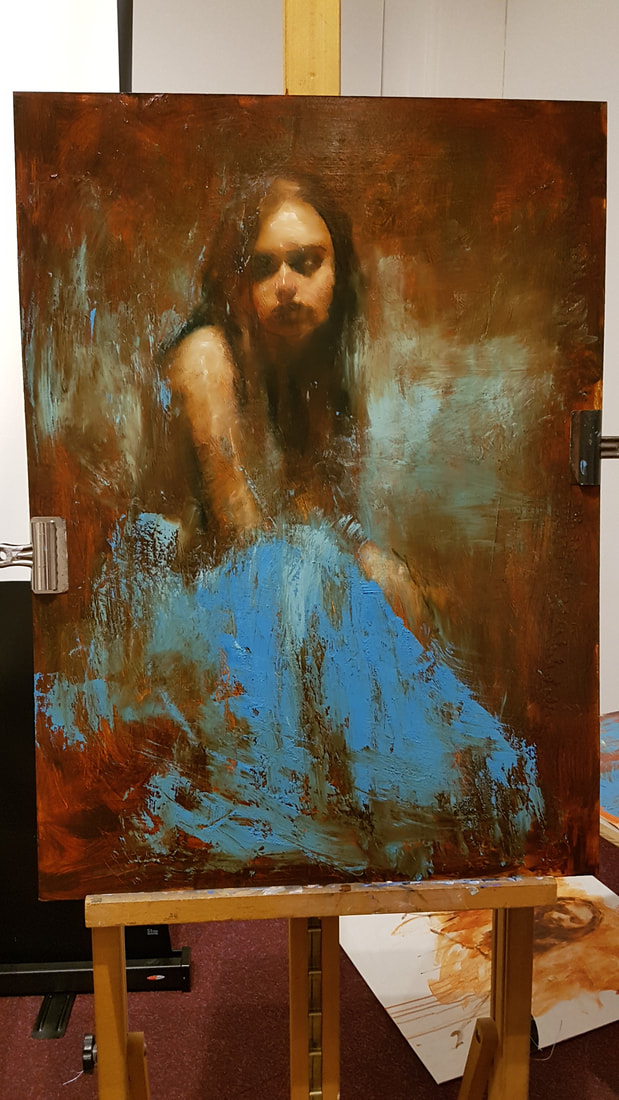
David had been to the gallery earlier in the day to do some sketches and take some photographs, in preparation for this demonstration. He chose one of these images to paint tonight. His canvas had been prepared with an Umber wash, which acts as a neutral background. He uses a limited palette of about six colours, including Raw Sienna, Burnt Sienna, Prussian Blue, White and Black. The painting was started using White, to pick out the highlights, before moving on to a blue grey mix. He squints to see the tones needed. He says he uses acrylic like watercolour, at this stage, to make it lighter, and painting quite fast at first. A smaller brush is used next, a bit like a pencil to draw in shapes. He draws in the chairs using a dark colour, letting this dry before working on it again. He says not to be too wary of mistakes at this stage, as you can always work on them later. At this stage, a mirror would be used to see the image from a different perspective. Next, a subtle colour is used to paint the walls. He mixes a little Raw Sienna with White to reduce the harshness, before using it on the painting. Continuing to bring out the highlights, he looks for the reflections on the tables and chairs etc. He likes to give people something in a painting to think about and likes a theatrical feel to his work. Details are now added and the painting starts to come together. He emphasizes that he likes to use Black, whereas some artists prefer to mix a dark colour. Next, a little weak Prussian Blue is added to certain areas, give the painting character so that it doesn't appear flat. As he works on the tones, he uses the same colour, in several areas, to ensure a unified composition. The painting is then turned upside down, as this helps to see any areas that still need work on them. After turning it back, he is at the stage where he can't do much more on it. This is fortunate, as it is nearly time to finish. In his studio he would probably add blue washes and more glazes on it. An excellent and informative demonstration appreciated by the members. David is very knowledgeable about the use of paint. As well as telling us about his technique, his anecdotes of art history was impressive , as he regaled us with several interesting facts as he worked. 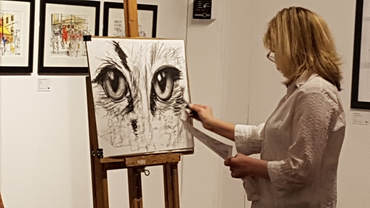 After last weeks demonstration this week members brought their own pictures in to work on. Olga gave a short talk at the beginning about how to capture a quick image of the animal using simple shapes like triangles and circles and them demonstrated this method. Members then worked on their own pictures whilst Olga came around giving advice. Later she stopped the group for a short time to show how we could draw eyes. A really interesting two sessions, led by Olga,where members learnt a lot about a subject not covered before. A wide range of subjects, covered superbly by members, shows the number of talented artist in the group.
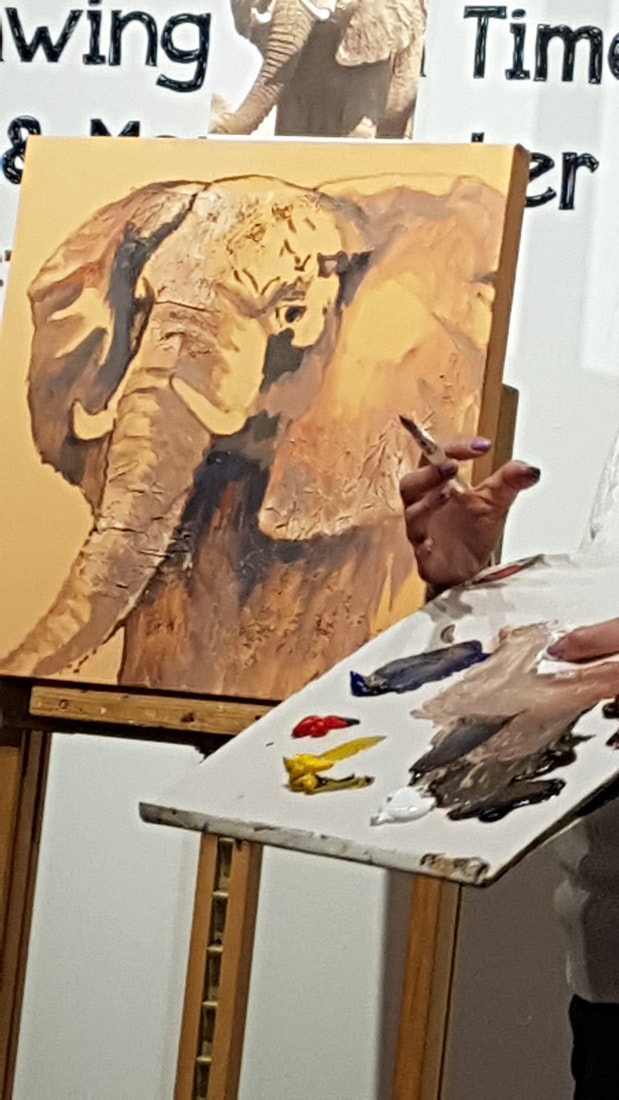
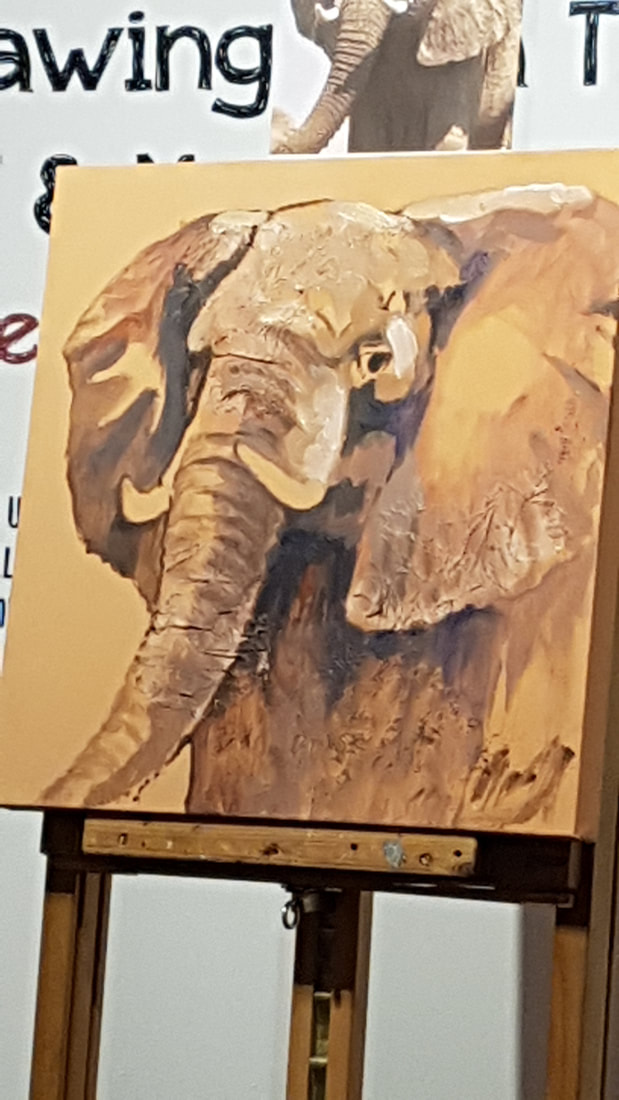
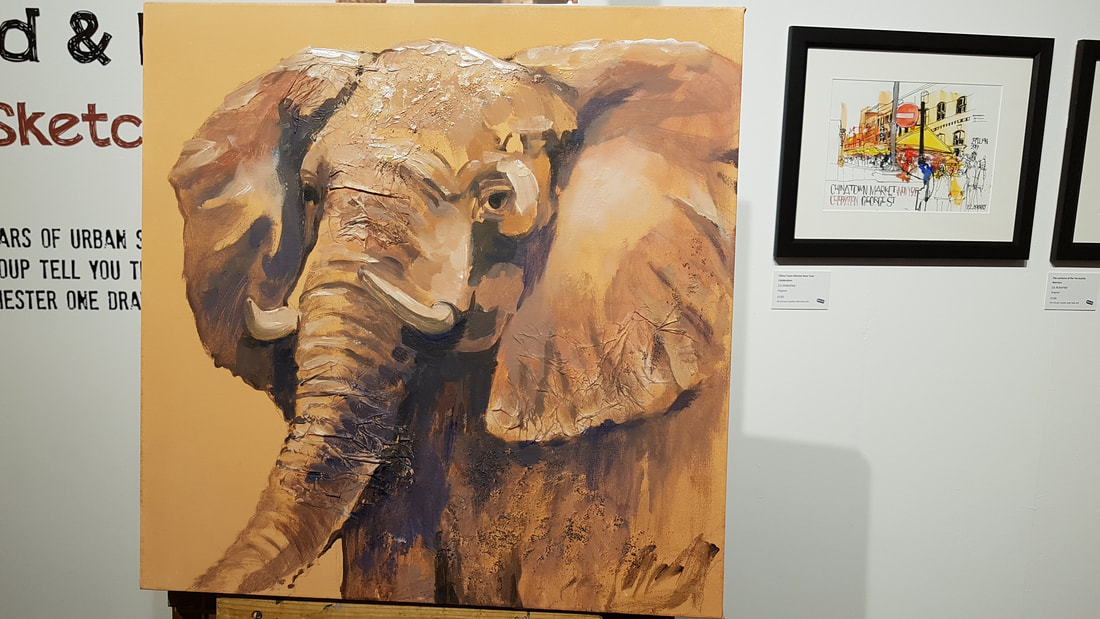
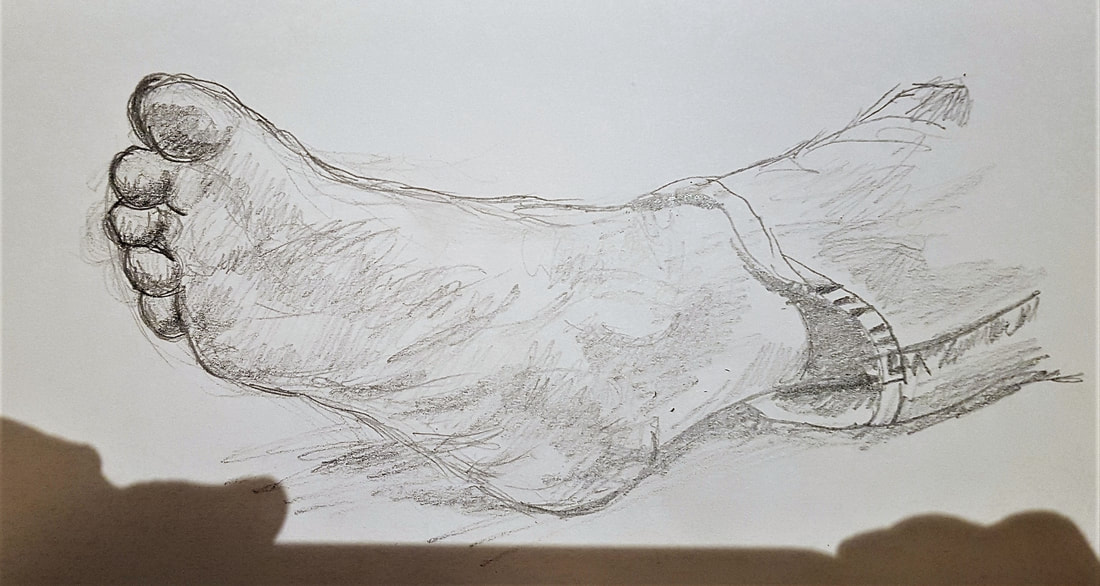
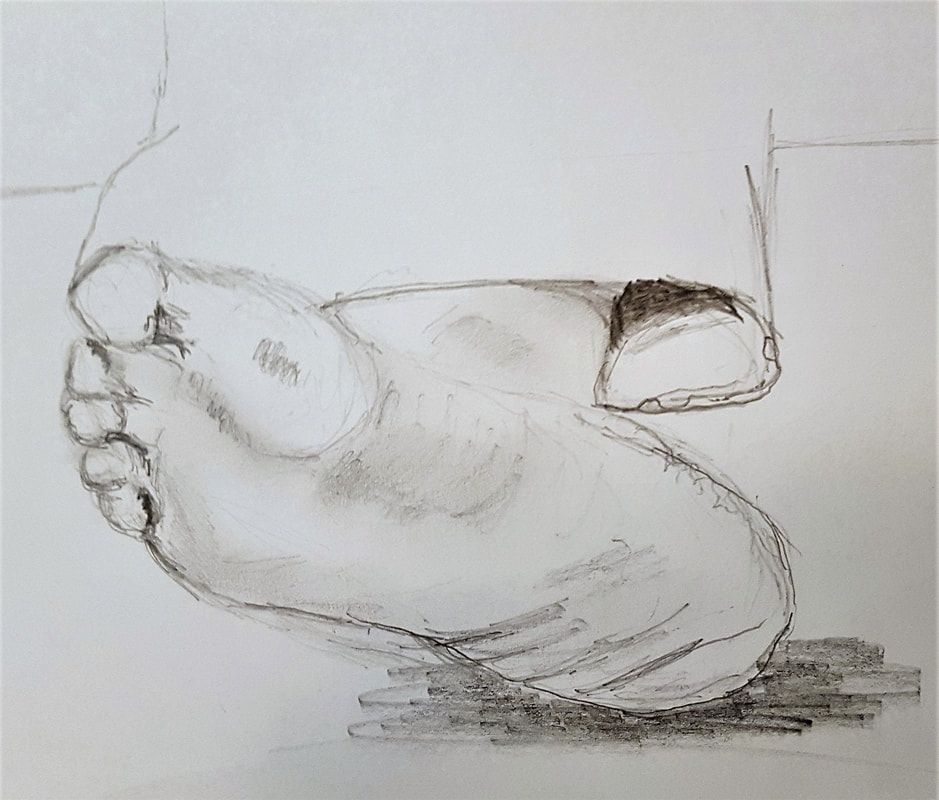
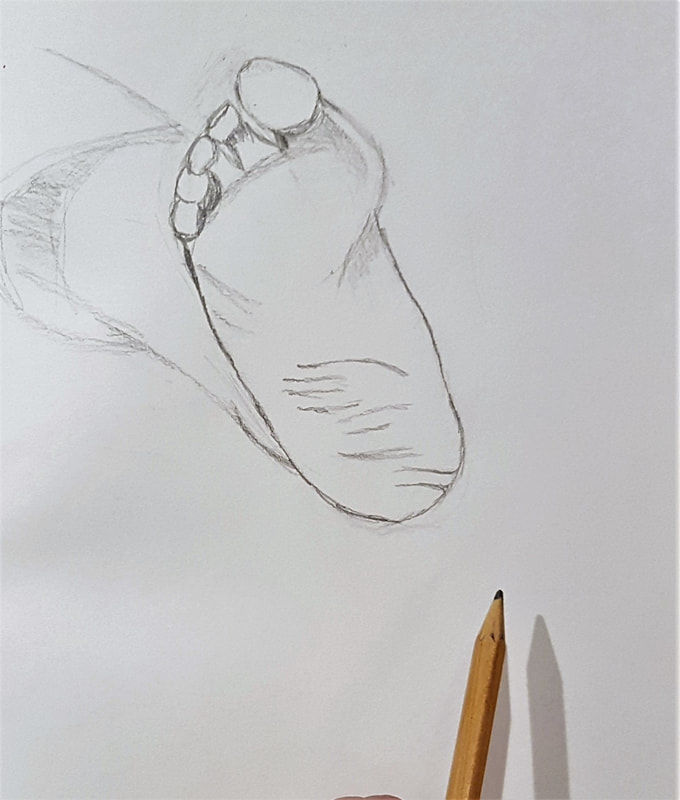
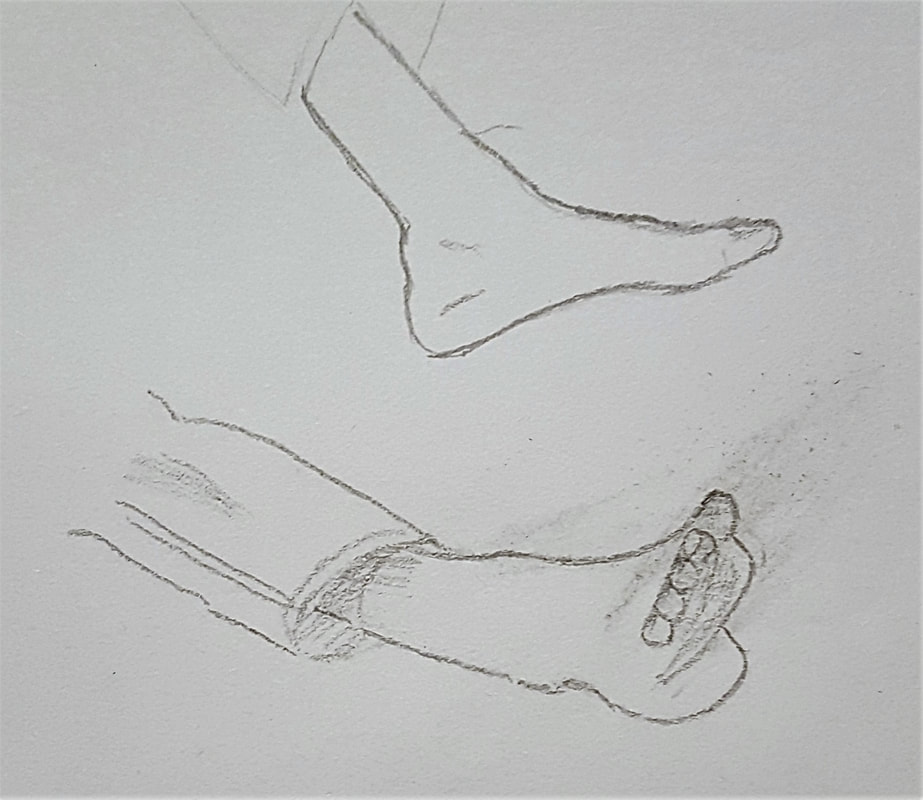
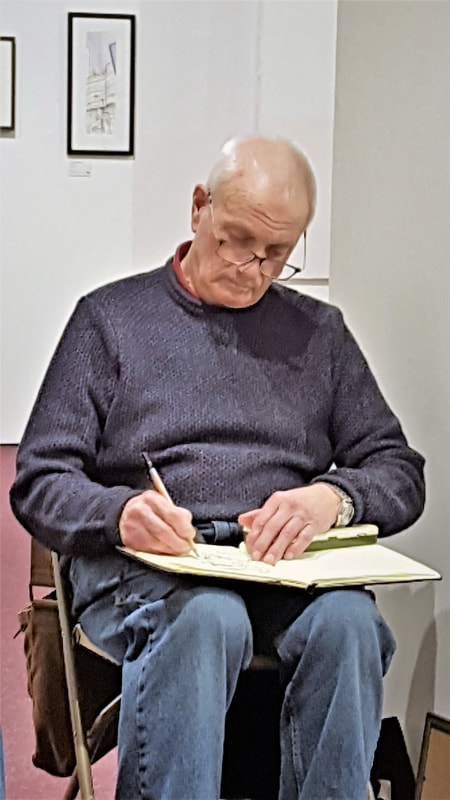
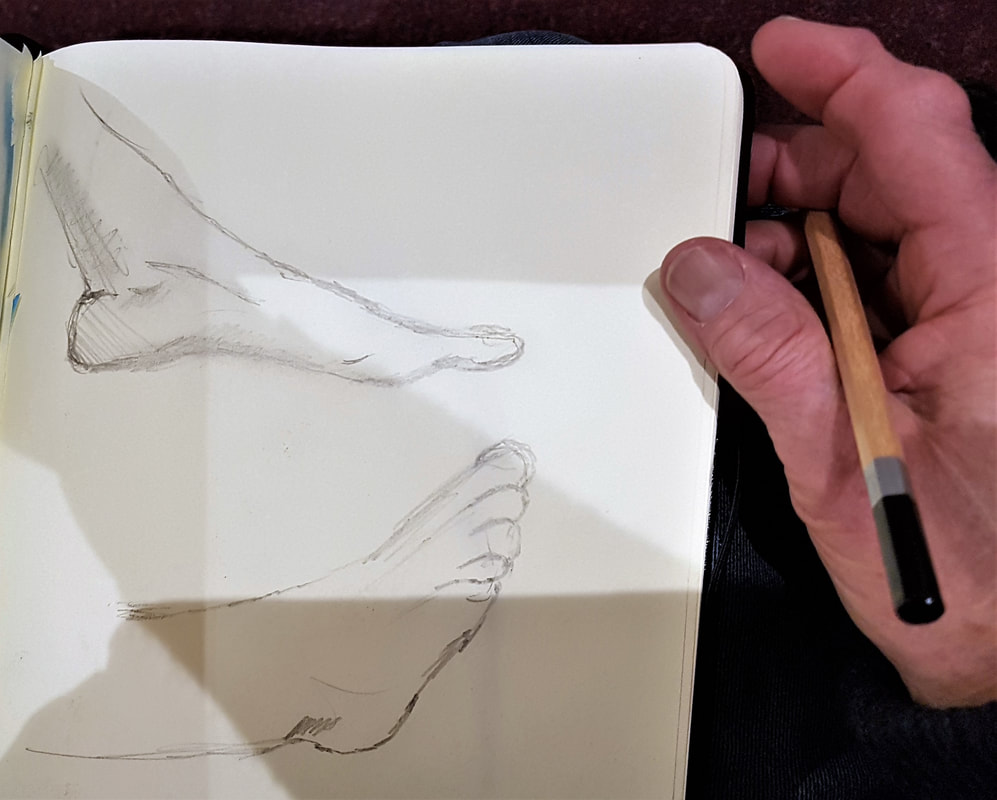
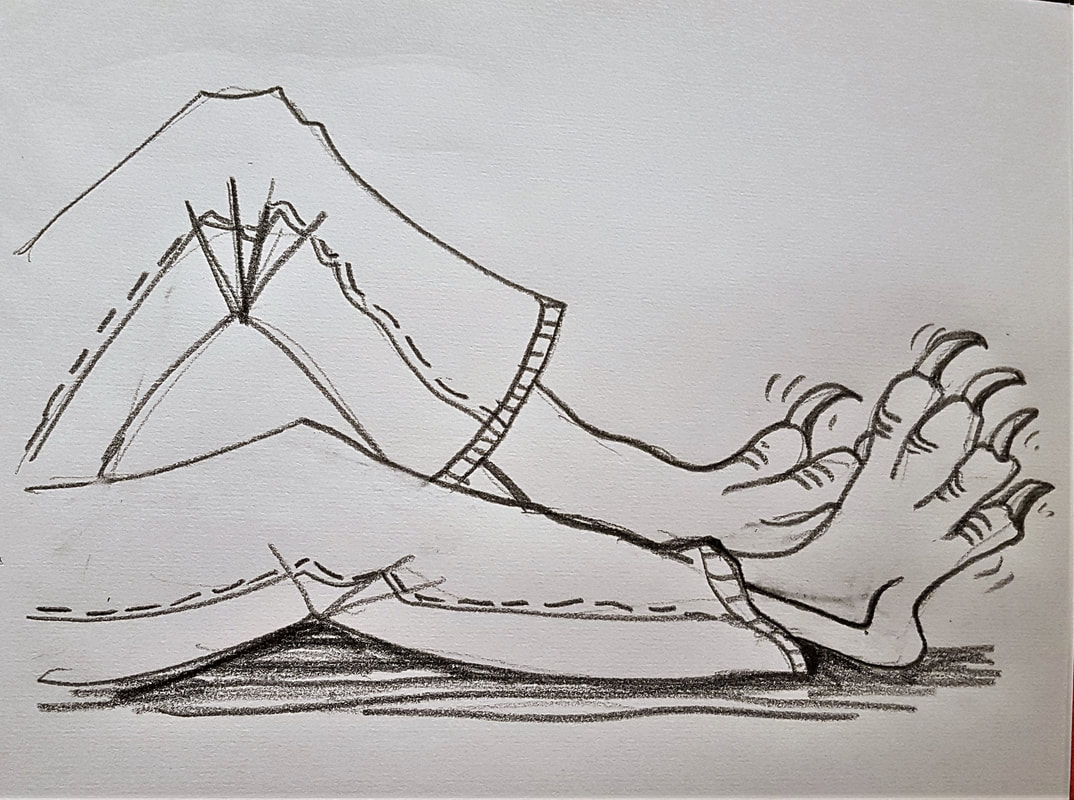
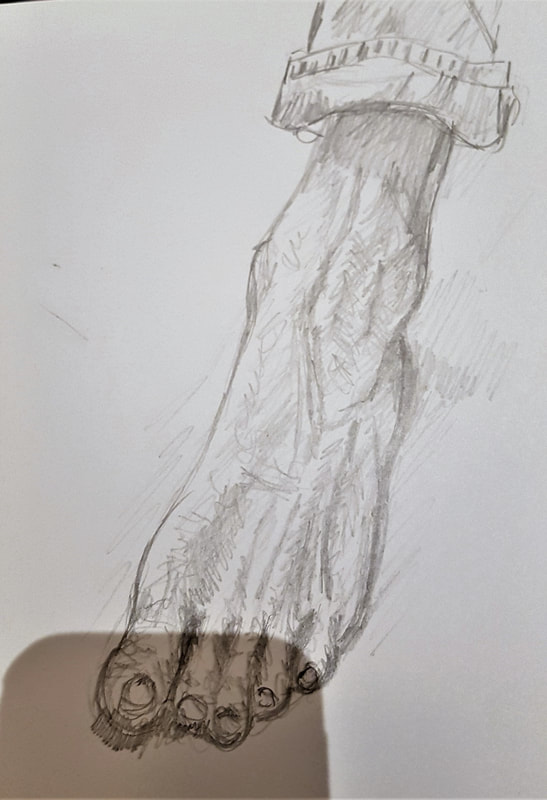
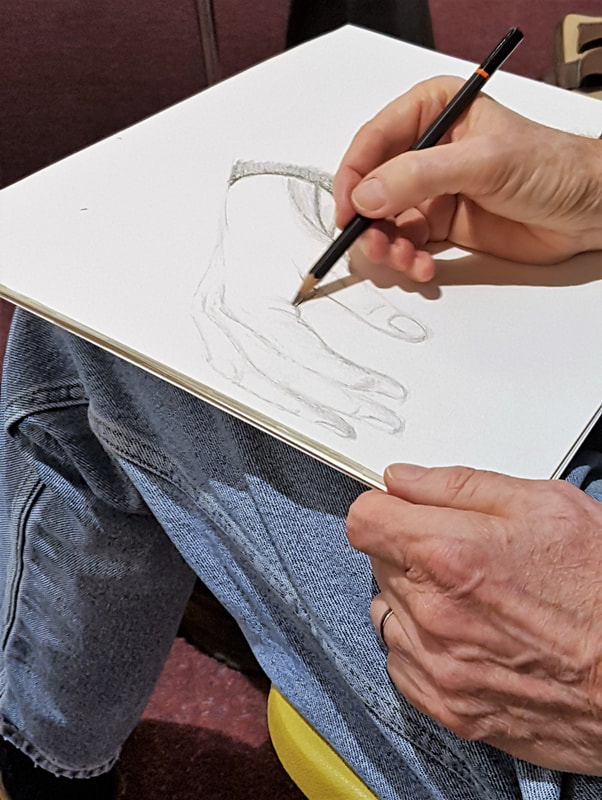
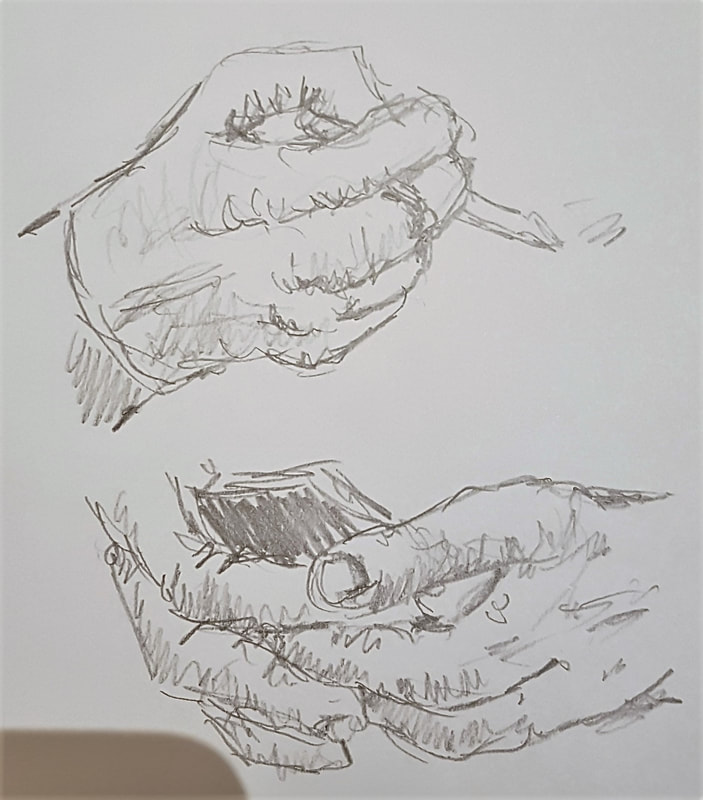
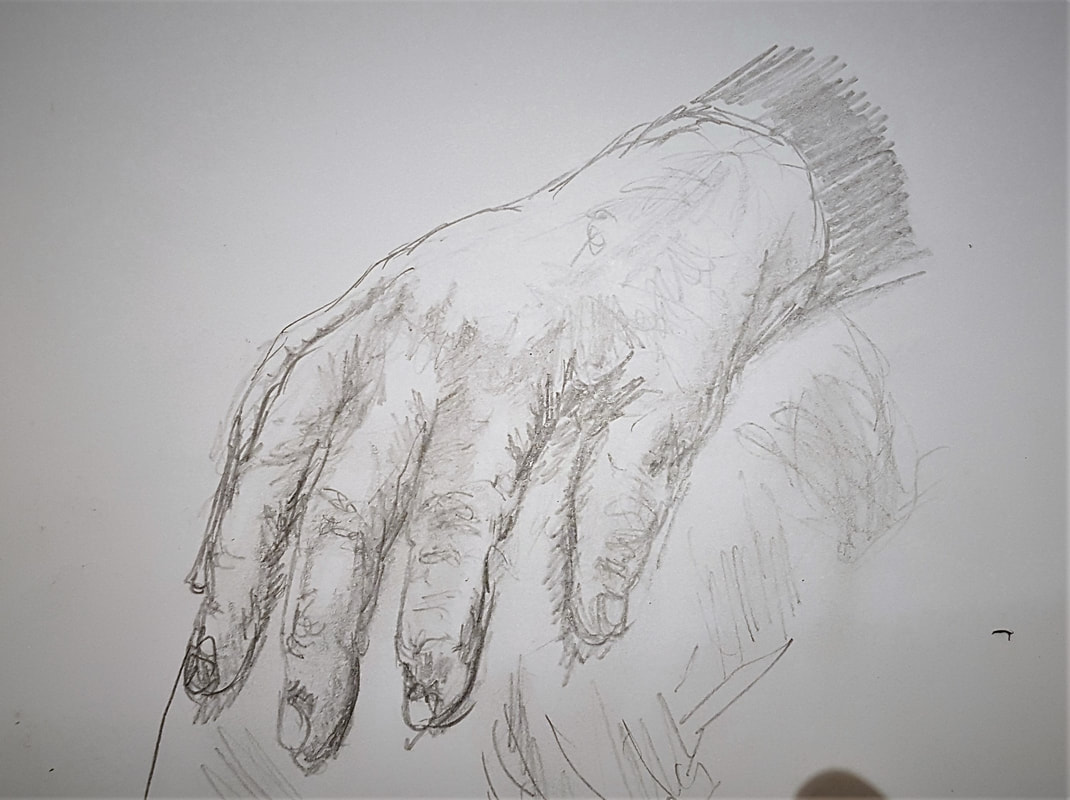
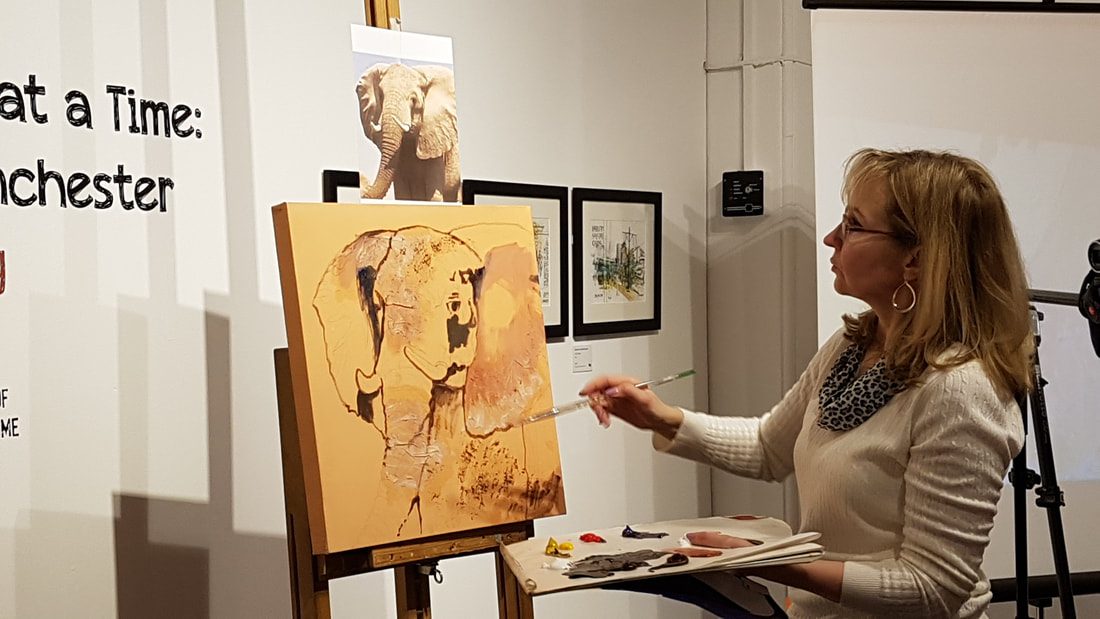 Olga started by telling us how a picture can be painted using Acrylic and on occasions Acrylic Gel. She uses several different approaches e.g. sometimes gluing textured paper on the board before starting the painting. For this painting of the elephant, she has already drawn the shape out, added some textured areas and has applied an orange background colour, as she doesn't like having a white canvas. She enjoys being creative and has collected several pictures of elephants as reference material. She starts by mixing Burnt Umber and French Ultramarine to make a dark colour, which she uses to outline shapes and block in dark areas. She then starts to build up more tones and shapes, ignoring detail at this stage. By doing this she starts to make the painting appear 3D. She thinks it is important to capture the character of the animal. Painting continues with the application of more mid tones of grey. She moves all over the canvas, not just working in one area; trying to analyse where different tones are and checking the light source. She will finish the painting by adding the small details. I read the title but wasn't sure what to expect, possibly drawing card players. I had a strange inkling it may be something else but couldn't put my finger on what! Eventually, Robert 'toed' us what we would be drawing, and to our surprise, you have to 'hand' it to him, everyone joined in . To get people to do this was no mean 'feet'! Most took it seriously, although one member, Carol, was more worried about the football match kicking off that night, rightly so, as it turned out to be a very 'sole' destroying result! Anyway, I hope you like my' digit'-al pictures from the evening. Next week, the serious matter of 'hand'-ing in work for the annual exhibition! An excellent turn out by members for the first session of the year. We were treated to another superb demonstration by Anthony who makes it look so easy.
Next week there is another Demonstration to look forward to. |
Categories |


 RSS Feed